Quiz Restrictions
eLC allows instructors fine control over many specific properties of a quiz. When you are editing a quiz, you will see a sidebar on the right-hand side. That sidebar includes dropdowns for:
- Availability Dates & Conditions
- Timing & Display
- Attempts & Completion
- Evaluation & Feedback
Each dropdown will provide you with more advanced control over your quiz. Below are some important details for each dropdown category.
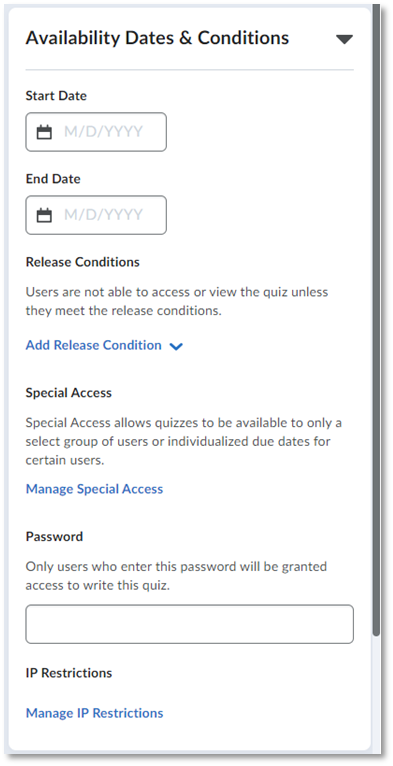
Start and End Dates
This allows you to set specific calendar dates during which the quiz will be available.
Students will not be able to open a quiz on days before or after these date restrictions.
Note that if you have hidden the quiz, users will still not be able to see the quiz, even after your selected
start date. Hidden overrides other availability conditions.
Release Conditions
Allows you to create a custom learning path for students to proceed through your course materials. For example, below are 3 common use cases where release conditions are beneficial:
- Students need to submit assignments in a specific order, and you want to automate this process.
- You would like an assignment to become available after they take a quiz, automatically.
- You would like to restrict an assignment to a specific group of students.
Release conditions can be set using a condition type based on 10 different areas in eLC. These are: Assignments, Awards, Checklists, Classlist, Competencies, Content, Discussions, Grades, Quizzes, and Surveys.
Select Add Existing if you will use a condition you have already created in this course. Create new allows you to create a new condition for use with this quiz.
Special Access
Allows you to determine access to an individual or a group of students. You can also
use this to set specific settings that are different from your normal quiz settings.
For example, choosing Allow selected users special access to this quiz would let you assign a makeup quiz only to certain students. To select those students
who would be able to access this quiz, select Add Users to Special Access.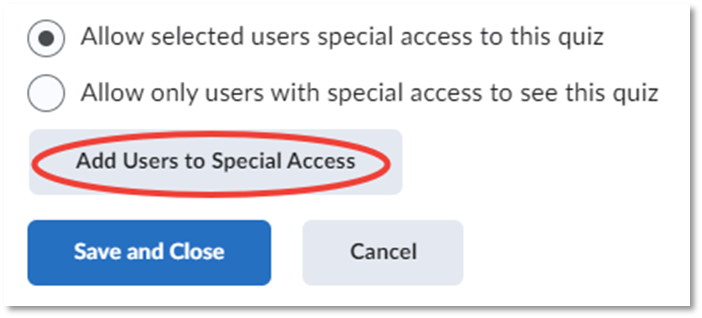
Password
Allows you to require students to enter a password (set by you) to take the quiz.
The password that you select will be the same for all students in your course. Make
sure you communicate this information to your students before they are scheduled to take the quiz!
IP Restrictions
Allows you to restrict which IP ranges are permitted to access and take the quiz. We do not generally recommend using this option due to the complexity of identifying IP ranges that students will be using, especially
if their testing location is not on campus. By default, quizzes are not set up with
any IP restrictions and we recommend that you leave this setting unchanged.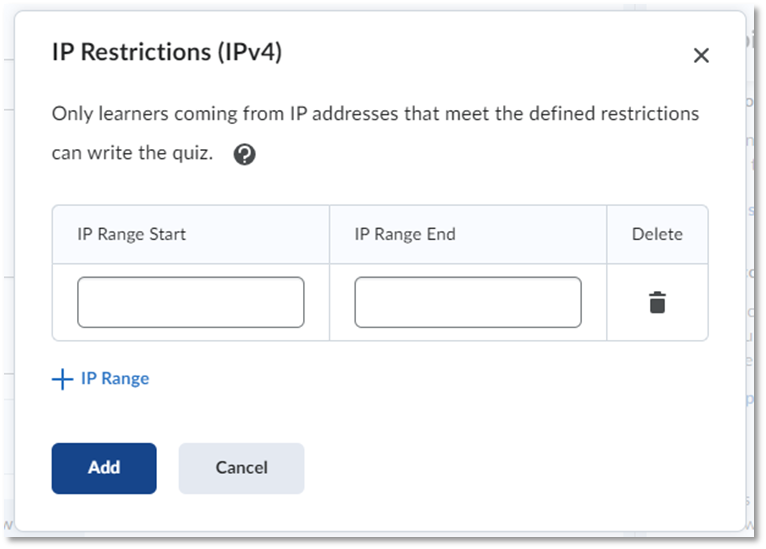
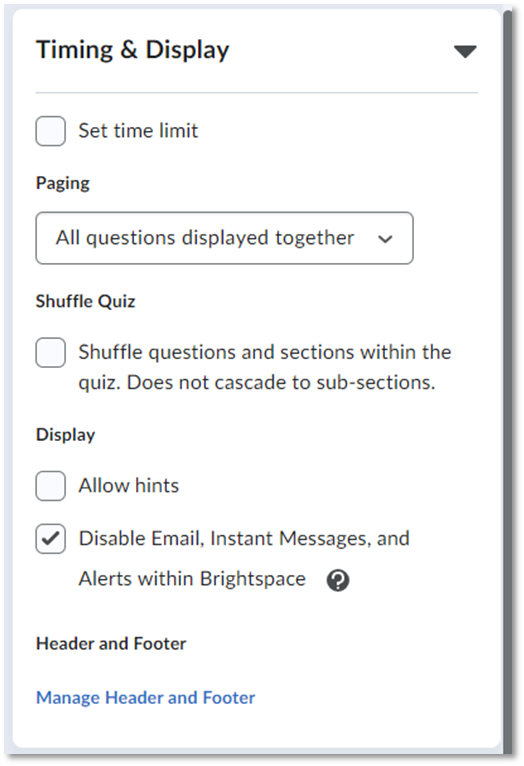
Time Limit
Check the Set time limit box to set a specific number of minutes as the time limit for a quiz attempt. If you select Timer Settings, you will be given more advanced options seen below:
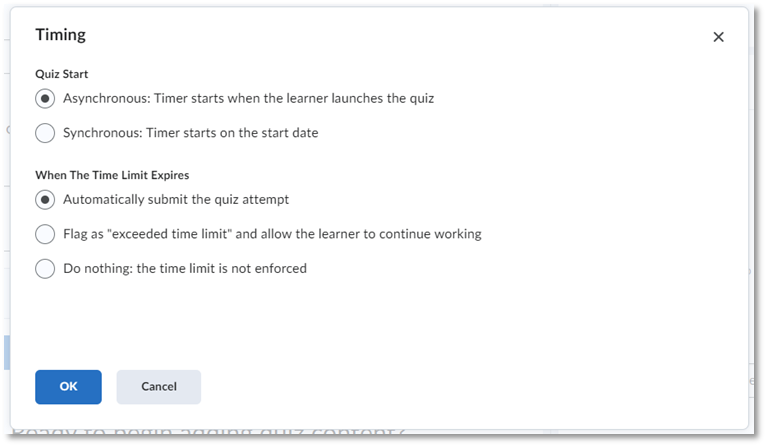
- Quiz Start: Asynchronous is the default setting and allows students to attempt the quiz whenever they wish during that quizzes’ availability window. Synchronous means that all students will be taking the quiz at the same time, and therefore the timer will start counting down automatically. We generally do not recommend synchronous settings for quizzes.
- When the Time Limit Expires: These options let you determine how a quiz behaves when the timer ends.
- Automatically submit the quiz attempt is selected by default. This means the quiz will complete and close once the timer ends.
- Flag as “exceeded time limit” and allow the learner to continue working gives students the opportunity to finish taking a quiz even if they exceed the time limit. Submissions which exceeded the time limit will be labeled so that you are made aware.
- Do nothing: the time limit is not enforced will show the timer to students but not enforce those
rules. This might be useful if you want students to have an opportunity to practice
taking a test that will be timed in the future.
Paging
You have the option to have your quiz limit the number of questions displayed per
page. By default, quizzes will display All questions displayed together as a single page. If you wish, you can have the quiz paginate with 1, 5, or 10 questions per page. You can also add a page break after every section if you are using sections in your quiz.
Shuffle Quiz
Check this box if you want to have the order of questions and sections shuffled for
each student and attempt. This can be helpful to thwart memorization and rote learning
of answers, especially for quizzes that allow for multiple attempts.
Display
- Allow Hints: Select this option if you have created question hints and want those to be displayed to students.
- Disable Email, Instant Messages, and Alerts within Brightspace: If you turn on this option, learners cannot access the eLC Email, Instant Messages,
or their eLC alerts if the have a quiz attempt in progress.
Header and Footer
Select Manage Header and Footer to open an editing pane. Here, you can type and format a header and footer that will
appear at the top and bottom of your quiz. Select Add once you are finished to save it to the quiz.
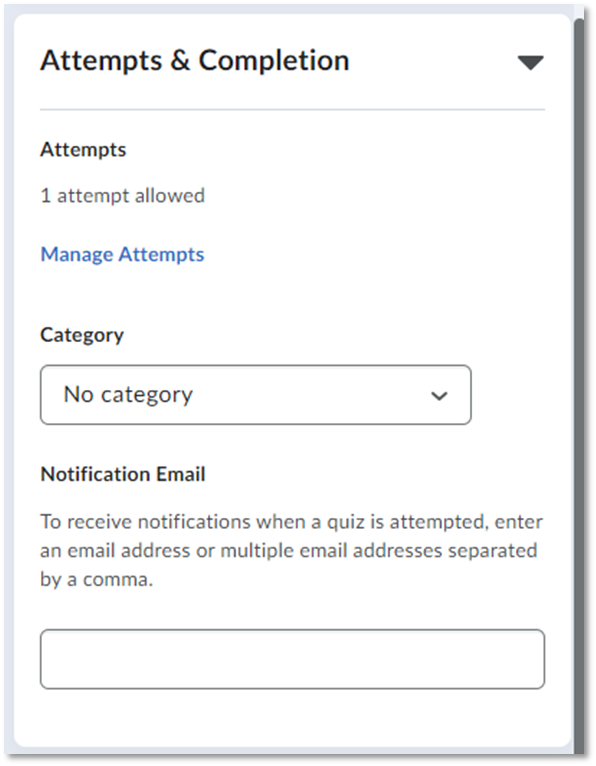
Attempts
Use these options to control how many times a student may attempt a quiz, and to control how a student's grade is affected by taking multiple attempts. By default, a quiz will allow 1 attempt. Select Manage Attempts to open more options.
- Attempts Allowed: Change the number of attempts a student may take. You can choose from 1-10, or unlimited.
- Overall Grade Calculation: Change how the quiz grade is calculated based on the number of attempts.
- Highest Attempt will record the highest score in the gradebook.
- Lowest Attempt will record the lowest score.
- Average of All Attempts will take an average of every attempt a student makes and input that score into the gradebook.
- First Attempt and Last Attempt will record to the gradebook the earliest or latest attempt a student makes, respectively.
Make sure to click OK to save your changes before closing the window.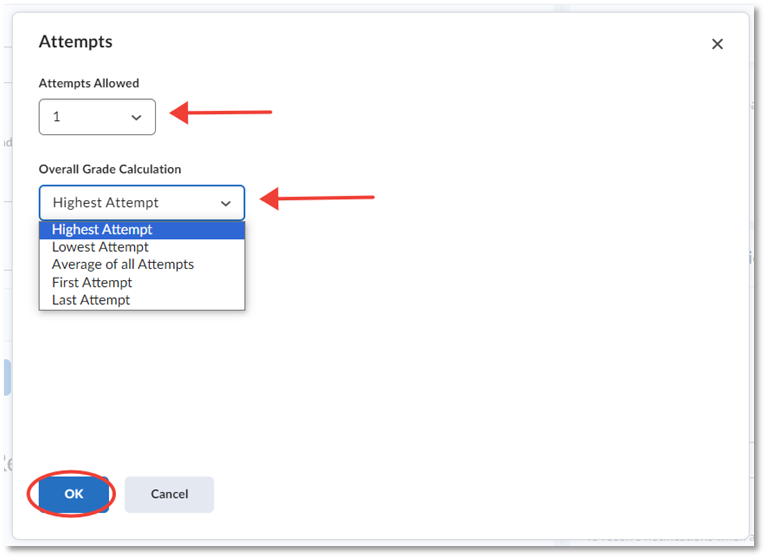
Category
If you are using categories to organize assignments and assessments in your course,
you can link this quiz to a category here. For example, this can be helpful if you
are organizing your course by units. Quizzes will default to No category. Click the drop-down and then either select an existing category or choose New category to make a new one. View our help page for more details about grade categories.
Notification Email
You can be notified by email every time this quiz is attempted by any student. Type one or more email addresses into this box to enable this feature and to indicate where those notifications should be sent.
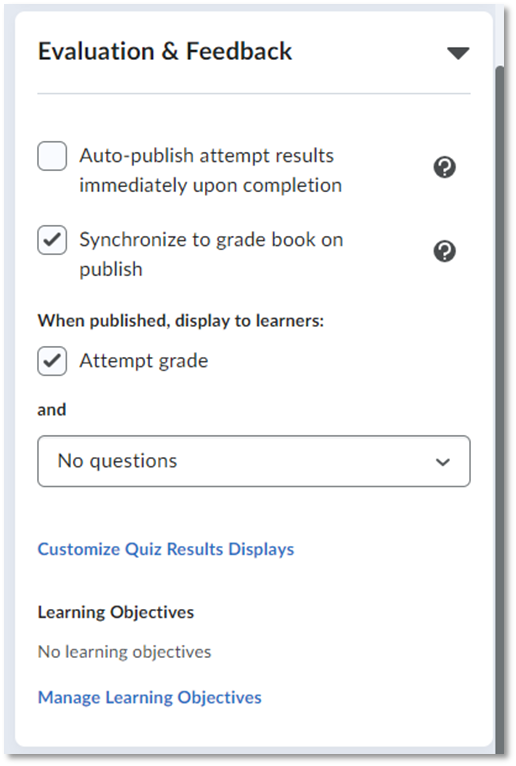
Auto-Publish Attempts
Check this box if you want a student's grade on the quiz to automatically publish once they finish the quiz. Leave this unchecked if you want to release student grades for a quiz all at once.
Note: While many different question types can be automatically graded, free response questions will need to be graded by an instructor or TA before points are awarded. If your quiz includes free response questions, you may not want the quiz to auto-publish attempts since free response questions can't be awarded points until you or a TA manually provide a grade.
Synchronize to Grade Book
This is selected by default and ensures that grades from the quiz are automatically
synchronized to associated grade items in the grade book. Uncheck this only if you
plan on manually adjusting or entering grades into your gradebook.
When Published, Display to Learners
These options give you control over what learners see once learners complete a quiz attempt.
- Attempt Grade: This is checked by default and means that students can see the grade they earned on that attempt. Uncheck it if you do not want students to see the grade. You might uncheck this if you are planning to curve or adjust grades after all attempts are submitted.
- Questions drop-down: This drop-down defaults to No questions. This means that students will not be able
to review any questions on the quiz once they have submitted. If you select the drop-down,
you are given more options. You can choose:
- Incorrect questions only, with correct answers
- Incorrect questions only, without correct answers
- All questions, with correct answers
- All questions, without correct answers
Customize Quiz Results Displays
This option allows you to control the information shown to students immediately after they submit a quiz, and later on if they review a quiz.
Primary View: This is the display shown to students immediately after they complete the quiz. You
can Edit View to provide a custom message, change the questions they can see, or choose
to show class averages and/or grade distributions if you wish.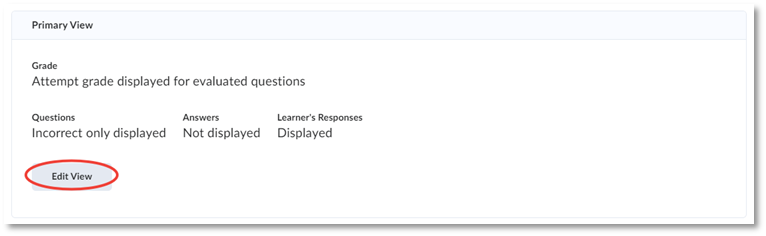
Additional View: This is an optional view that students will see at a later time after the quiz is completed. Select + Additional View to open the editor and create your additional view. Note that additional views need a display date to become active. This is how you determine when the additional view is available to students.
For example, this can be used to give students the chance to review questions they missed, see correct answers, and review class averages and grade distributions after the grades are submitted and posted.
You can also use the additional view with the limited amount of time (in minutes) after submission option to give students a set window after submission to access this view before
it becomes unavailable again.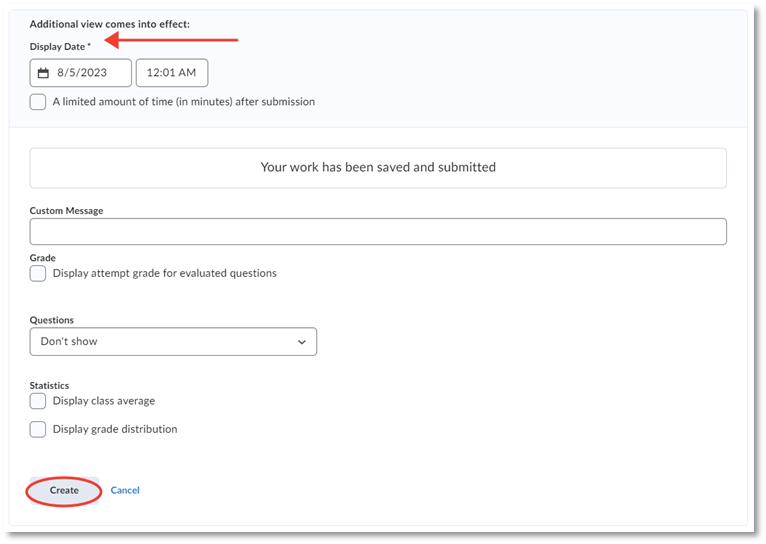
Don't forget to click Create at the bottom of the window to save your changes.
Learning Objectives
If your course has learning objectives input into eLC, you can associate this quiz with one of those learning objectives here. Select Manage Learning Objectives to select them.