Checklists
Checklists can be used in eLC to help students stay on track with readings, assignments, and other tasks in your course. Each checklist must include at least one category and may include many items.
Note: Checklists are designed to help students track their tasks and progress but are not intended as assessment tools. Instructors cannot monitor individual student progress on checklist items.
Learn about:
- Creating a Checklist
- Creating a Category
- Creating Checklist Items
- Making a Checklist Accessible to Students
Creating a Checklist
- From the course Navbar, click Course Admin.
- Choose Checklists.
- Click New Checklist.
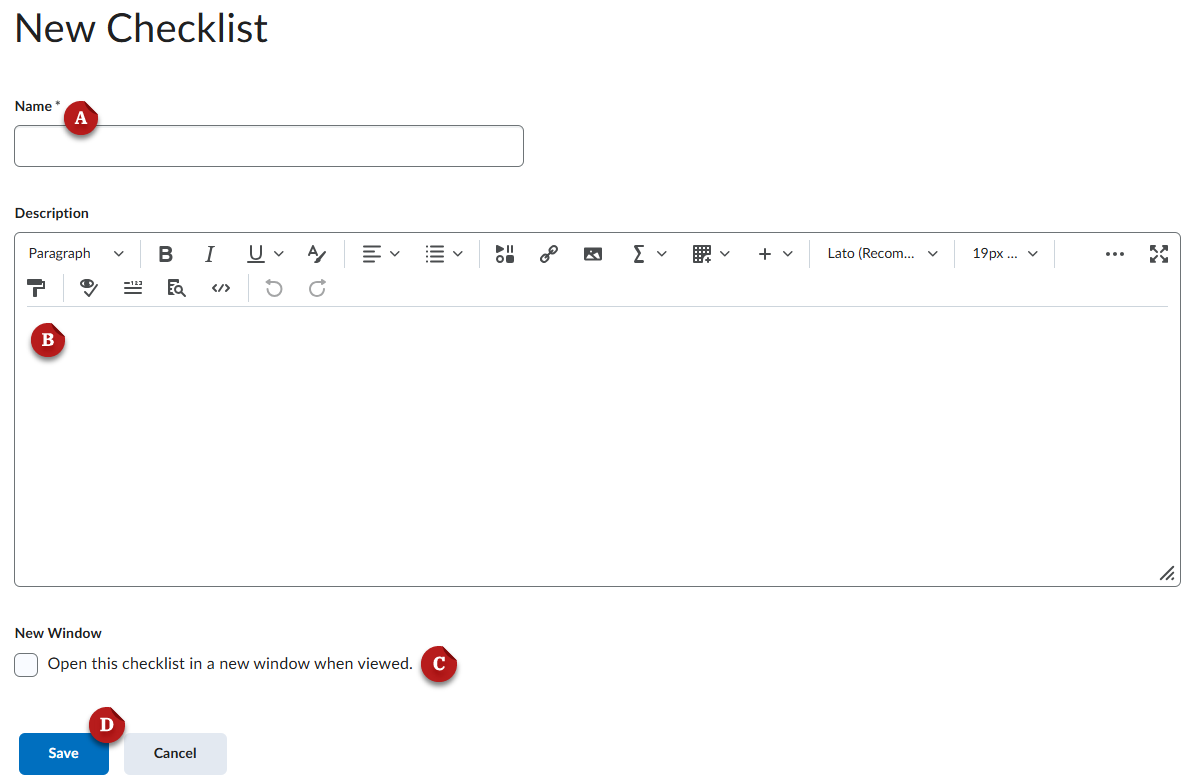
- On the New Checklist page, give the checklist a Name [A].
- (Optional) Provide a Description [B].
- Select Open this checklist in a new window when viewed [C] if you want the checklist to open in a new window when users access it. By default, checklists open in the current window.
- Click Save [D] to save the new checklist.
- Clicking Save brings you to the Edit Checklist page. As stated above, each checklist
must have at least one category. To create a category, on the Edit Checklist page,
click New Category.
Creating a Category
Categories organize the items you want students to complete on your checklist. Every checlist must have at least one category to which all the items will belong.
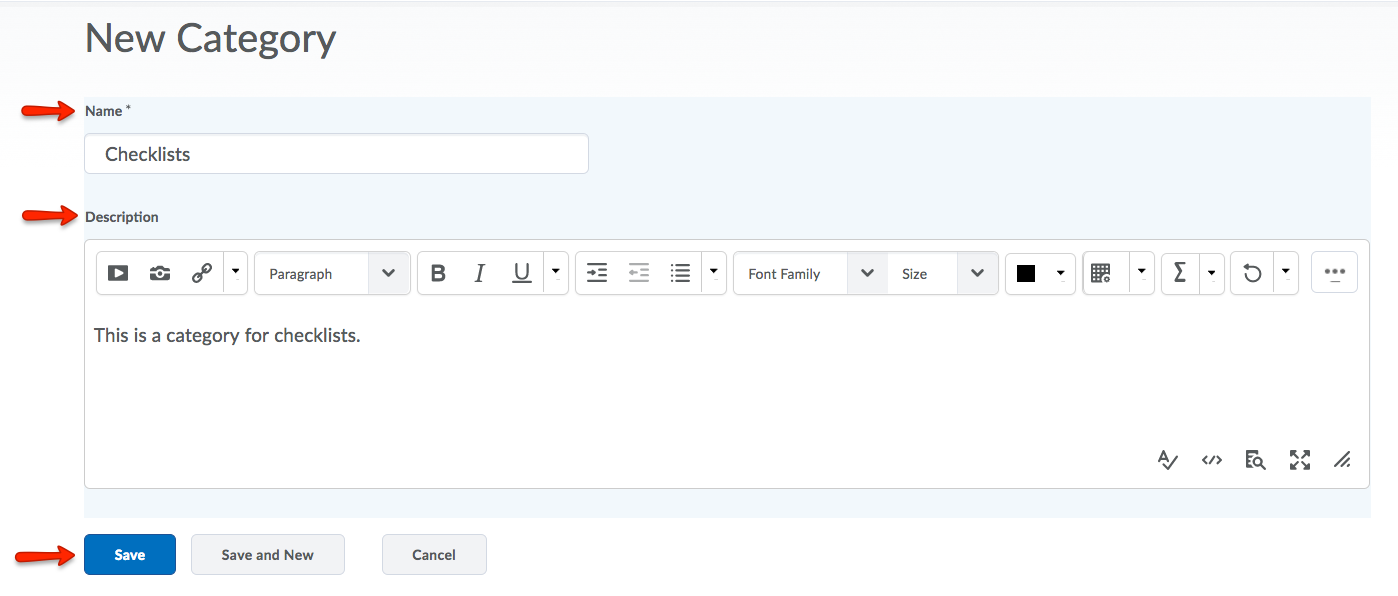
- With a checklist open, click New Category.
- On the New Category page, enter a Name.
- You can enter an optional Description for the new category.
- Click Save to save the new category or Save and New to save it and create another one.
Creating Checklist Items
Items are the tasks that students will check off on the checklist as they complete them. While instructors can't view or monitor individual student progress using checklists, they still help students to stay organized by making it very clear what students are expected to do.
- With a checklist open, click New Item.
- On the New Item page, do one of the following:
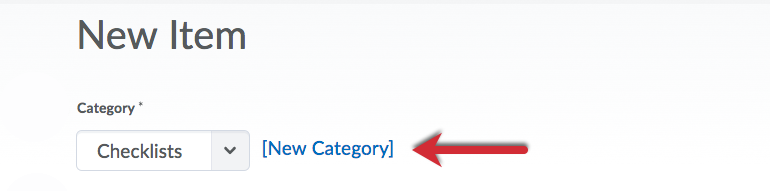
- Select a category for the item in the Categories/Items list.
- Click the New Category link to add a new category. In the New Category pop-up, enter a Name and optional Description for the new category and click Save. Each item you create must belong to a category.
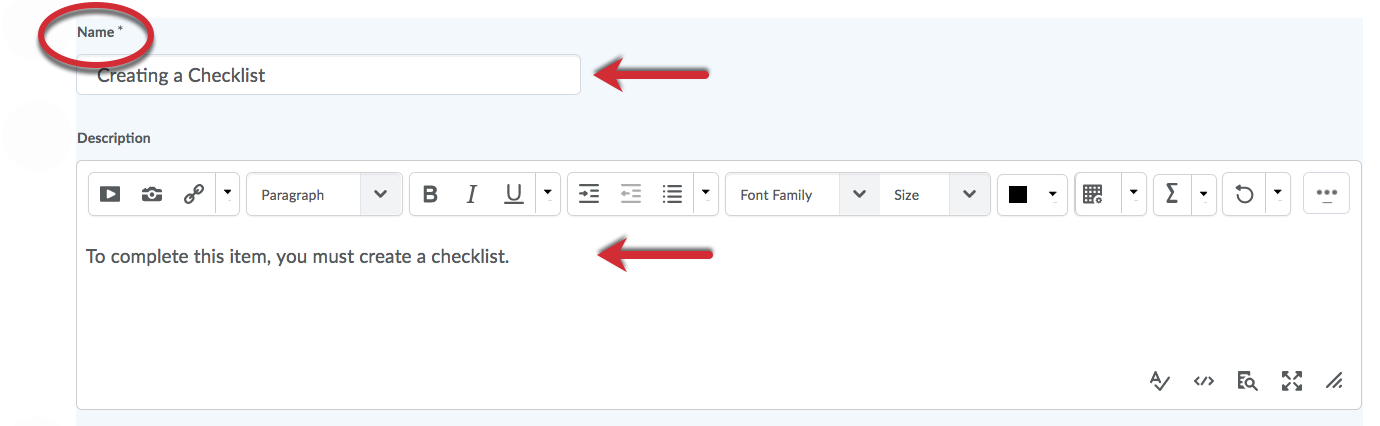
- Next, enter a Name and a Description for the new item.
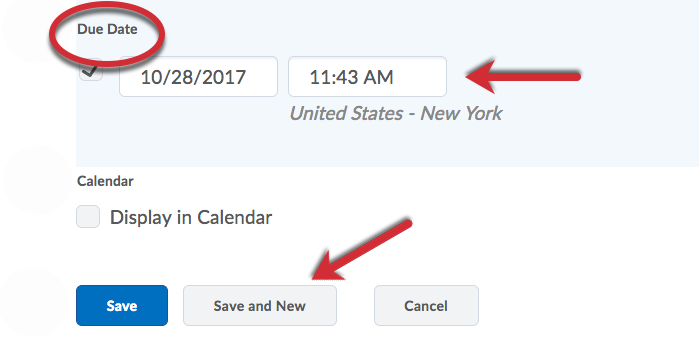
- Set a due date by selecting the Due Date check box and selecting the appropriate date and time from the drop-down lists.
- Select Display in Calendar to make the item visible in the calendar for students
- Click Save to save the new item or Save and New to save it and create another one.
Making a Checklist Accessible to Students
After creating a checklist, you must make the Checklists tool accessible to students. Checlists can be added to modules and sub-modules in your course content. You can also add the Checklist tool to the Course Navbar or add the Checklist Widget to the Course Home page. To learn more about these processes, visit the following pages:
Last Updated: 12/03/2024