Modifying Course Homepage Widgets
The boxes containing information and providing links to various tools such as the content browser, the course calendar, and course settings are called widgets. Widgets are the building blocks of a course's homepage and can be customized, moved around the page, or deleted. There are many other widgets available to users that can be added to a course homepage. Widgets can also be created.
Note: Default course homepages can not be edited. To modify your course homepages and widgets, you will need to make a copy of the default course homepage. Read more about Customizing the Course Homepage.
- Adding Widgets
- Moving Widgets
- Removing Widgets
- Customizing Widgets
- Specialized Widgets:
Adding Widgets
You can add widgets to your course homepage.
- From the course homepage, click the ellipsis icon [A] in the bottom right corner.
- Select Edit this Homepage [B].

- Click the Add Widgets button in the desired area.
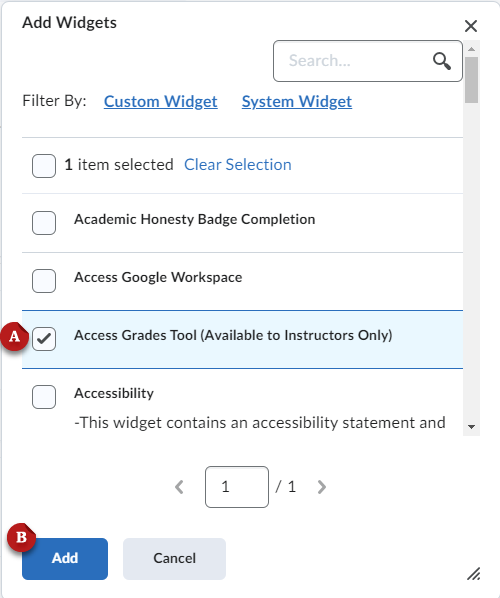
- Use the search bar or scroll to find the desired widget.
- Click the checkbox [A] next to the widget name.
- Click Add [B].
- Click Save and Close.
Moving Widgets
You can move widgets to different areas on your course homepage.
- From the course homepage, click the ellipsis icon [A] in the bottom right corner.
- Select Edit this Homepage [B].
- Drag and drop the widget to the desired area.
- Click Save and Close.
Removing Widgets
Widgets can be removed from the course homepage if you do not want them to be displayed for you and your students.
- From the course homepage, click the ellipsis icon [A] in the bottom right corner.
- Select Edit this Homepage [B].
- Hover the mouse over the desired widget, and click the "X" that appears.
- Click Save and Close.
Customizing Widgets
Some widgets can be customized. You can change the name of a widget, and prevent it from being minimized by users in your course.
- In the course navbar, click Course Admin.
- Find and click the Homepages link.
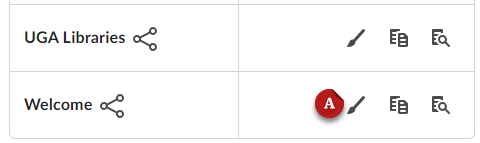
- Click the Widgets tab to view the list of widgets.
- Click the Paintbrush [A] icon to edit a widget.
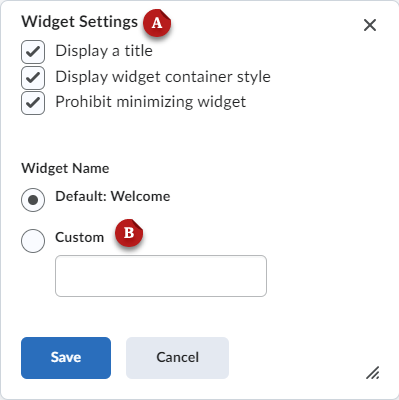
- Change the widget settings [A] with the checkboxes:
- Display Titlebar - Shows the widget's titlebar to users
- Display widget container style - Shows the widget content inside a container with a white background (recommended)
- Prohibit minimized widget - Prevents users from minimizing a widget
- To change the widget name, select Custom [B] and input a desired title.
- Click Save [C].
Last Updated: 10/22/2024