Awards
The Awards tool enables instructors to provide merit-based awards to students.
There are to types of awards:
- Badges - Badges are awarded based on any criteria determined by the instructor. They are meant to provide digital markers or icons that represent accomplishment throughout a course or program and can be displayed on student eLC profiles. Badges do not contribute to achieving a passing grade. However, badges can be motivating to students. For example, an instructor might create a badge that is based on posting fifteen discussion posts, or on perfect attendance, or on academic excellence.
- Certificates - Certificates are also awarded based on criteria determined by the instructor. Certificates are similar to Badges, but they include a PDF that users can print. Certificates also do not contribute to achieving a passing grade.
Learn about:
Creating a New Award
You can create awards that can be shared with other users in other courses or restricted to your course. If you restrict the award, it can only be added to the course offering in which you create the award.
- To create an award, first go to your course. Click Course Admin and from the Assessments area, select Awards.
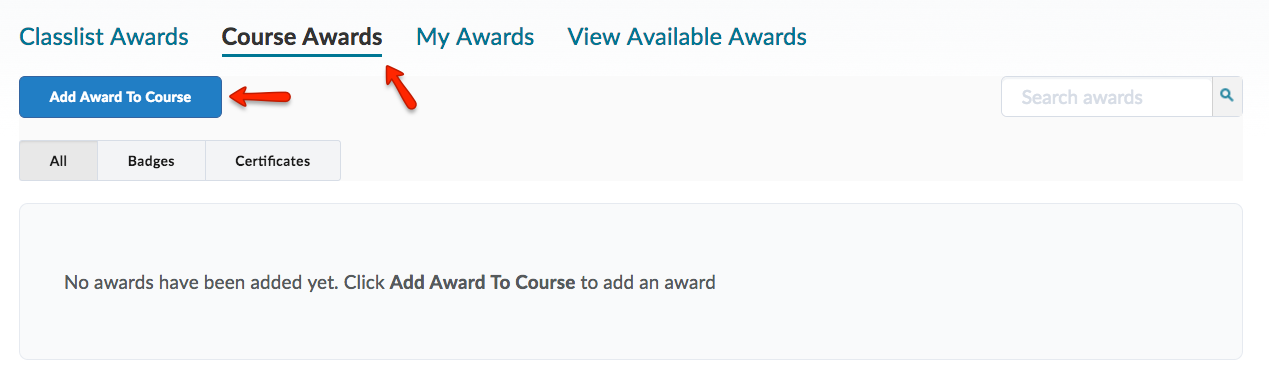
- Click Course Awards and click Add Award to Course.
-
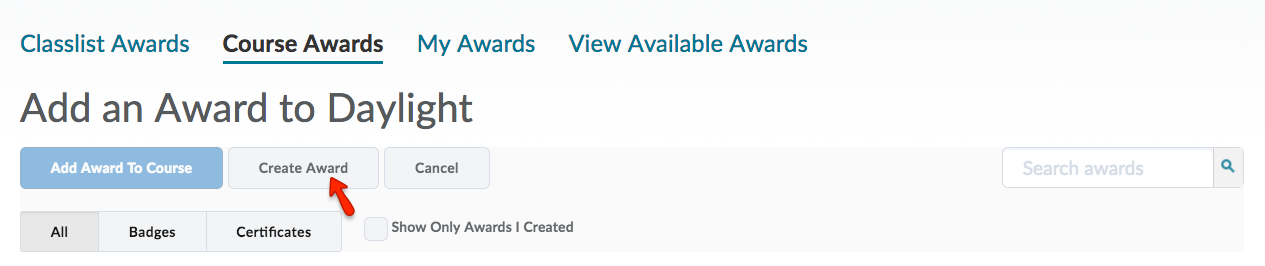
Click Create Award.
-
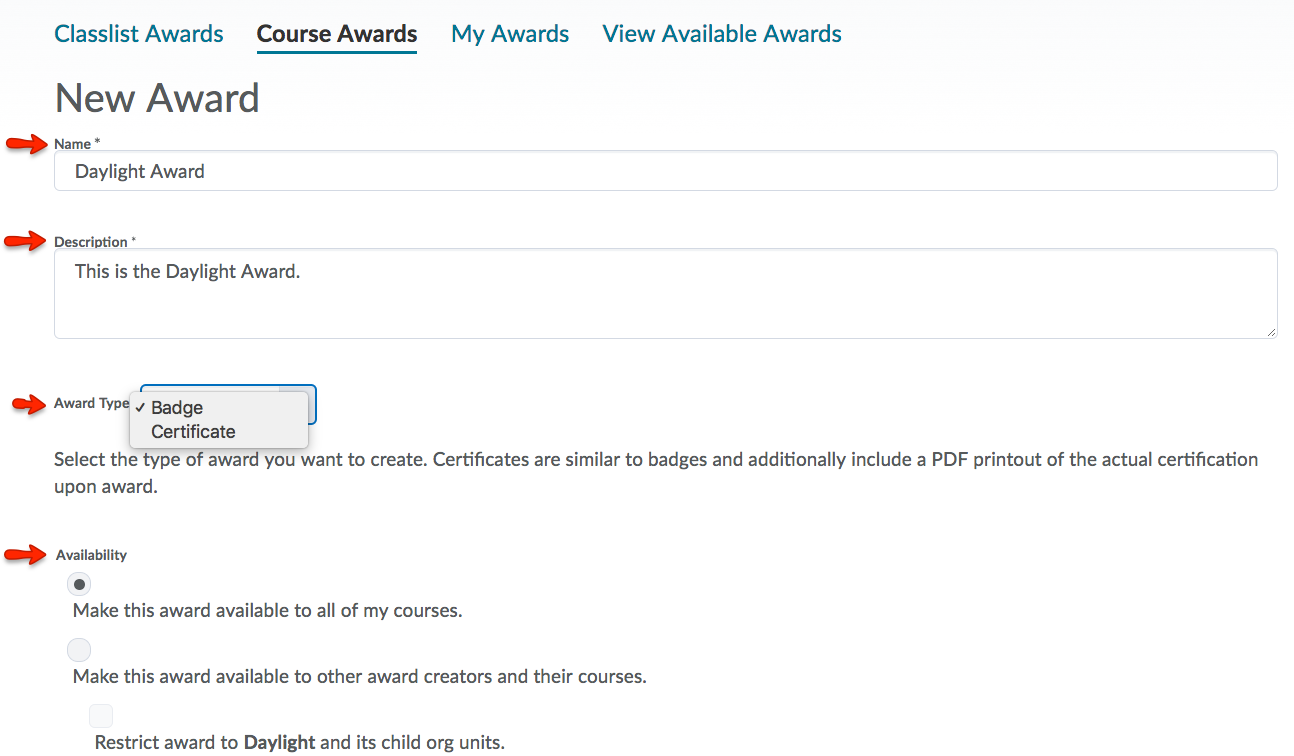
Choose the settings for your award. Enter a name and description for the new award. Select an award type from the drop-down list and the appropriate check boxes to indicate if you want the award to be available to the other instructors.
-
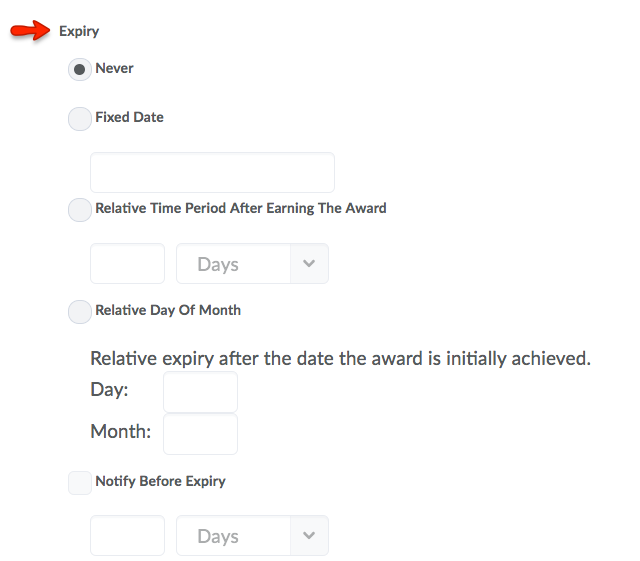
Select the expiration options for your award:
- If the award will not expire, select Never. Example: Certificates of merit for passing a course or Badges for perfect attendance
- If the award will expire on a specific date, select Fixed date. Examples: Certificates for a skills that must be renewed, such as first aid training
- If the award will expire on a day relative to the day the award was granted, select Relative Day of the Month. Example: Badges for Student of the Week
- If you want to notify the award recipient before an award expires, select Notify Before Expiry and indicate the number of days of lead time, if necessary
-
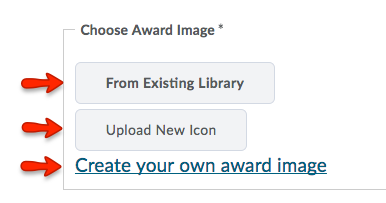
In the Choose Award Image area, you can choose the icon that represents your badge. You can upload your own icon, or use one of the badges in the Library. If you want to create your own award image, click Create your own award image. You will then be directed to Open Badges, a free website that allows you to create custom icons.
-
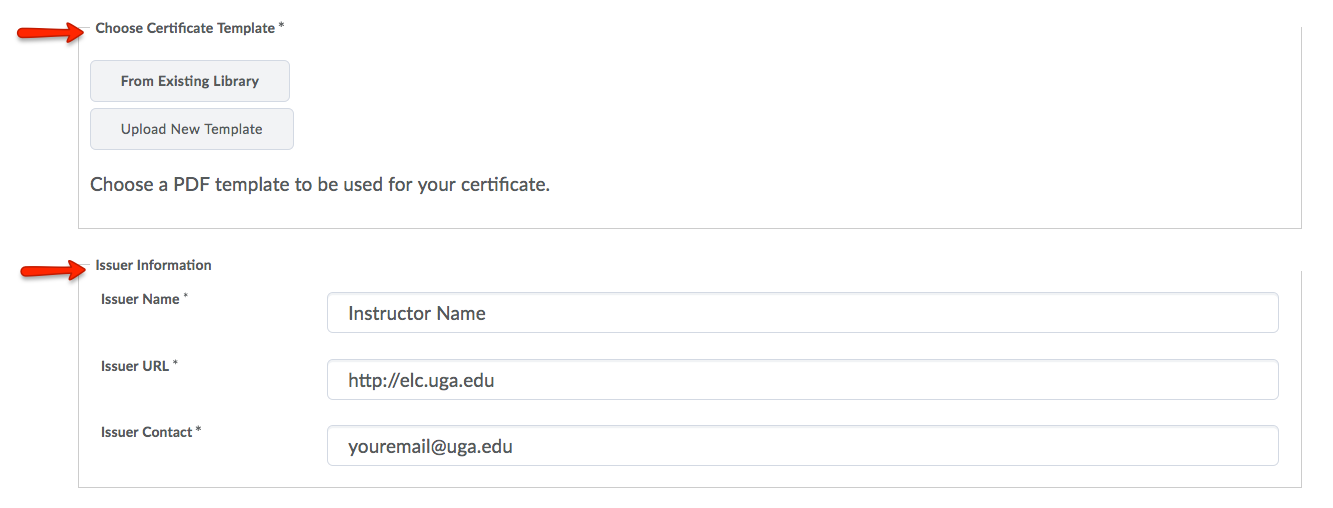
If you are creating a new certificate, in the Choose Certificate Template area, do one of the following:
- If the PDF template already exists in the image library, click From the Existing Library.
- If you want to add a new template to the image library, click Upload New Template.
-
Enter your name and email address under the issuer information.
-
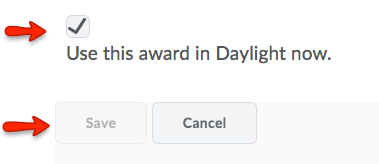
Ensure that the Use this award to the <current course> check box is correctly set.
-
Click Save. Now you can manually grant your award to students or add release conditions to automatically grant award.
Automatically Releasing Awards
Adding release conditions to an award ensure that the award can be automatically granted to a student once they've competed the specific conditions.
-
To do this, first go to your course. Click Course Admin, and from the Assessments area, select Awards
-
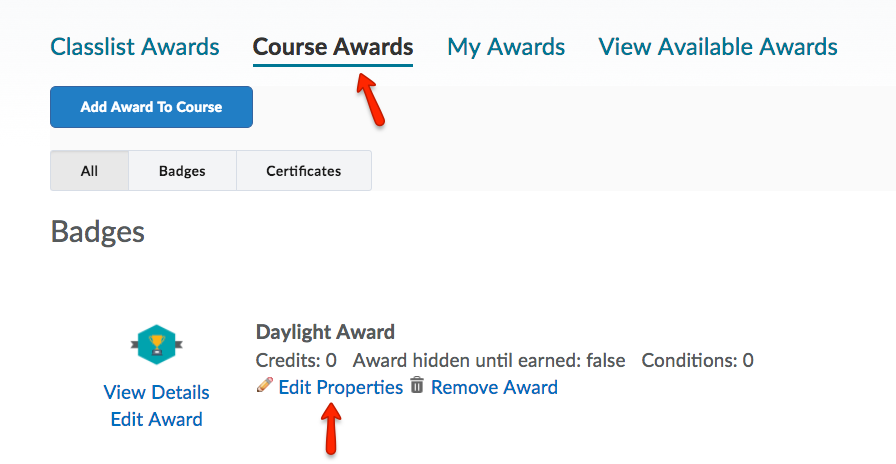
Click Course Awards.
-
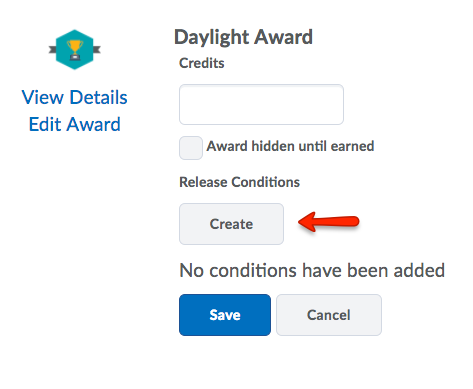
Find the award or which you would like to release conditions, and click Edit Properties.
-
Under Release Conditions, click Create.
-
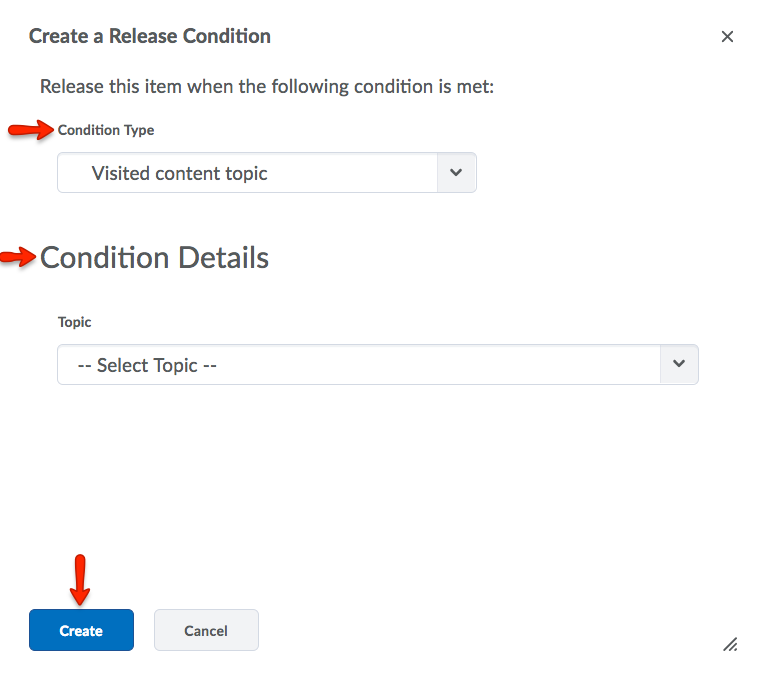
From the Condition Type drop-down list, select the release condition you want to apply to the award. You can apply multiple release conditions to an award. Complete the associated Condition Details. Click Create.
-
Click Save to apply to release condition to your award.
Manually Granting Awards
Manually granting an award means that an instructor can distribute an award to students as they see fit during any point in the semester.
-
To do this, first go to your course. Click Course Admin and from the Assessments area, select Awards.
-
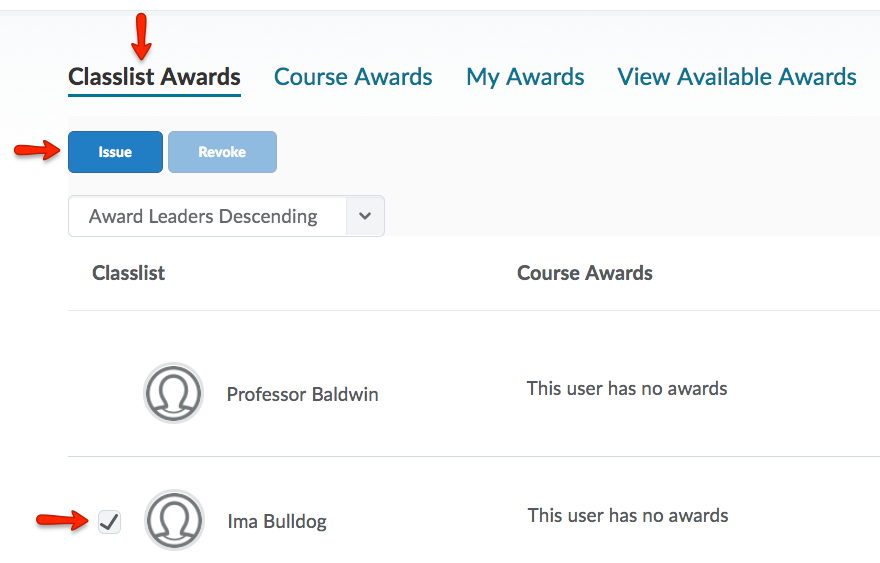
Click Classlist Awards. Select the students who will be receiving the award. Click Issue.
-
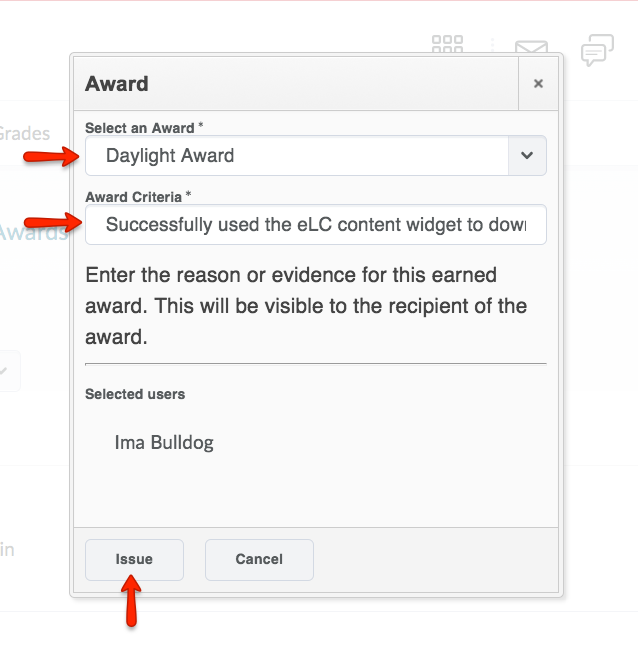
Select an award from the drop-down list and enter a reason for granting the award in the Award Criteria field. Click Issue.
-
The badge will now appear next to the students in your Class Awards list.
