Exporting and Importing the Gradebook
Once you've set your gradebook up in eLC, you can both export the contents (as either a .csv or .xlsx file) and import new information (by way of a properly formatted .csv or .xlsx file).
Learn about:
Exporting the Gradebook
- Navigate to the desired course and select Grades from the course navbar.
- Select the Enter Grades tab from the grades navigation menu.

- Click the Export button.

- Select the items you wish to export. Your options include:
- If you have groups set up in eLC: you can restrict your download to only a selected group of students (option will not appear if you do not have groups in your course). Be sure to select Apply if you use this option to restrict the download to a specific group of students.
- Key field: Org Defined ID (UGA student identification number) and/or, Username (MyID)
- Sort by: This option lets you choose how entries will be sorted, upon download.
- Grade Values: Points grade (number of points a student received) and/or Grade Scheme, grade values.
- User Details: First name, last name, and/or user details, and eLC group membership.
- Choose Grades to Export: Use the checkboxes to select or de-select which gradebook items to include in your
download.

- Select either Export to CSV or Export to Excel.

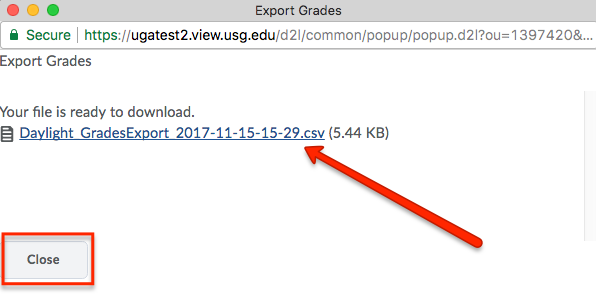
- A pop up window will appear with a link to your exported Grade Book. Click the link
to download the file to your computer, then click the Close button to return to your course.
Exporting Final Grades for Athena Upload
Decide if you will manually assign letter grades after download, or if you would like eLC to make that assignment for you. To check or adjust your grade scheme:
- Open Grades.
- Select the chevron beside Adjusted Final Grades and select Edit.
- Select the Grade Scheme Option with + and -.

- Export your grades using the export instructions above, with the following selections:
- Key Field: Org Defined ID
- Grade Values:Grade Scheme
- User Details: Last Name & First name (optional)
- Grade to Export: Final Adjusted Grade
- Adjust your exported spreadsheet by inserting columns to match the Athena upload template (PDF) (also available via the Registrar’s training materials page.
Note that your Term Code is an eight-digit number consisting of the four-digit calendar year plus either 08 (Fall), 02 (Spring), or 05 (Summer). For example:- Fall 2021 term code: 202108
- Summer 2022 term code: 202205
Importing the Gradebook
You can enter grades in another application and import them into eLC using a .CSV or .XLSX file.
The following outlines the steps to import your completed Grade Book as either an .XLSX (MS Excel) file or a .CSV (Comma Separated Value) file that can be opened in Microsoft Excel or other spreadsheet programs to eLC.
- First, navigate to the desired course and select Grades from the course navbar.
- Select the Enter Grades tab from the grades navigation menu.
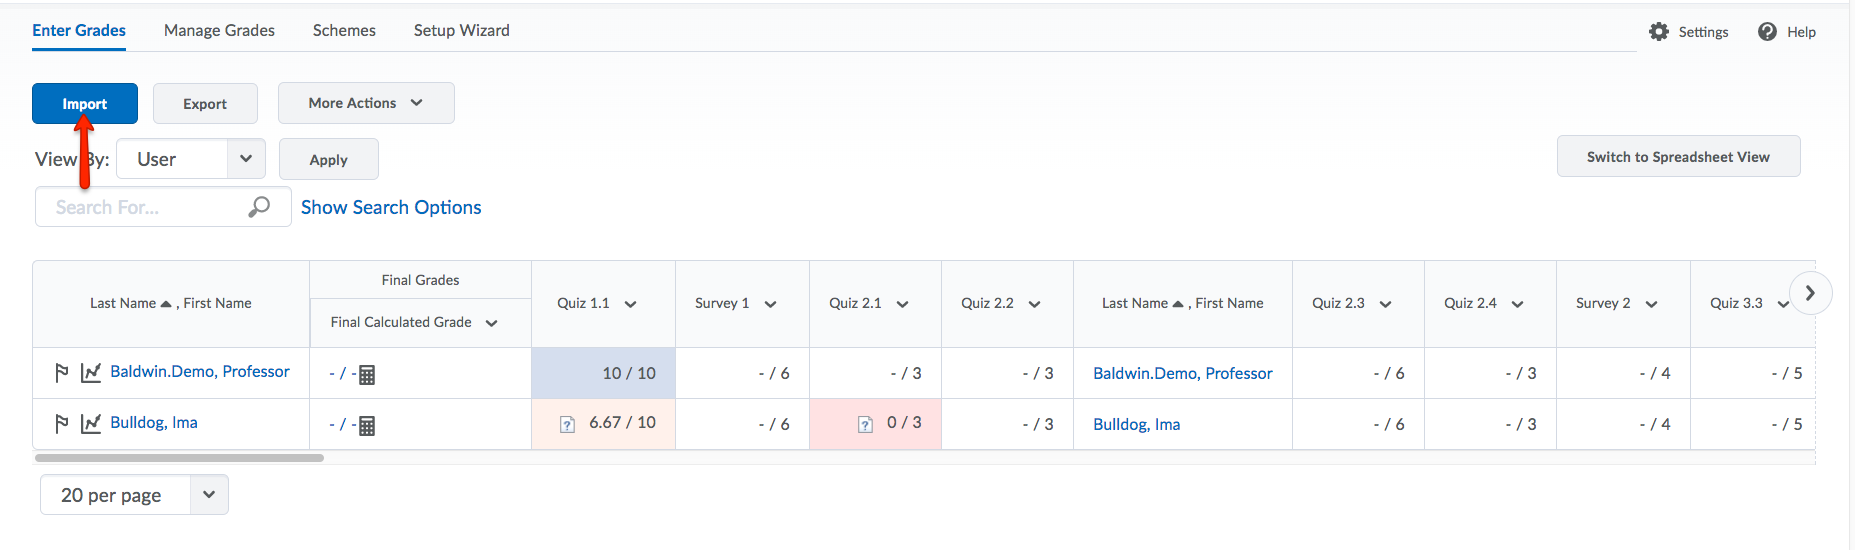
- Under Enter Grades, click Import.
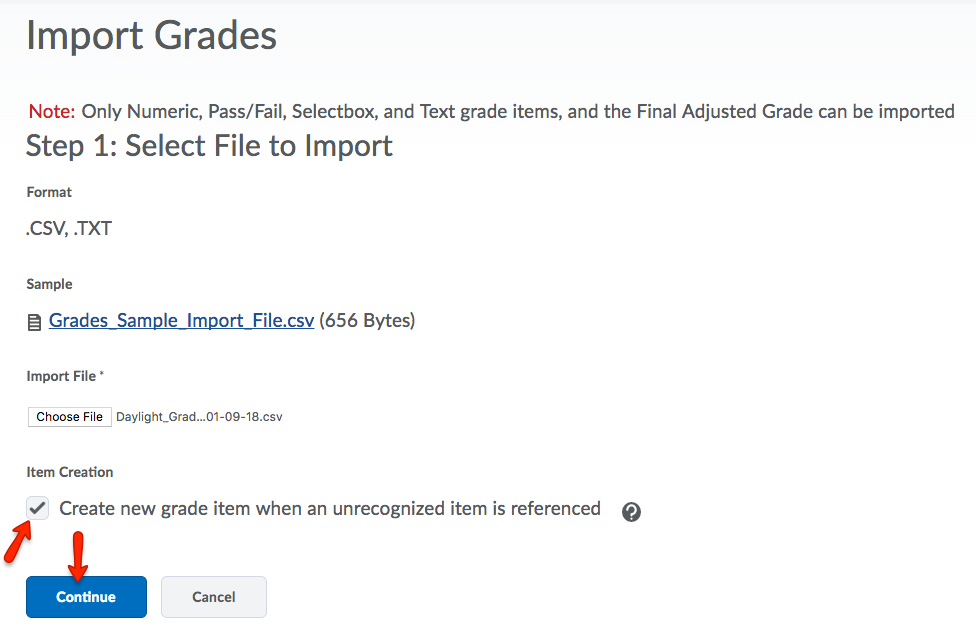
- Under Import Grades, click Choose File to choose .csv file.
Note: If you are using a Mac, make sure you have saved your CSV file as a Windows CSV. Additionally, it is important to keep a backup copy of the file before importing anything.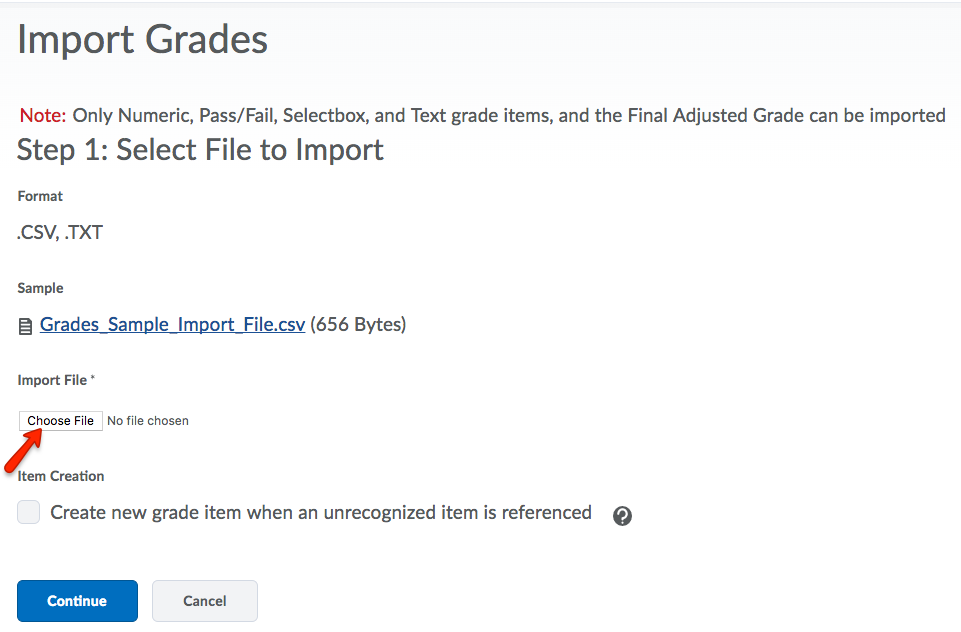
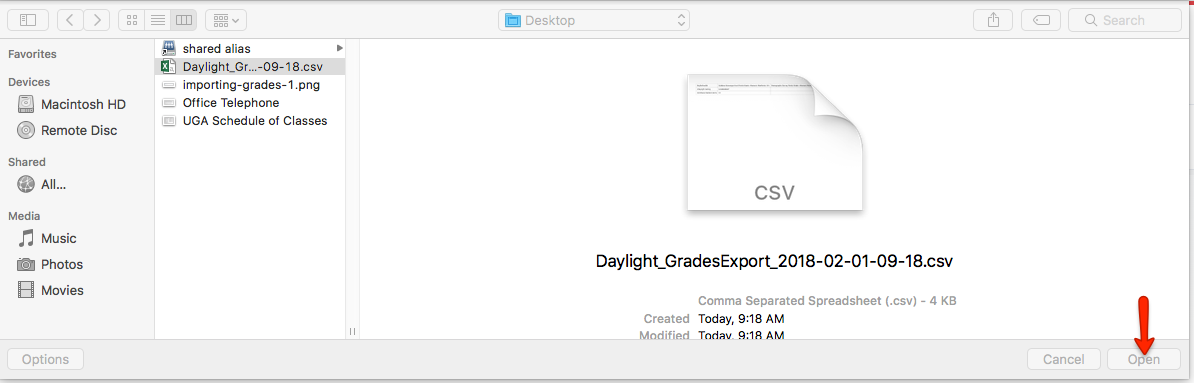
- Select file and click Open.
- If you have already created grade item in eLC for the items on your import file, they
will self populate. If you have not created Grade Items for these items, select Create new grade item when an unrecognized item is referenced.
Note: If you want to enter grade information using Excel, we recommend creating all of your grade items in eLC first, THEN exporting your gradebook to Excel and adding grade information. This ensures that all the appropriate header information is there when the CSV file is imported back into eLC. - Click Continue.
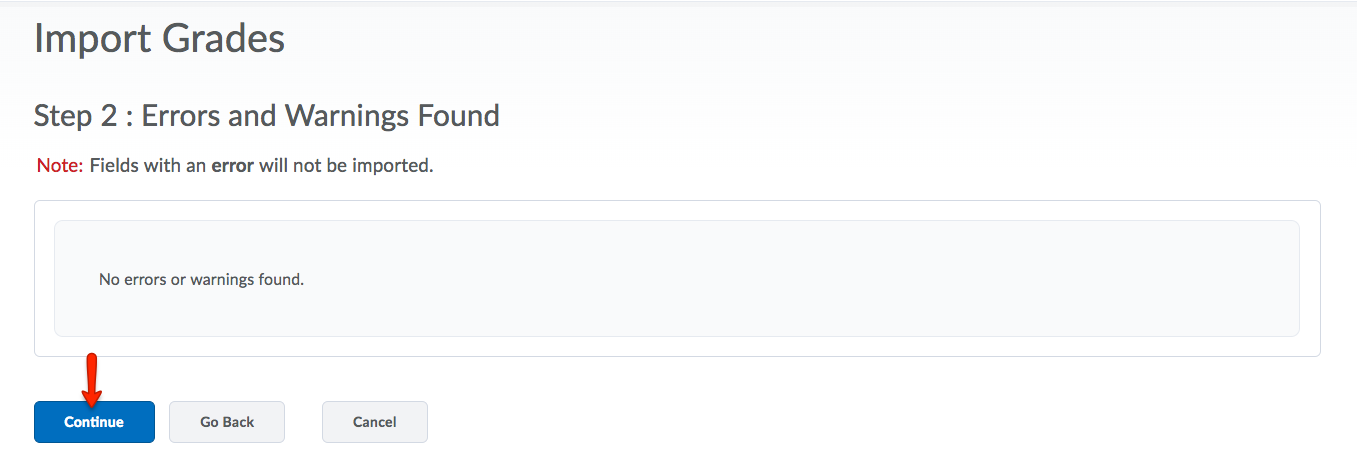
- If no errors, click Continue. If errors occur, review sample import.
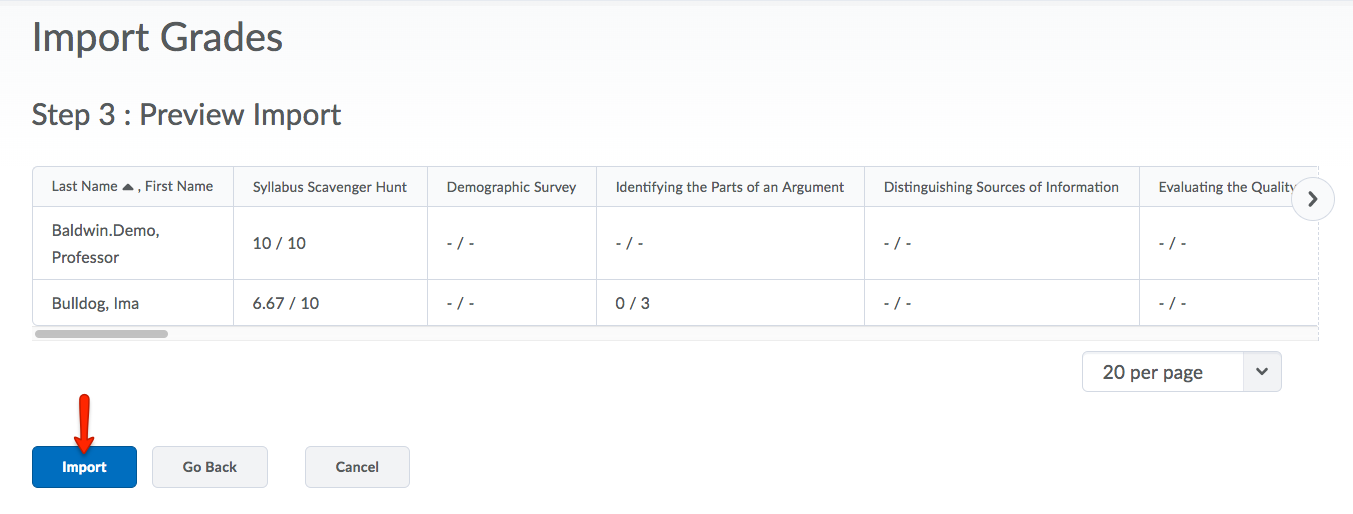
- Preview imported grades and click Import.
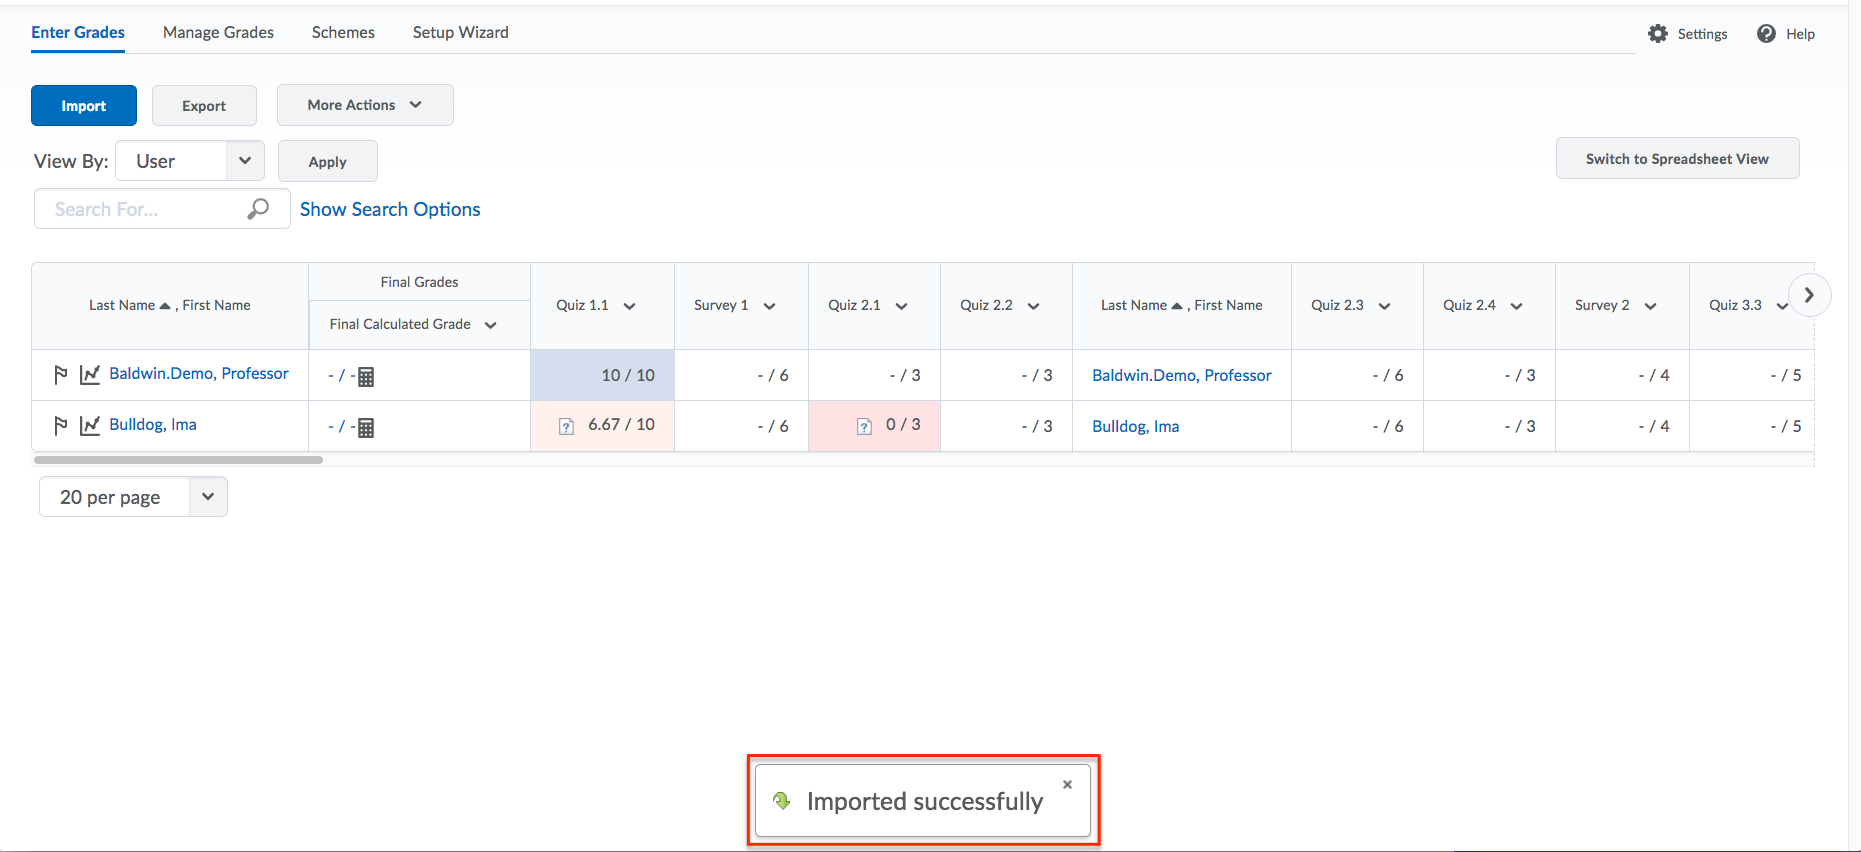
- When your grades have finished importing, an Imported Successfully message will then appear.
Troubleshooting
What if I get an error message?
The following steps detail various options to pursue if you receive an error message:
- Create your grade items in eLC FIRST, and then export the CSV file. This will ensure that all appropriate header information is in the file.
- Check all headings in Row 1 for accuracy including OrgDefinedID. Make sure all spaces, caps and symbols are accurate.
- Check all grade item headers for Points Grade suffix.
- Check last column for End-of-Line indicator and #.
- Review the sample import on the import grades page.