
Instructors can use the groups tool to organize users’ work on projects and assignments or to create special work areas for users with different learning needs. Users can belong to multiple groups within the same course. For example, each user can simultaneously belong to a group for class projects, a group for special interest discussions, and a group for advanced users. Each group can have its own discussion forums and assignment dropbox folders to work in. Instructors can grade members of groups individually or as a team.
Creating Groups −+
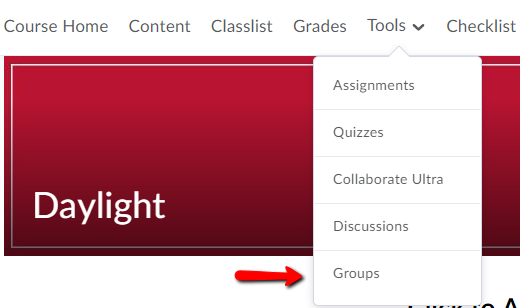
- Select Tools from the course navigation bar and then click Groups.

- Under Manage Groups, click the New Category button.

- Course instructors can create multiple sets of groups within a course such as discussion groups, assignments, units, etc. and multiple group categories to organize those groups. To start, create a category for a set of groups by filling out the Category Information form.
- First, create a category name and description.

- Choose a group enrollment type out of the following options:
- Number of groups – no auto enrollment: students will be automatically enrolled.
- Groups of number: enter the maximum amount of members that should be enrolled in each group.
- Number of groups: enter the amount of groups desired.
- Groups of number – self enrollment: enter the maximum number of members that should be enrolled in each group. Students enroll themselves in their preferred groups.
- Number of groups – self enrollment: enter the amount of groups desired. Students enroll themselves in their preferred groups.
- Number of groups, capacity of number – self enrollment: enter (1) the maximum number of members to be enrolled in each group and (2) the amount of groups desired. Students enroll themselves in their preferred groups.
- Single user, member-specific groups: this is a private group for individual students.
- If you would like, you can also add a group prefix.

- When using groups of # or # of groups, it is optional to:
- Have the system to automatically enroll new users.
- Have the system randomize the user selection and avoid selection based on order in the class list.
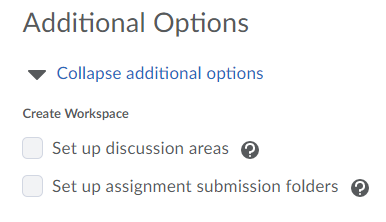
- You can also set up discussion areas and/or assignment submission folders for each group. This is optional.
Note: If you do not initially choose to set up discussion areas or assignment submission folders, you can set up these tools after the fact from the Discussion and Assignment Submission Folders tools.
- When all settings are complete, click Save.

Enrolling or Removing a Student from a Group −+
- Select tools from the course navigation bar and then click Groups.
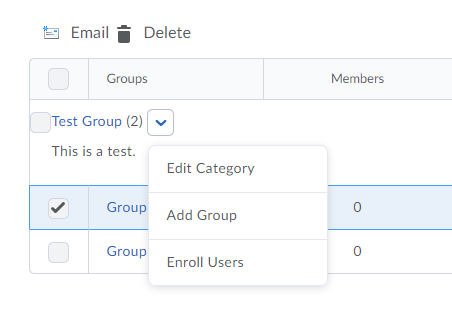
- Select which group to enroll students in, click the drop down menu, and click Enroll users.
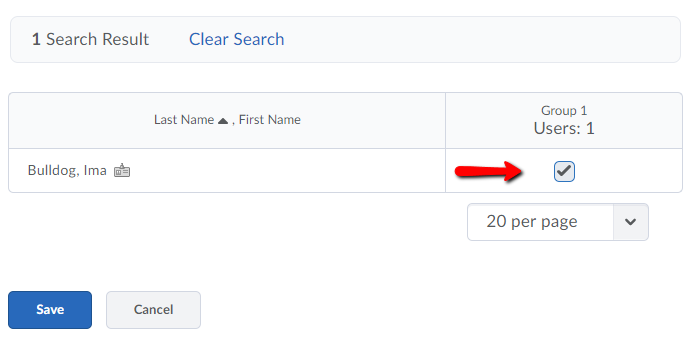
- To enroll or remove a student from a group, search for a student’s name using their first and/or last names. You can choose if your search should include the pool of students enrolled or not enrolled in the groups.
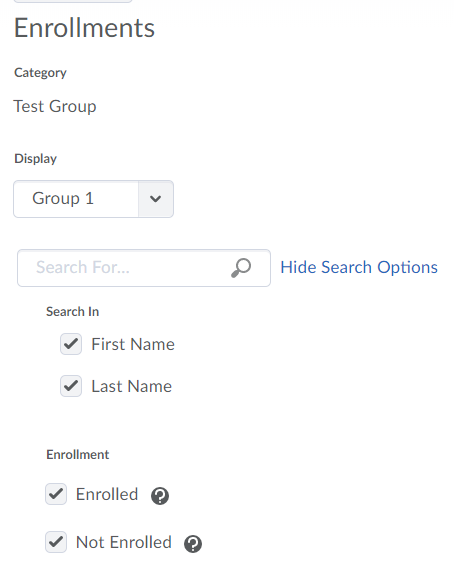
- The search results will show the student list. Select the check box by the student’s name and click save. The student will be added to the group.
- Click Save after you finish enrolling or removing students from a group.