Sharing
Media that is uploaded to Kaltura can be shared a variety of ways within eLC.
Learn about:
- Sharing Media within the Content Tool
- Sharing Media through Insert Stuff
- Embed Settings / Allow Media Download
- Sharing Media through a Link from My Media
- Sharing Media in the Kaltura Course Gallery
Sharing Media within the Content Tool
To share video content with your students in your eLC course, upload it to Kaltura Audio and Video. Video in My Media can be uploaded anywhere in eLC using the text editor.
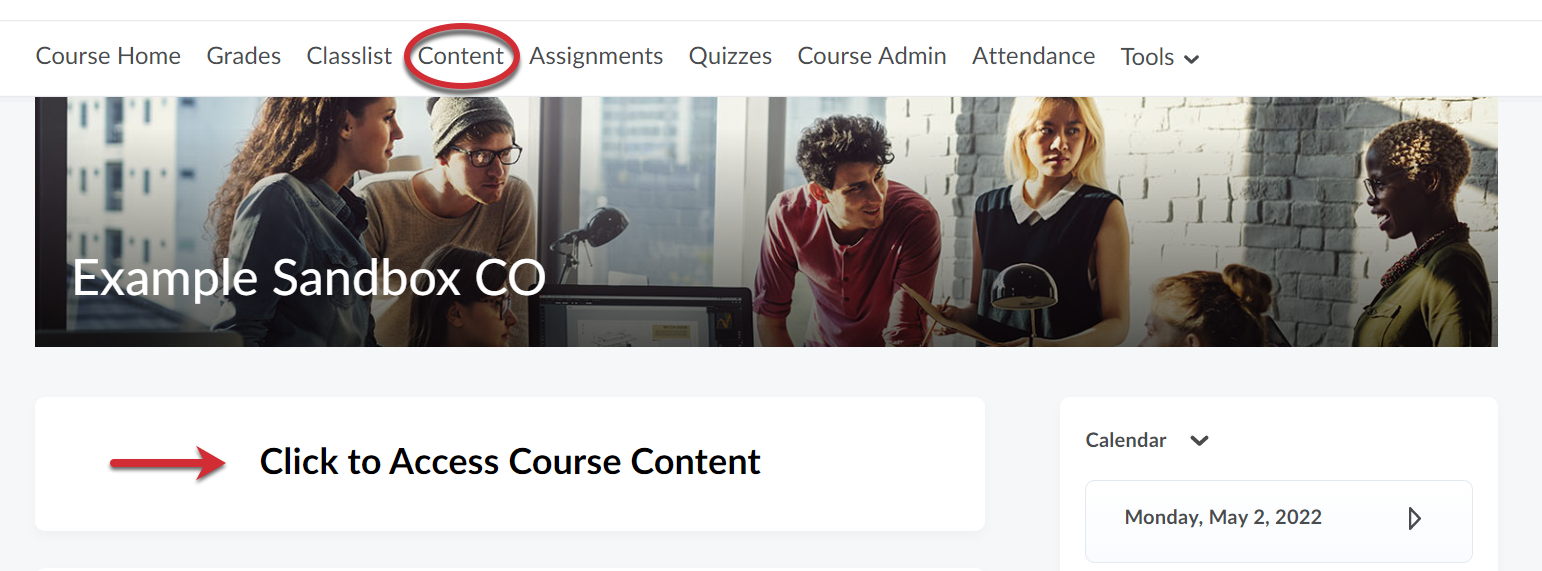
- To begin the process of uploading media within the Content tool, first, click Content from your course navbar or click Click to Access Course Content.
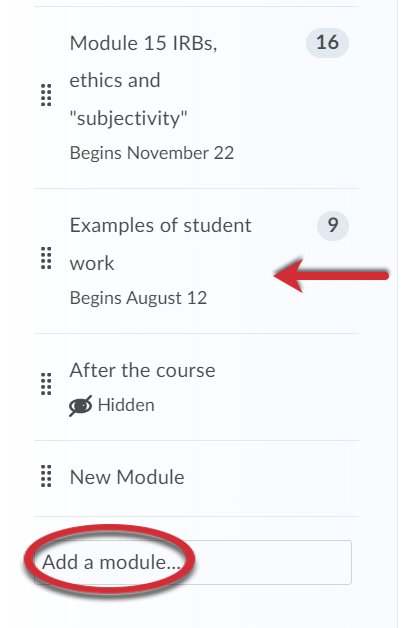
- Create a module by clicking Add a module..., or click on an existing module.
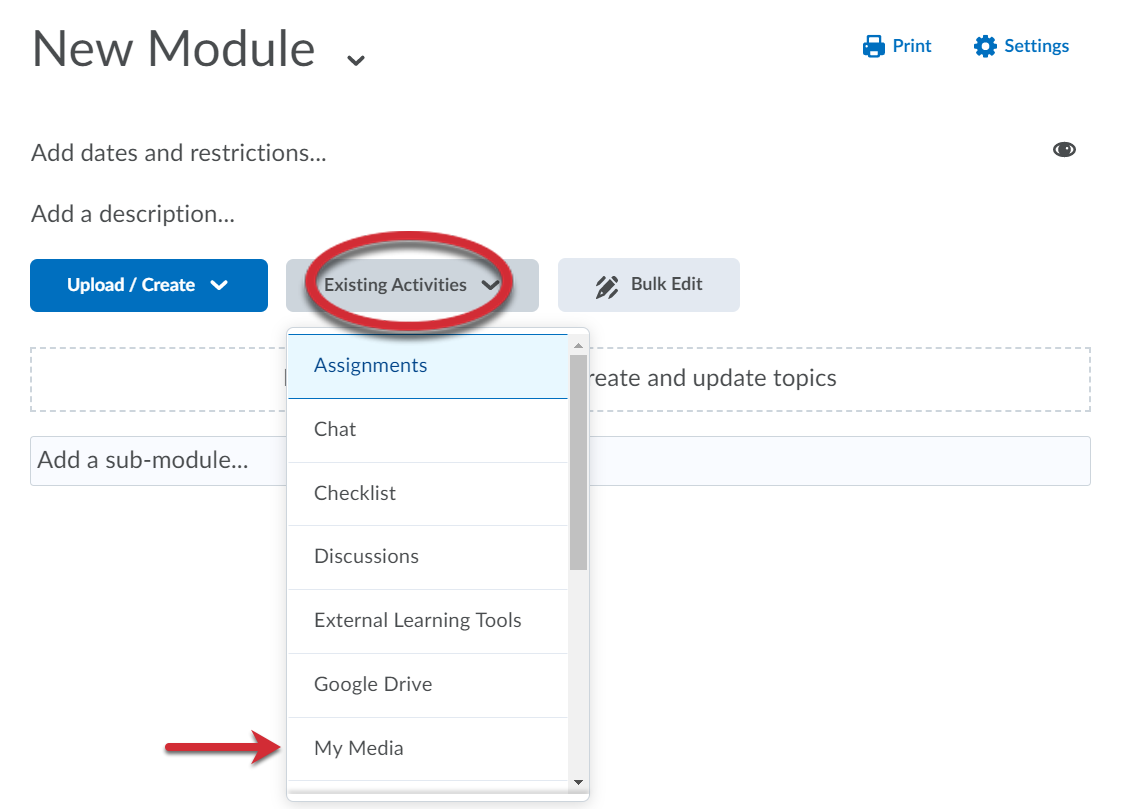
- Once you are within the module, click Existing Activities. Then, select My Media.
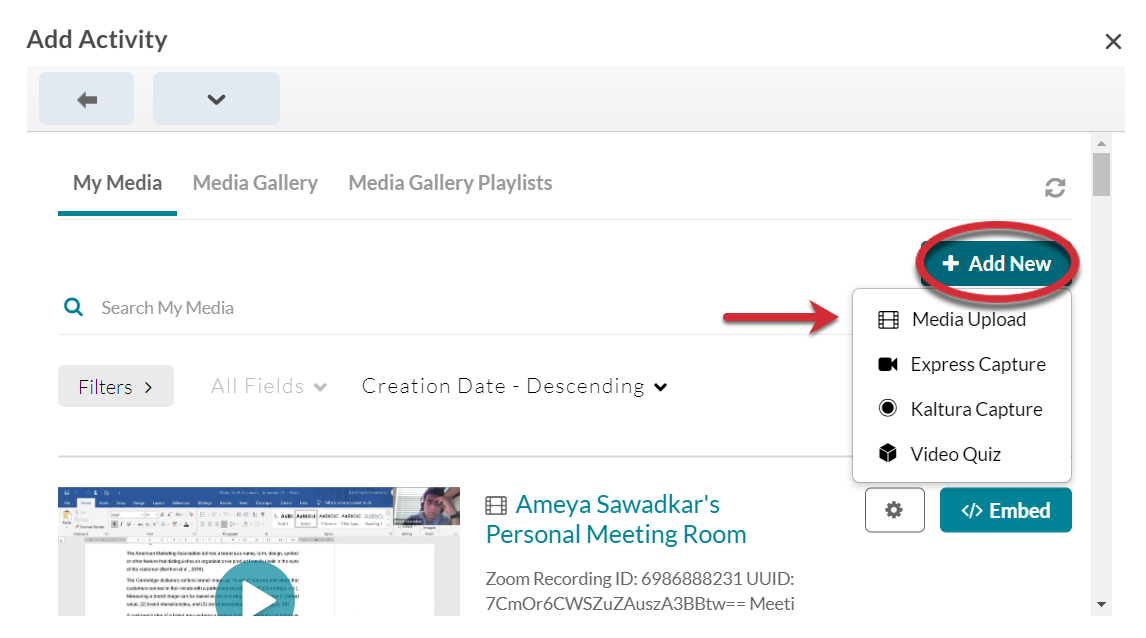
- If the video has already been uploaded to My Media, select a video to embed within
the Content tool. If not, click Add New. Then, select Media Upload.
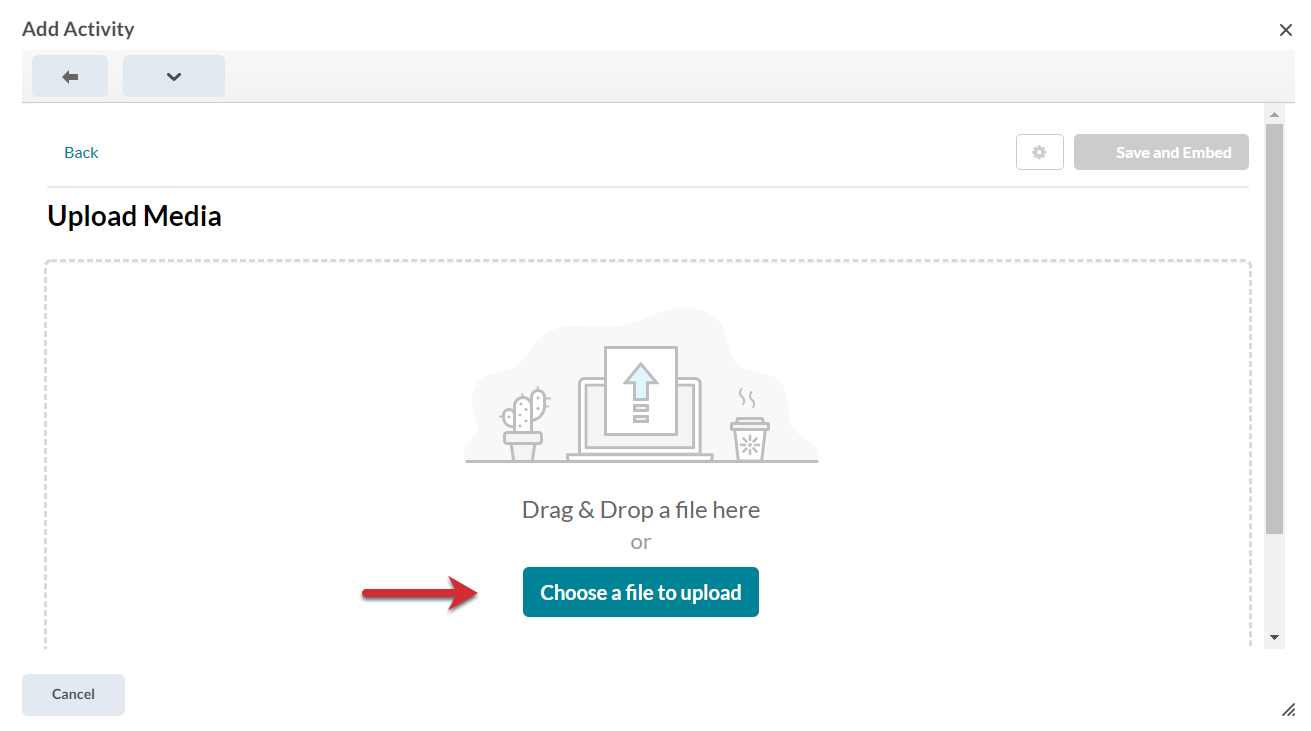
- Either Drag and Drop a file within the Upload Media area or click Choose a file to upload and locate the video file you wish to upload.
- Once your file has uploaded, give it a name and a description. Click </> Save and Embed.
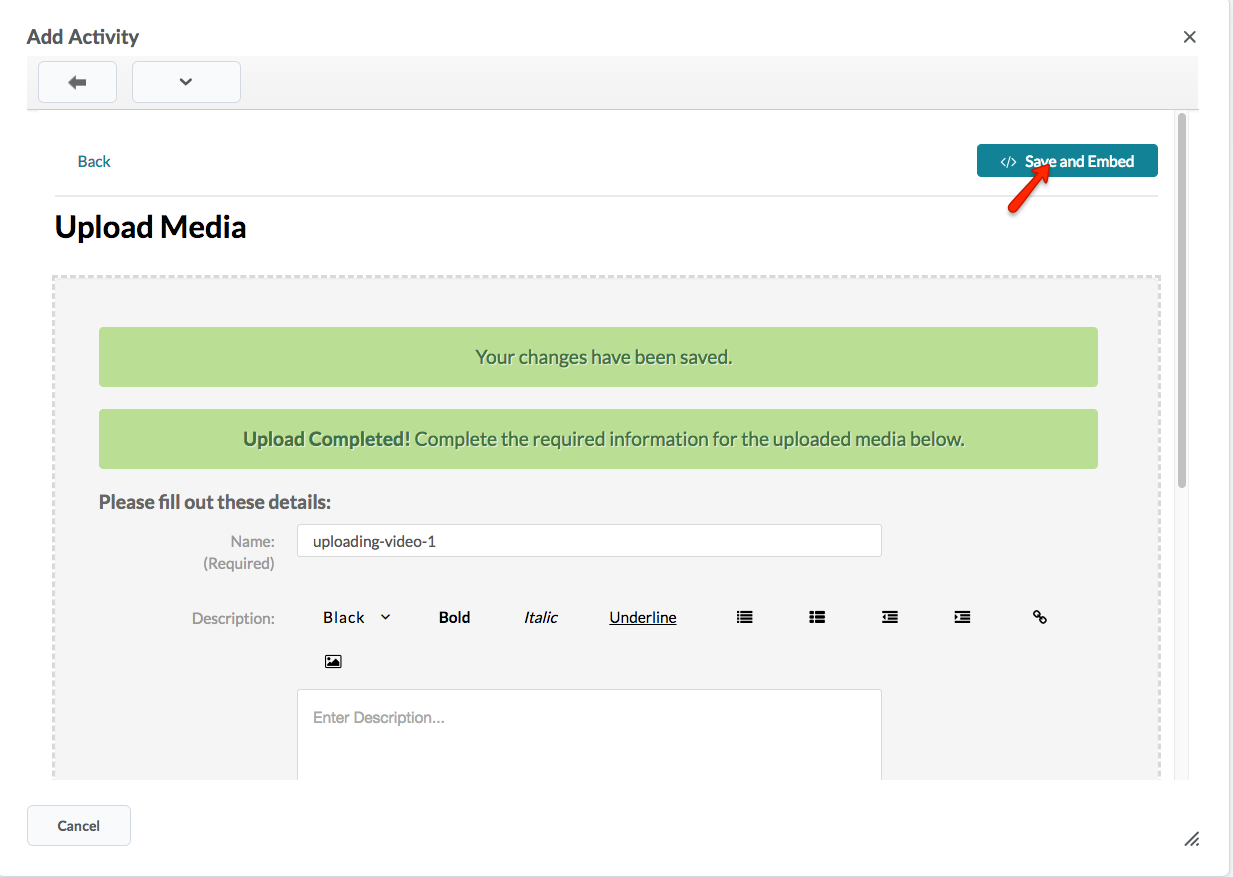
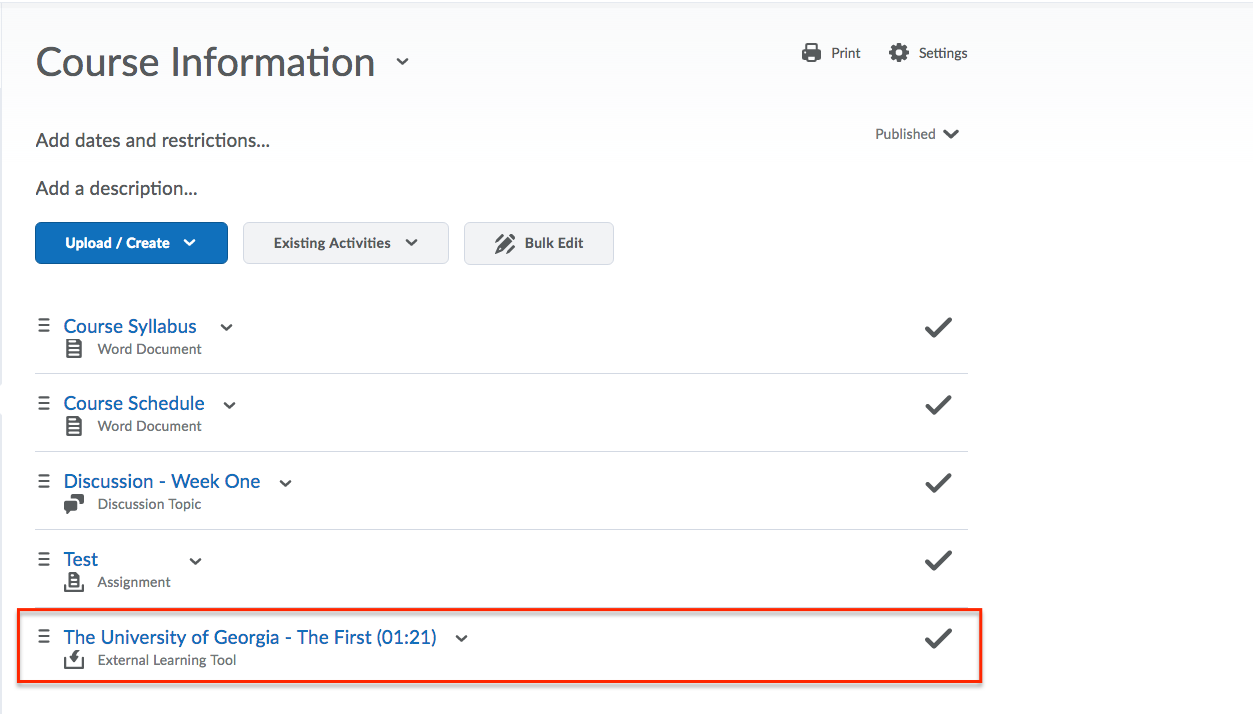
- Your uploaded media should now be featured within the Content tool within your selected
module.
Sharing Media through Insert Stuff
If you want to share video with your students in your eLC course, you can upload video to Kaltura Audio and Video Kaltura Audio, and video can be uploaded anywhere in eLC there is a text editor, including discussions, assignments, and within the Content tool (as illustrated above).
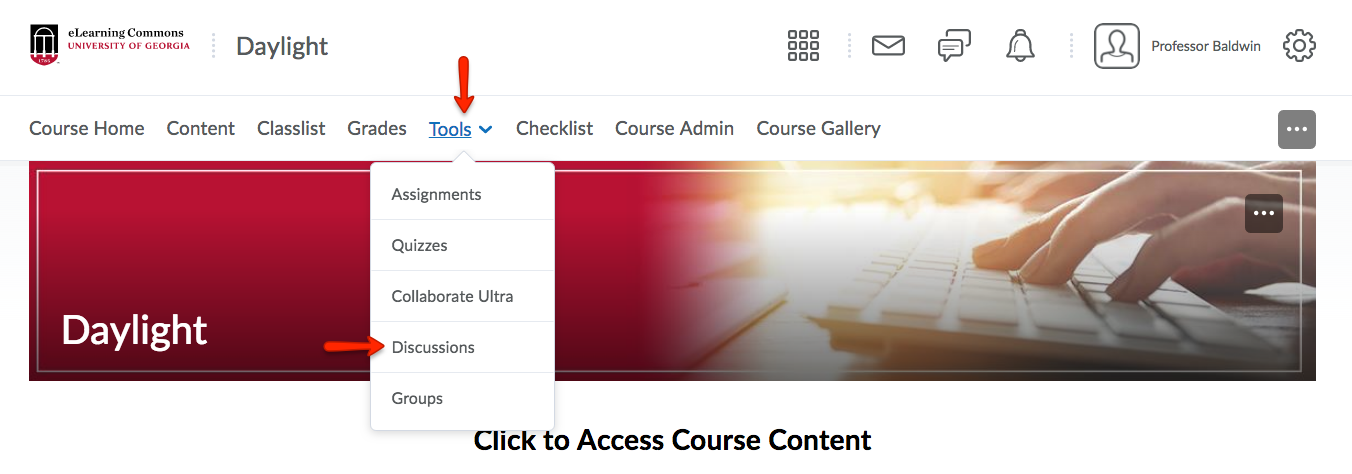
- For the following tutorial, media will be shared using the Discussions tool. To begin the process of uploading media to a discussion post, first, click Tools from your course navbar, and then select Discussions.
- Select the discussion topic in which you would like to share a video, or click New to create either a New Forum or a New Topic.
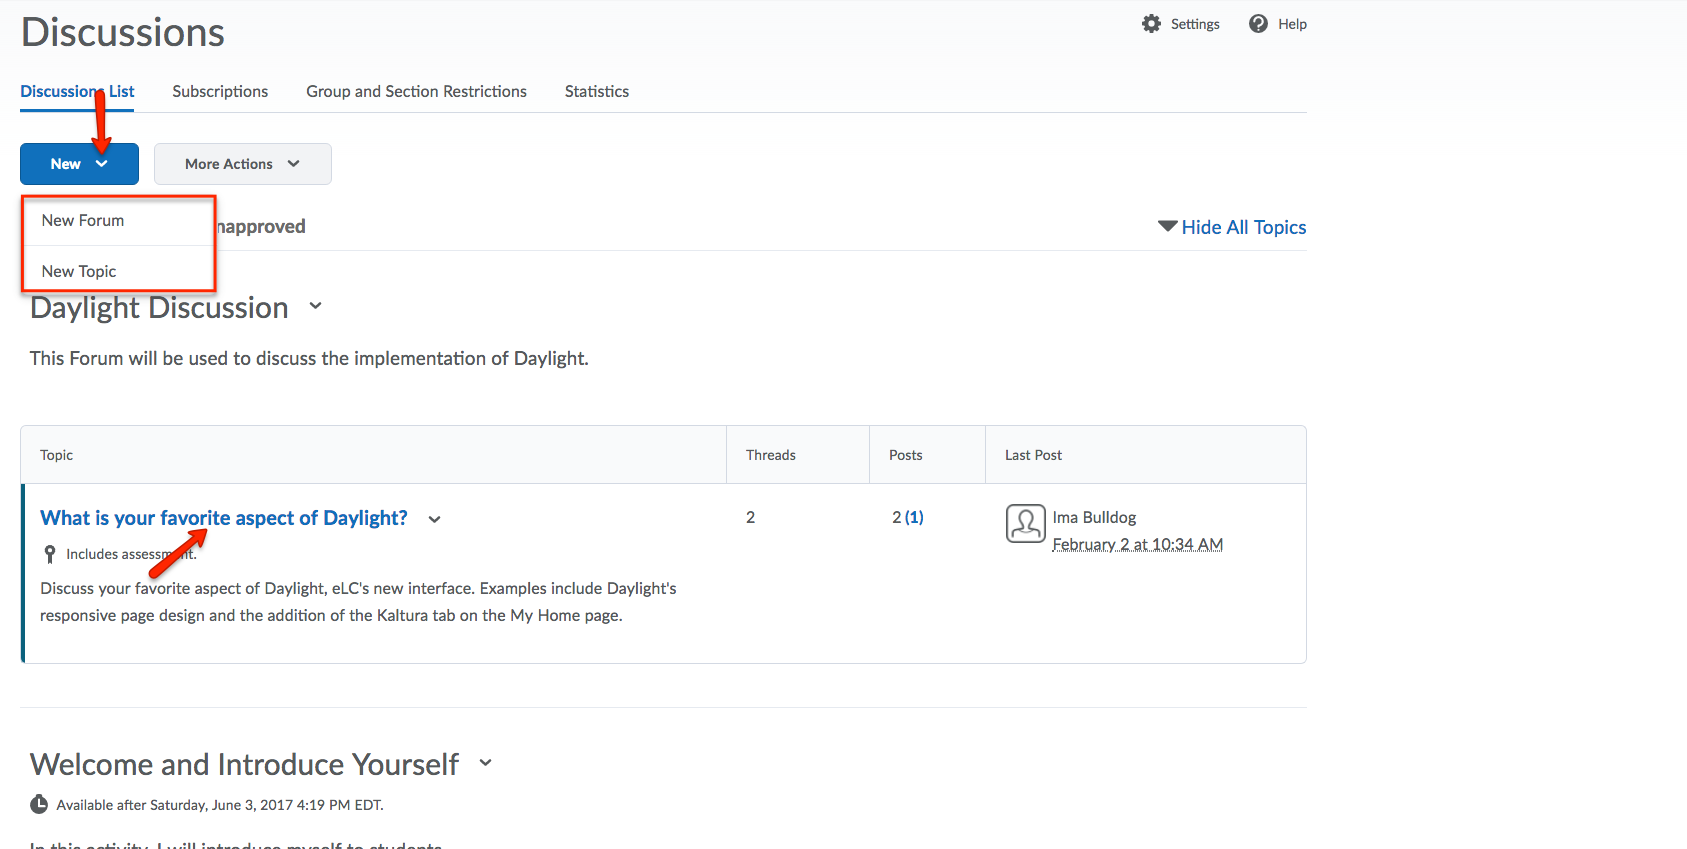
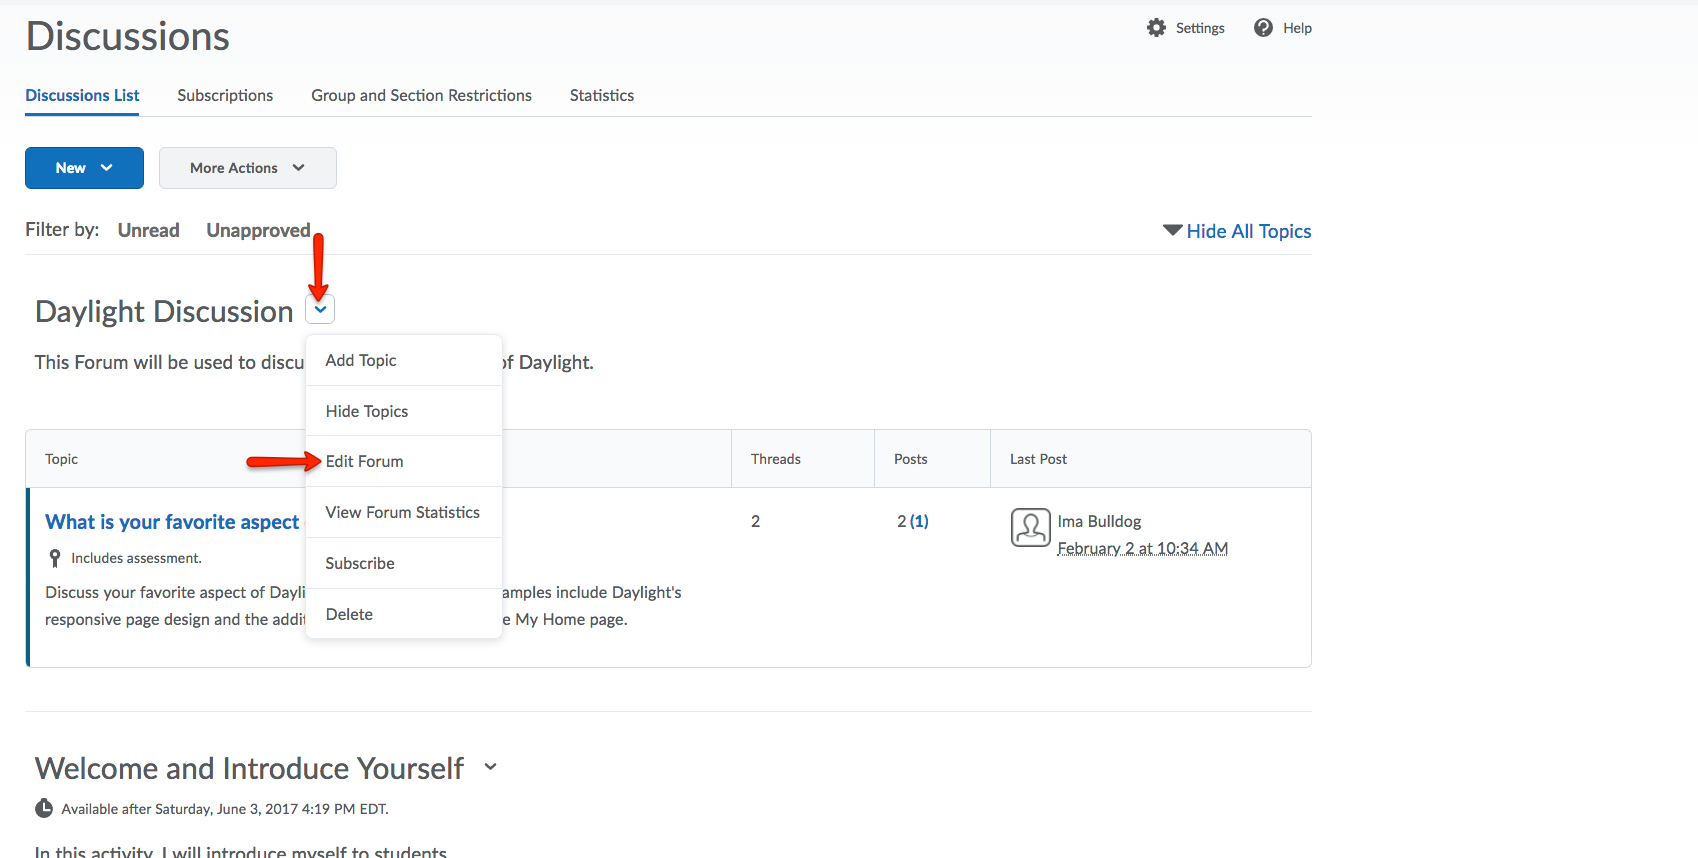
- Preexisting topics and forums can also be edited to include a shared video. To edit
a topic or forum, click the dropdown menu of the discussion topic or forum. Then, select either Edit Topic or Edit Forum. For this tutorial, a new forum will be created.
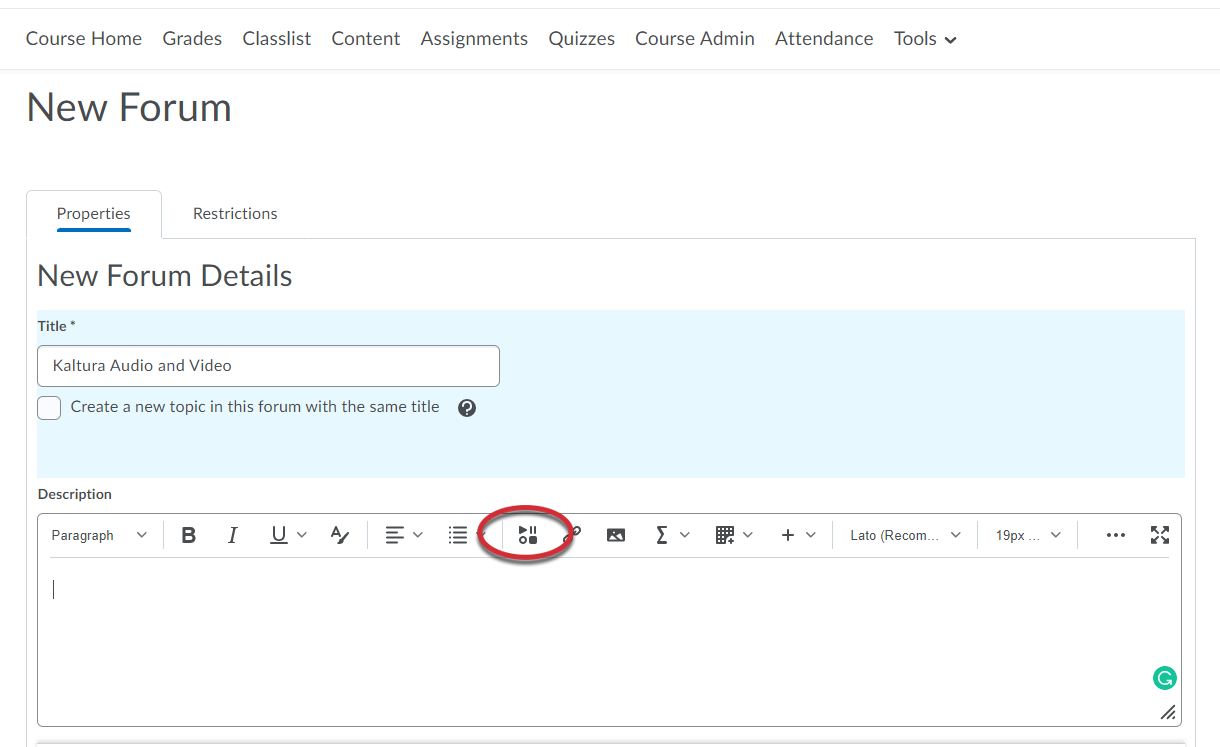
- To share video while creating or editing the forum or topic, within the text editor,
click Insert Stuff, and find the icon on the tool bar that is made up of play, pause, stop and record
symbols.
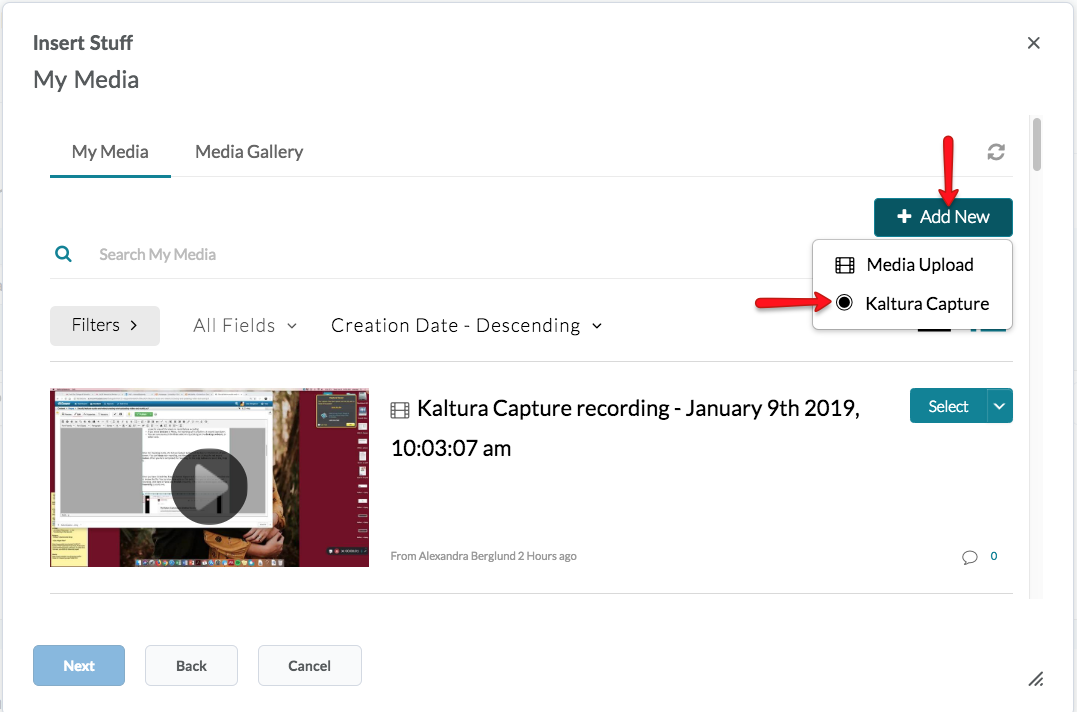
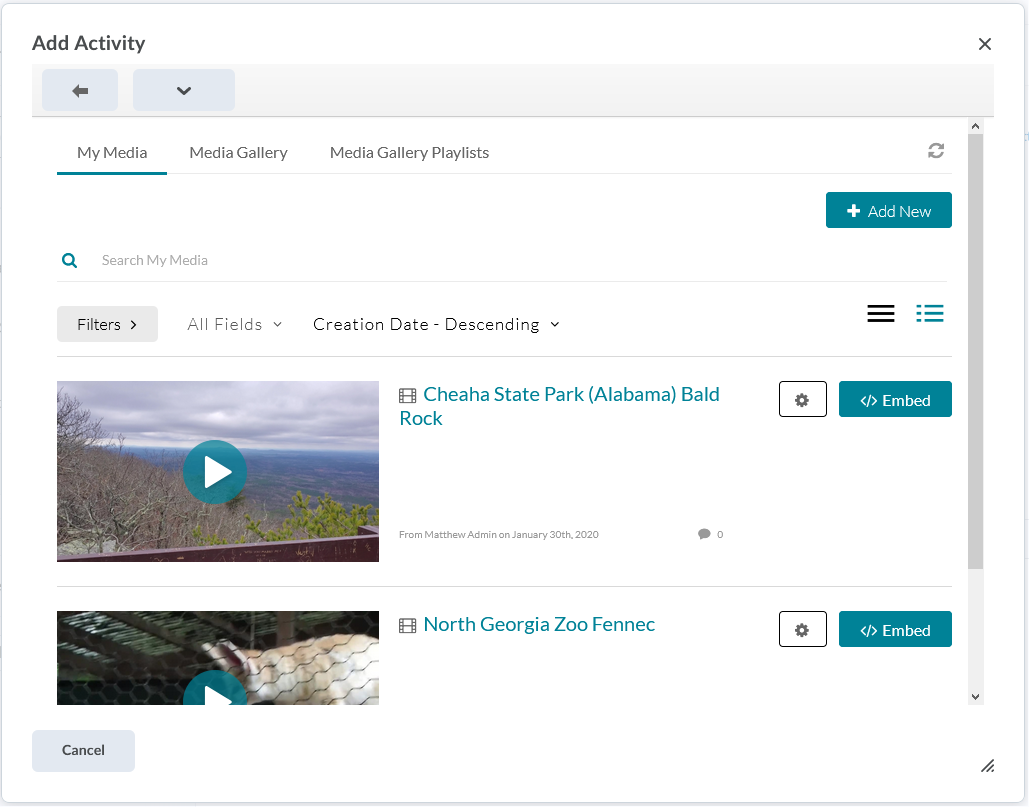
- Select My Media.
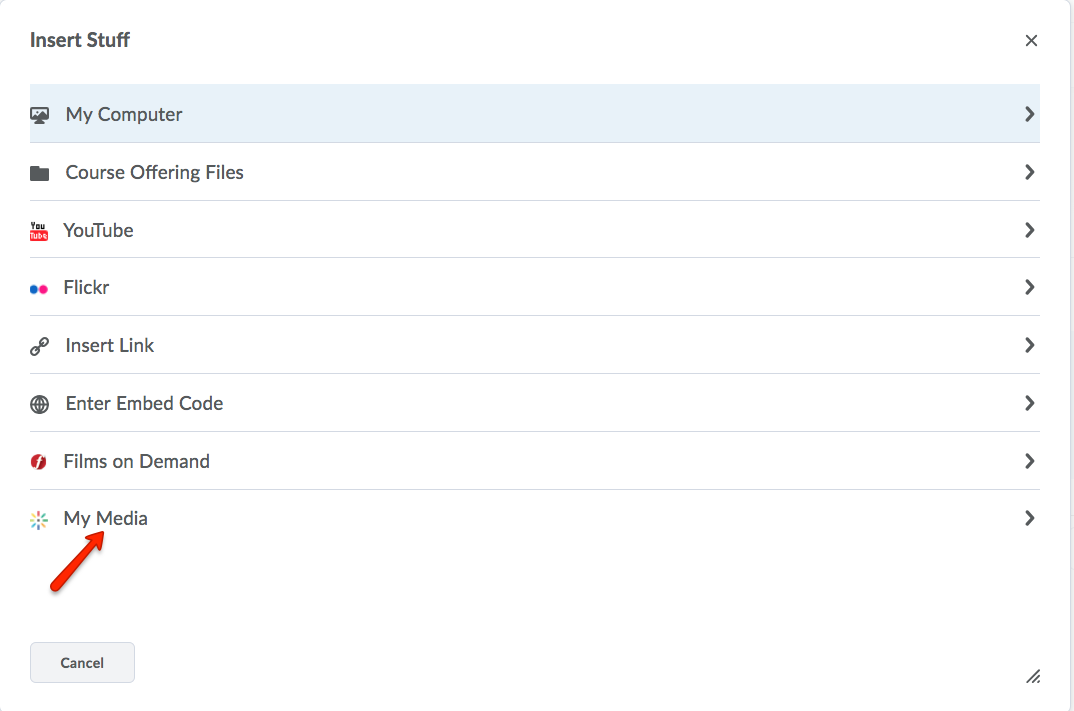
- At this point, you will see a list of any videos you have previously uploaded to Kaltura. You may choose one of the previously uploaded videos, or, if you click Add New, you have the option to select Kaltura Capture or Media Upload. To upload an existing video, select Media Upload.
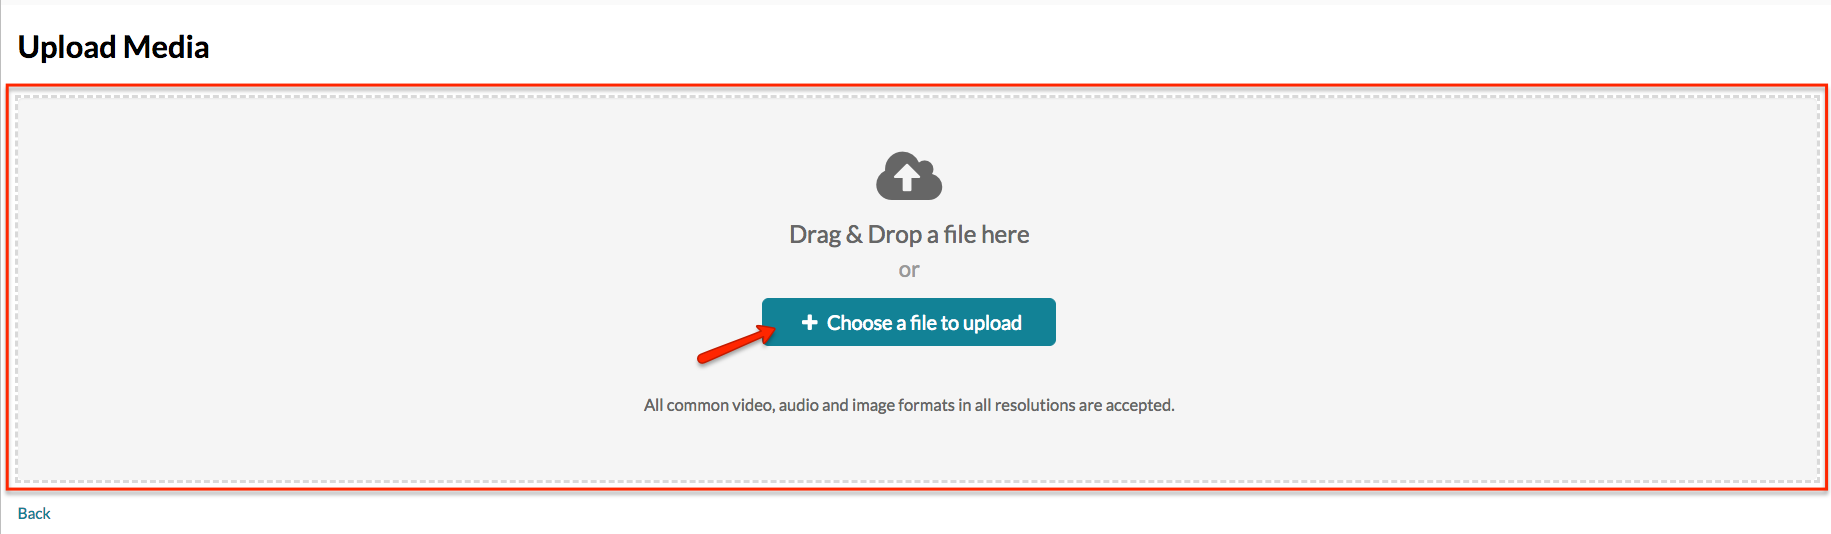
- Either Drag and Drop a file within the Upload Media area or click Choose a file to upload and locate the video file you wish to upload.
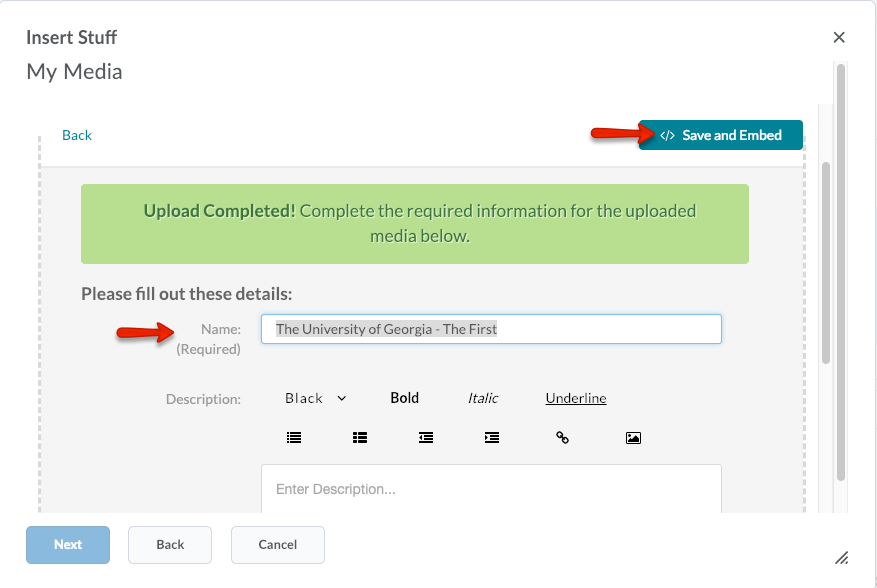
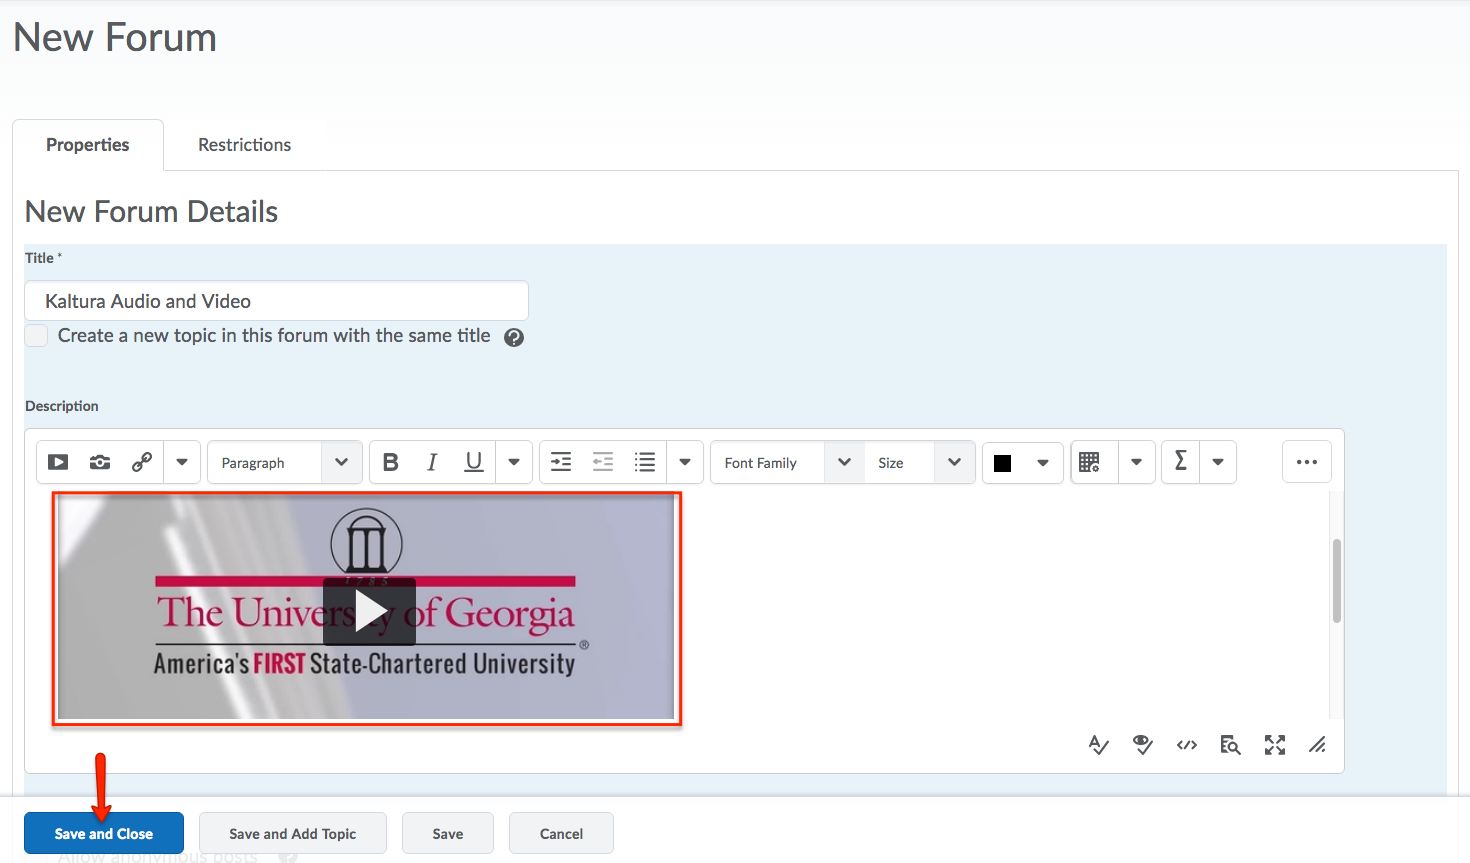
- Once the file has uploaded, give the file a Title and Description. Click </> Save and Embed.
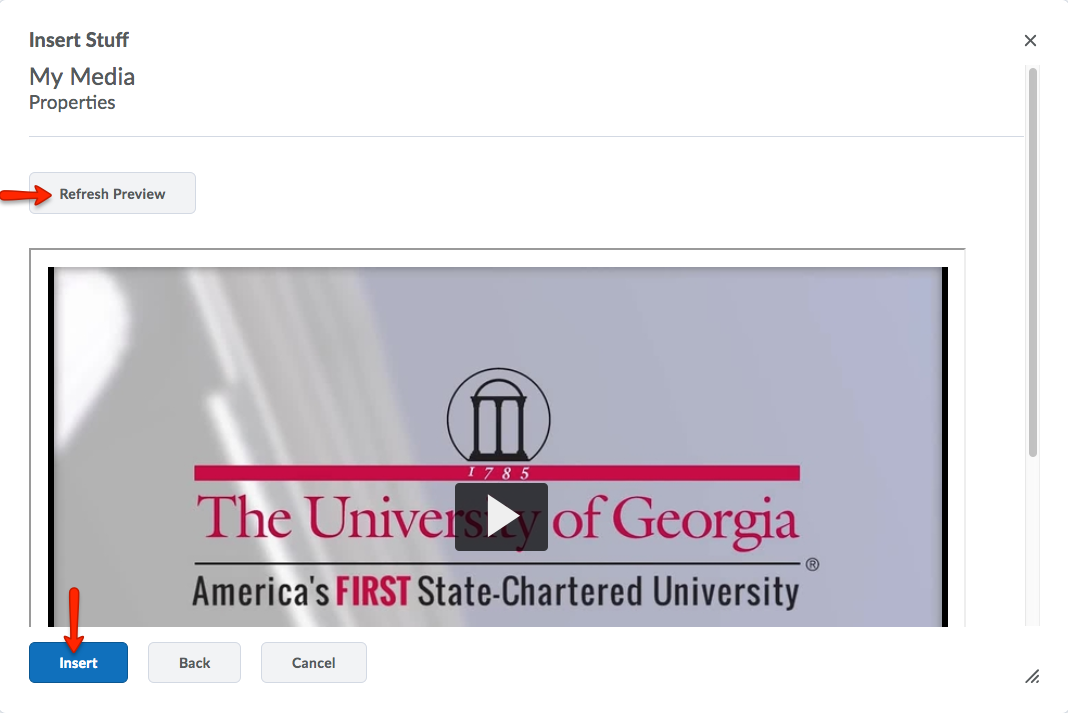
- Click Refresh Preview to see the video. Then, click Insert to add the video to your Discussion forum, topic, or post.
- Your video should now be present within the text editor. To save the discussion forum,
click Save and Close.
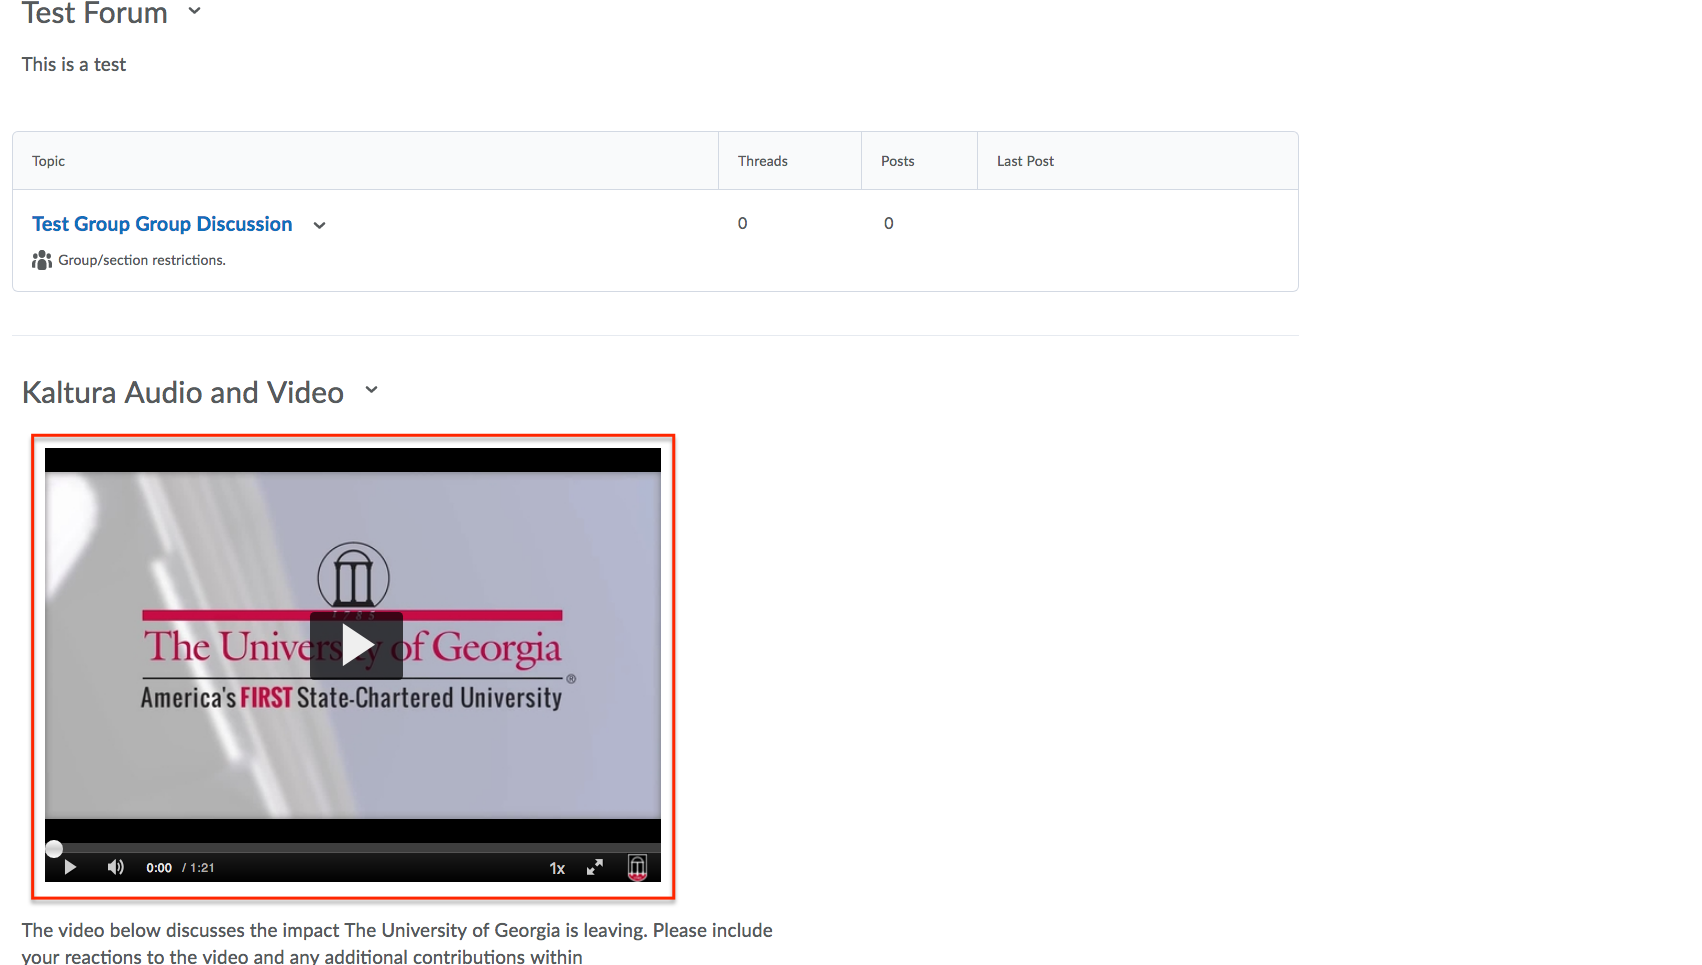
- The new forum containing the shared video should now be displayed within the Discussion
List.
Player Embed Settings
- You can change embed settings when you are embedding media in Content or embedding media using Insert Stuff.
- Click the Embed Settings (gear) button to show additional embed settings.
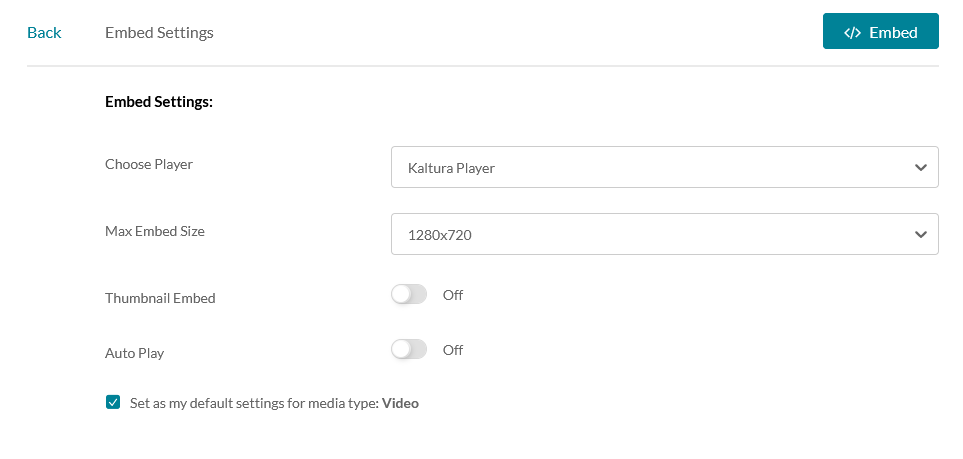
- Choose Player: Choose Kaltura Player w/Download to allow students to download the media by clicking a download button on the player.

- Max Embed Size: Choose the size of the embedded player used with Insert Stuff
- Thumbnail Embed: The player will not be loaded until the media thumbnail is clicked
- Choose Player: Choose Kaltura Player w/Download to allow students to download the media by clicking a download button on the player.
- Check Set as my default settings for media type to use the selected settings for all embeds of the displayed media type. Click Embed once you have finished selecting embed options to embed the media.
Sharing Media in the Course Gallery
The Course Gallery is a space where instructors and students can upload video to be shared with the class. To access the Kaltura Course Gallery, you will need to add the the Course Gallery to your course navigation or as a widget in your course. The following tutorials demonstrate how to complete the steps necessary to access the Course Gallery.
Adding the Kaltura Course Gallery to the Course Navigation
Adding the Course Gallery link to your course navigation makes the Course Gallery visible to anyone who is enrolled in your course. With this option, students can also upload video and you have the ability to approve or reject the video. Any video uploaded by the instructor or approved by the instructor will be visible to anyone in your course in the Course Gallery
- To begin the process of adding the Kaltura Course Gallery to the Course Navigation,
first, click the ... icon that appears when your mouse hovers over the Course Nav Bar. Select Edit This Navbar.
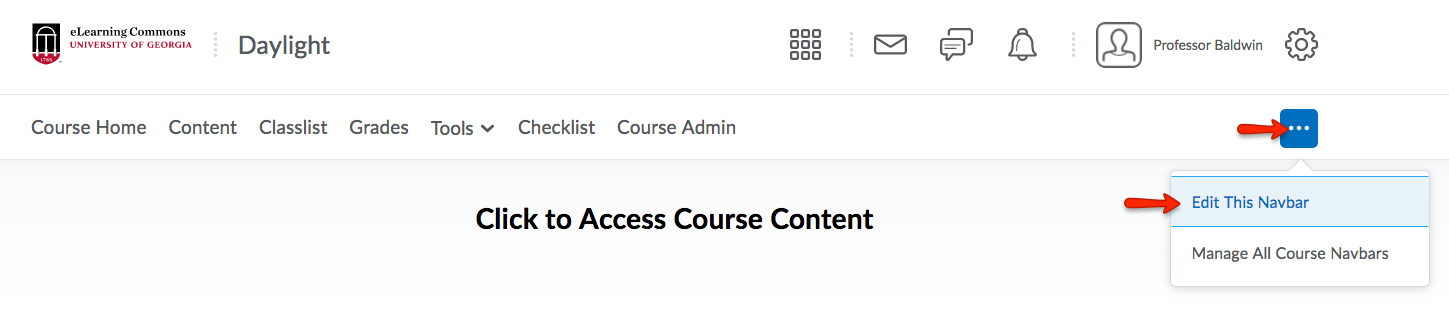
- When redirected to the Edit Navbar page, click Add Links.
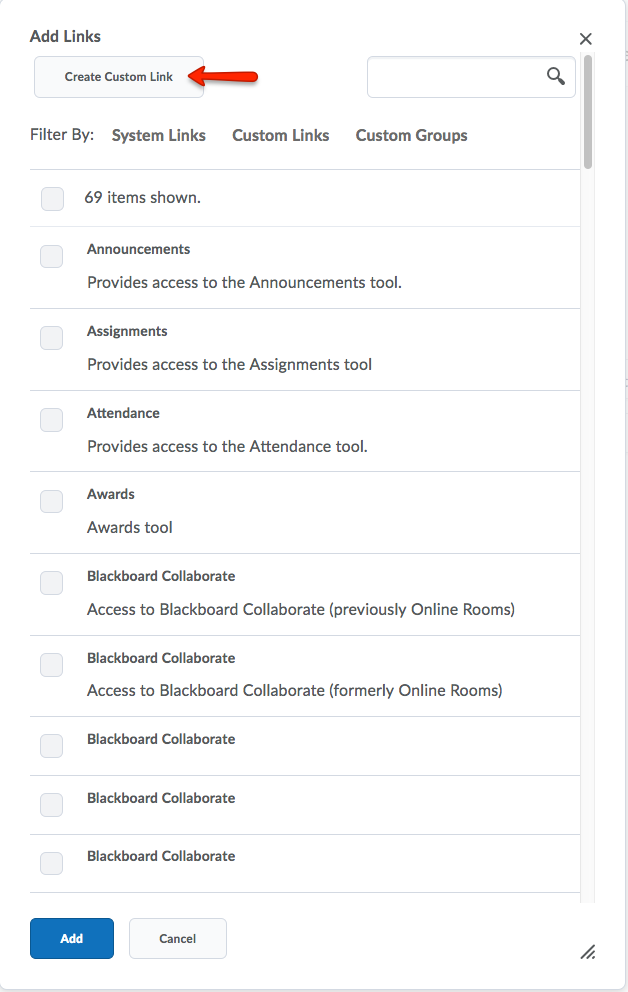
- Click Create Custom Link.
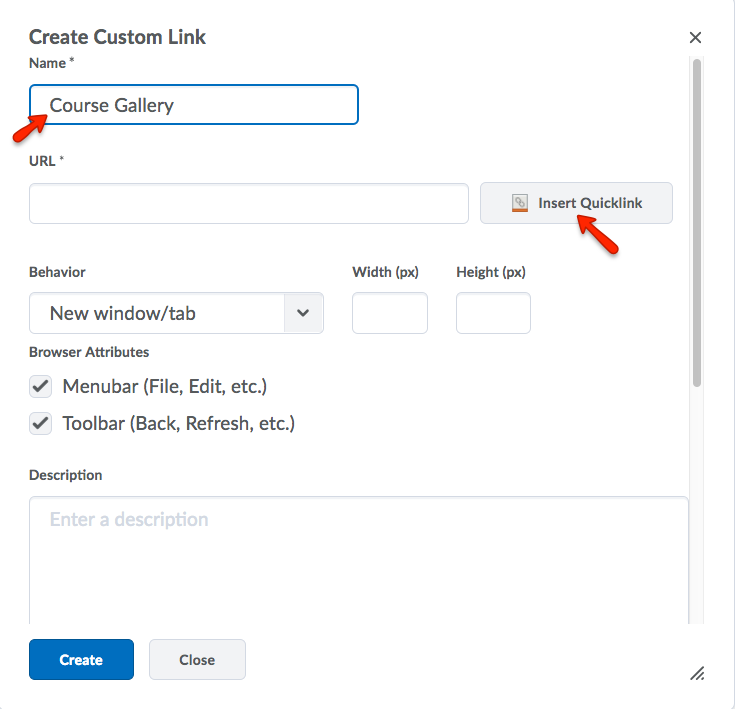
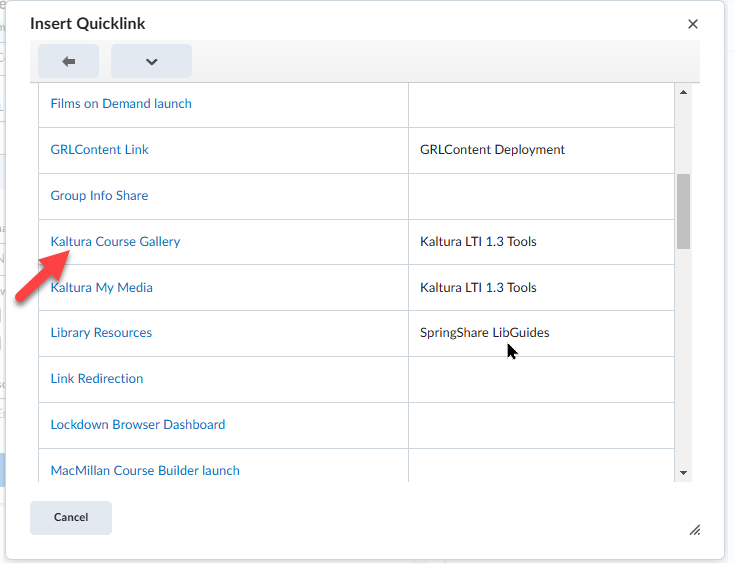
- Give the link a name, and then click Insert Quicklink.
- Click External Learning Tools.
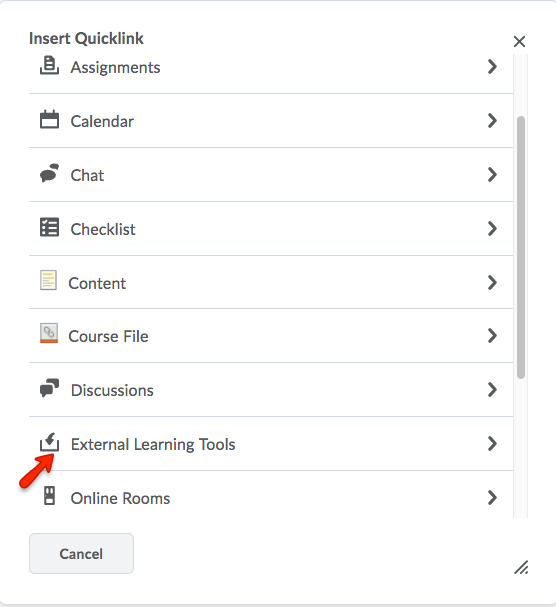
- Select Kaltura Course Gallery.
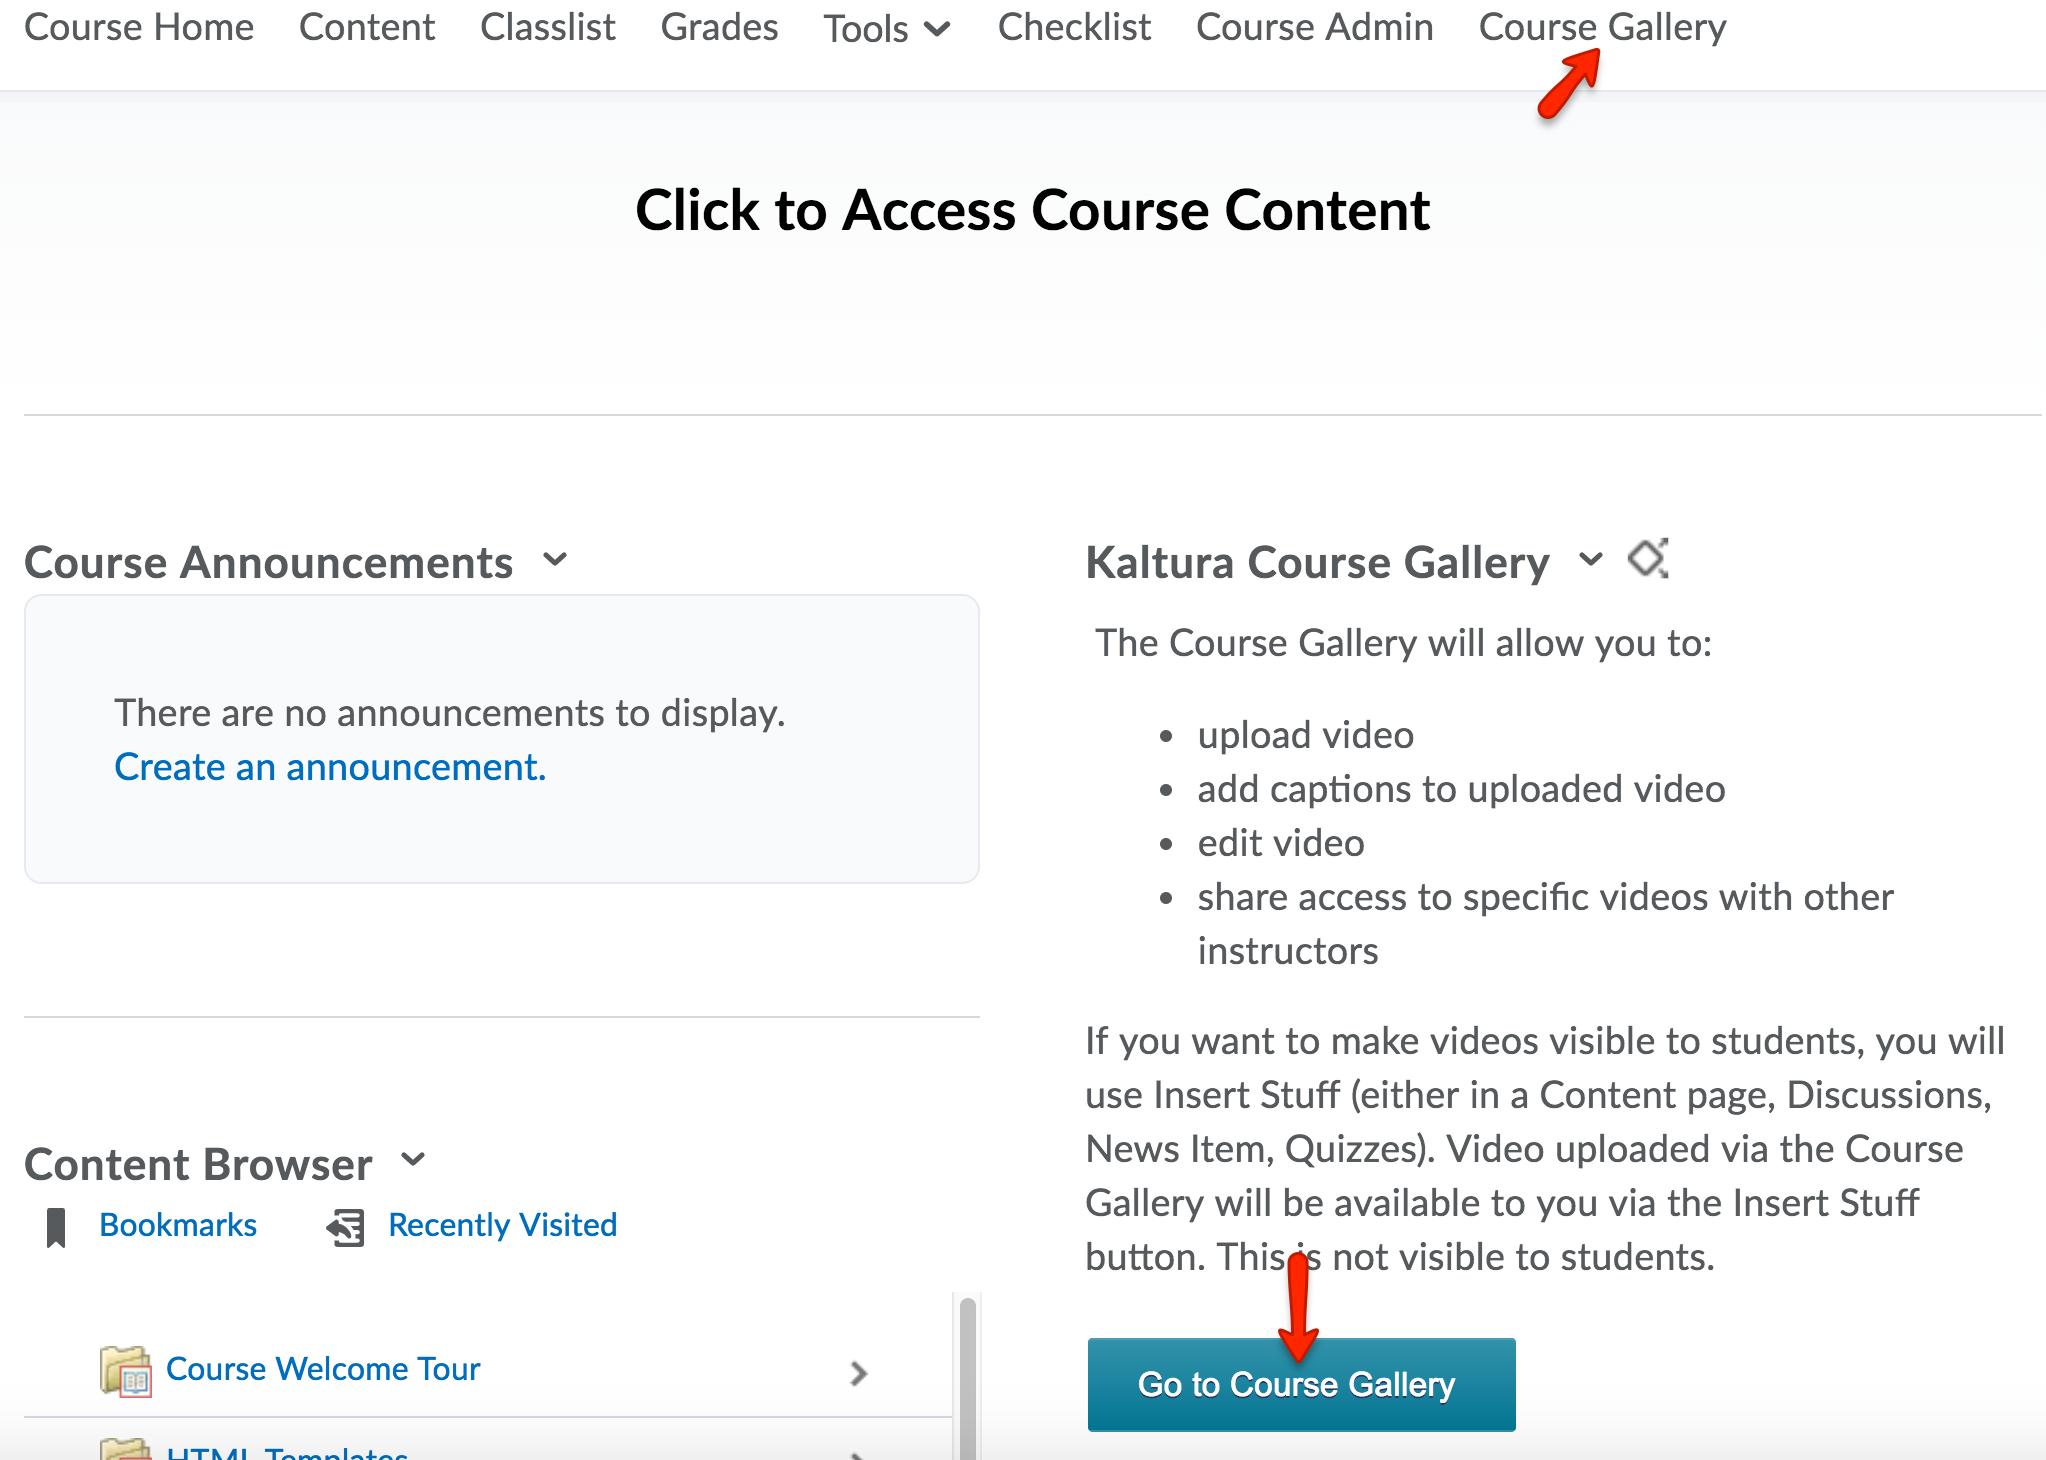
- When finished choosing the appropriate settings, click Create. The Course Gallery link should now be present on your course navbar.

Adding the Kaltura Course Gallery Widget to your Course Homepage
Adding the Course Gallery widget makes the Course Gallery visible to only the instructor (and teaching assistant, if you choose). Students will not see any videos that you upload here unless you use the Insert Stuff button to add a video to a Content page. In the Course Gallery, you can upload video, edit video, and add captions.
- To add the Kaltura Course Gallery widget to a course homepage, first, go to the Course Home, and ... icon that appears when your mouse hovers over the bottom right portion of the page. Then,
click Manage Homepages.

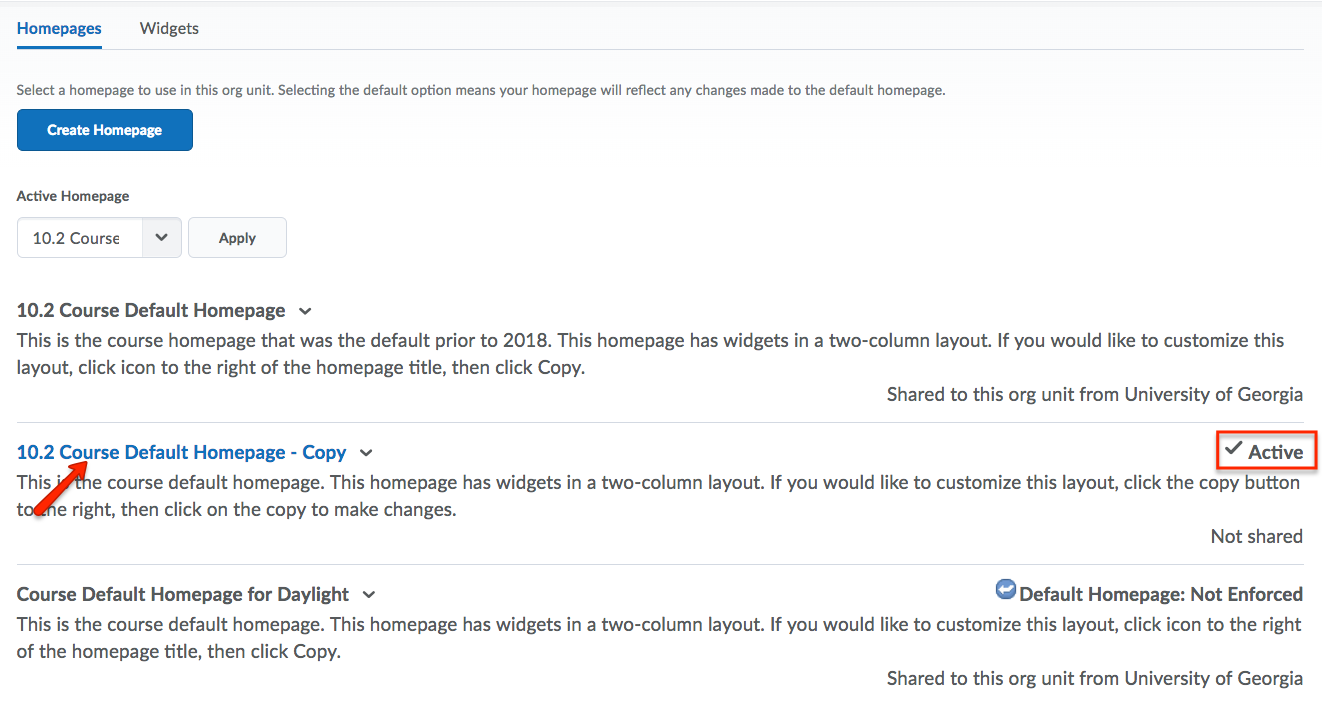
- Select the Active Homepage. If the option to select a homepage is not present, you will need to create a copy
of the default homepage that can be modified. To learn how to do this, please refer
to our documentation on Creating a Copy of the Default Template of the Homepage.
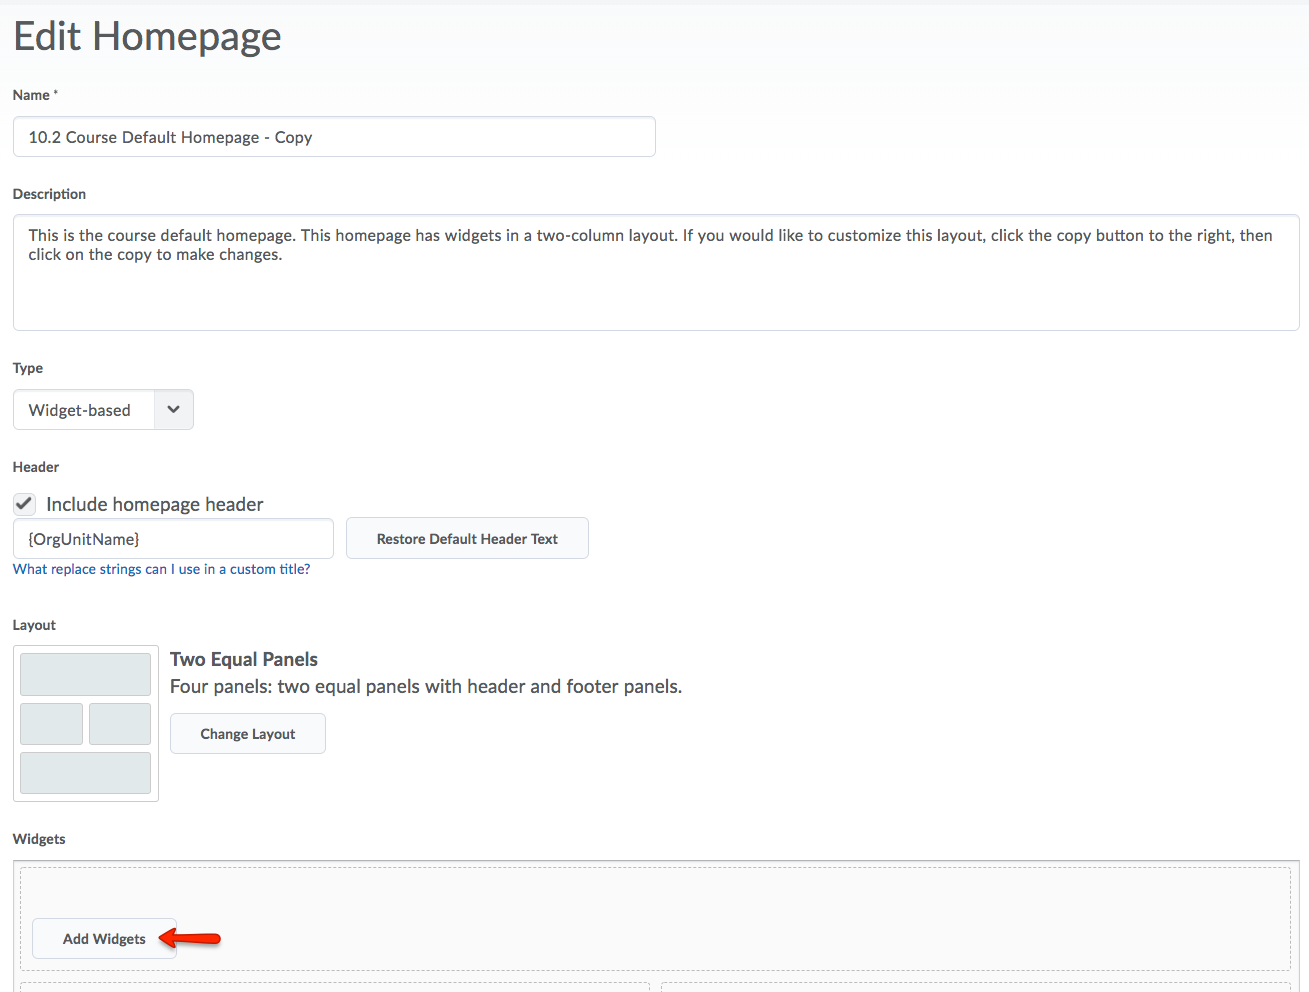
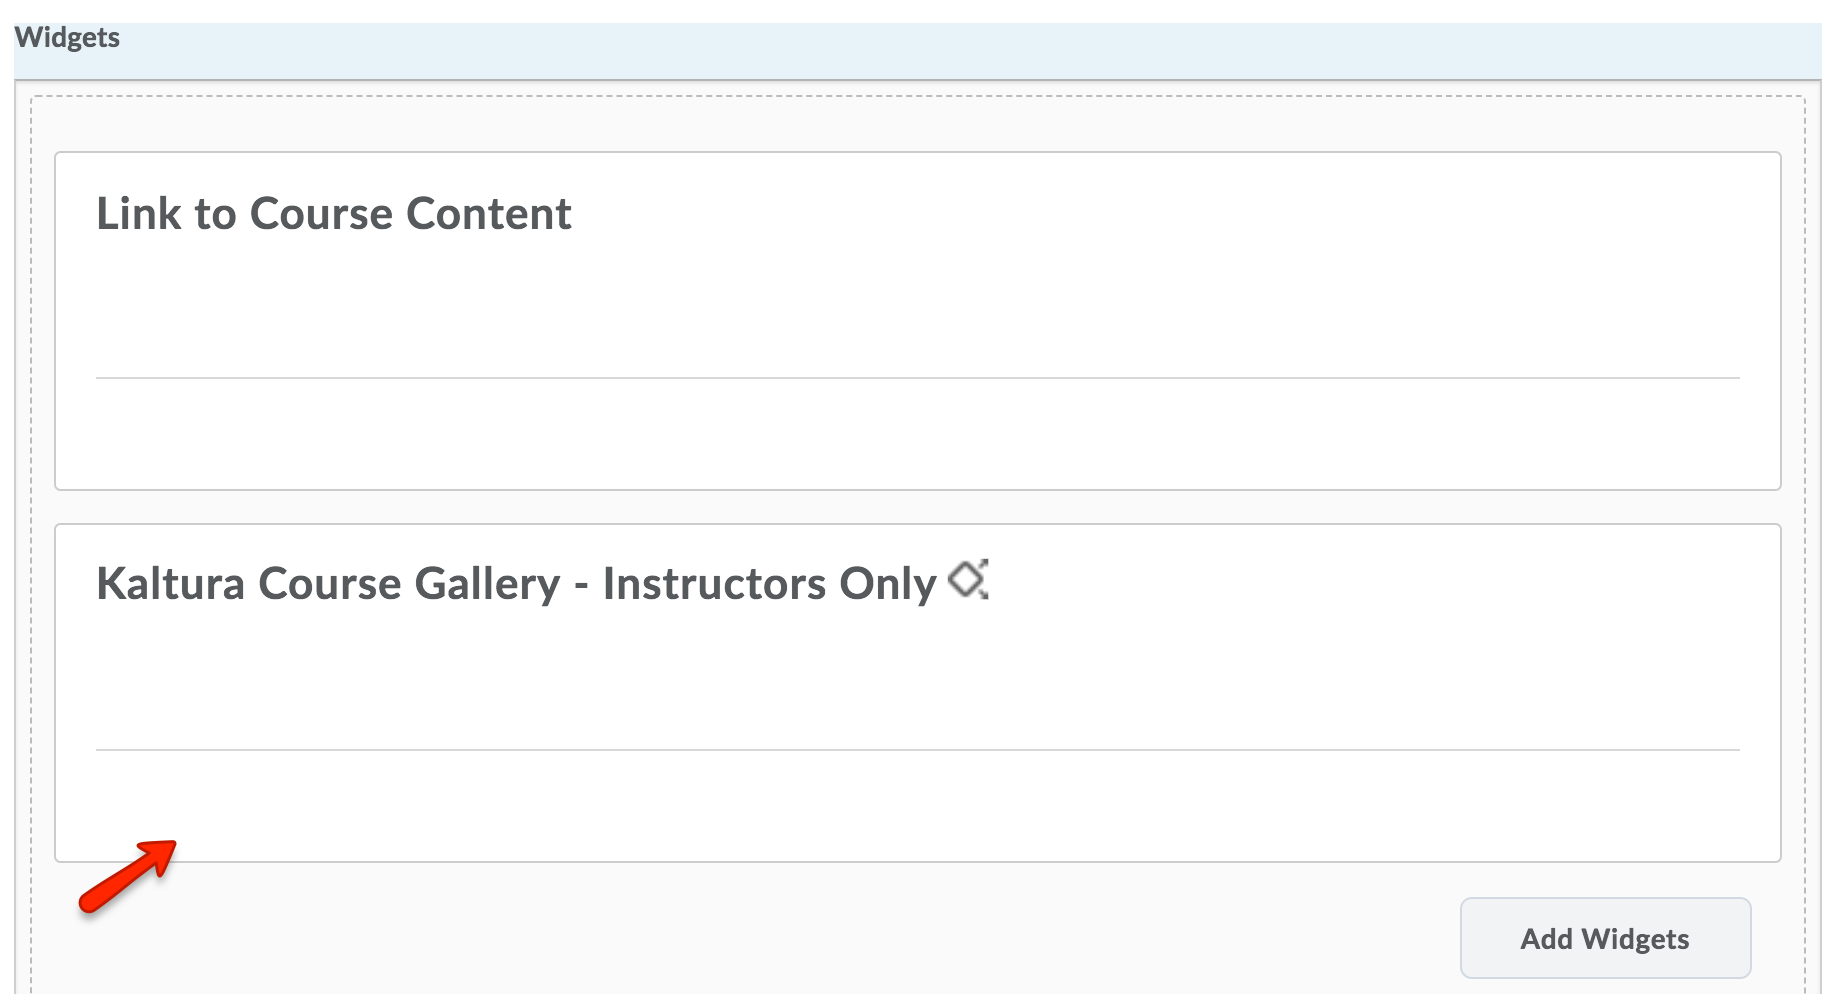
- Select the Add Widgets button in the desired area.
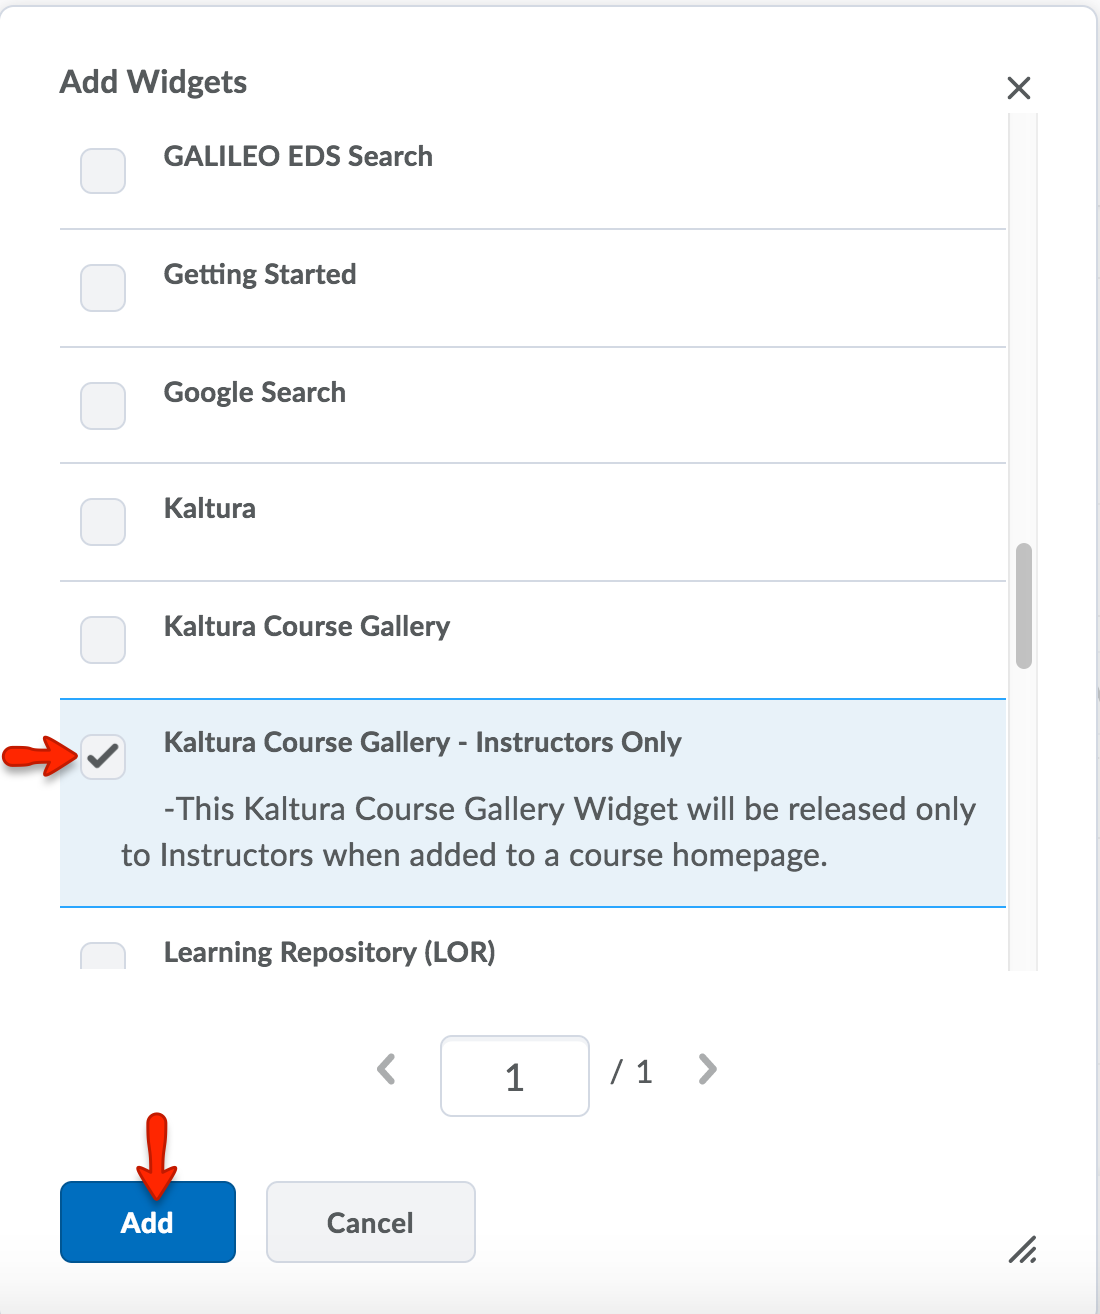
- In the pop-up window, use the search bar or scroll through the list to find the desired
widget. Check the box next to the Kaltura Course Gallery - Instructors Only to select, and click Add.
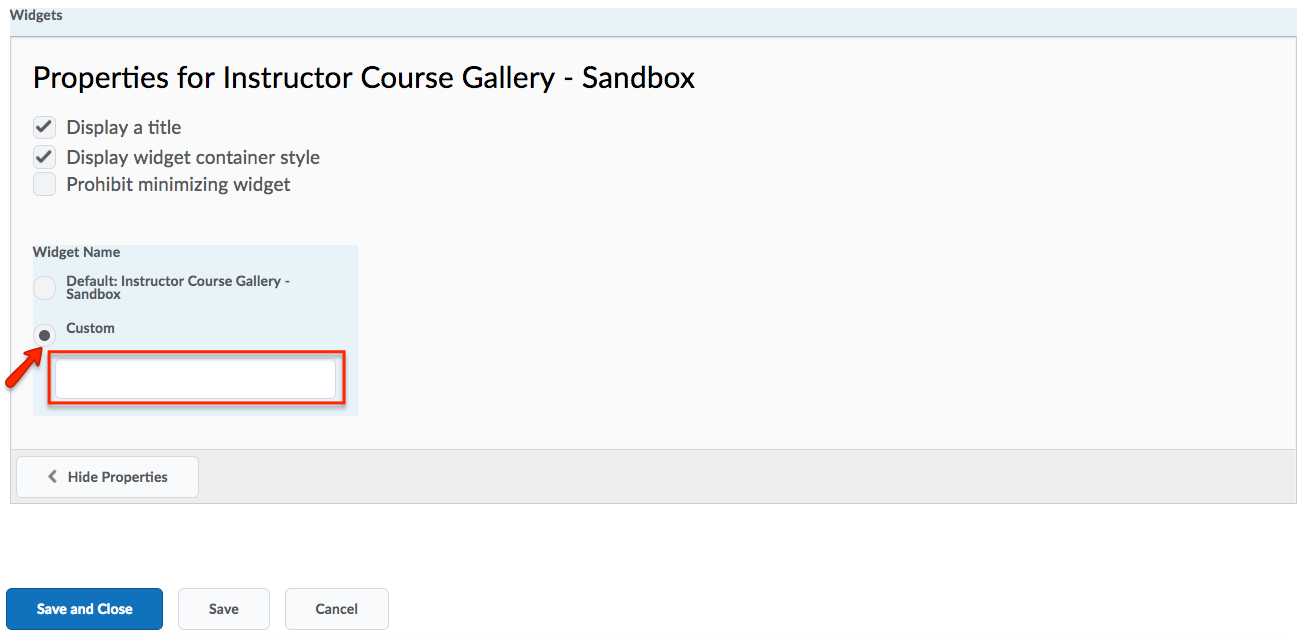
- To edit the Kaltura Course Gallery widget's default settings, click on the widget.
- You can give the widget a custom name. To do this, select Custom, and type the name you would like to give the widget.
- When you have finished editing the Kaltura Course Gallery widget, click Save and Close.
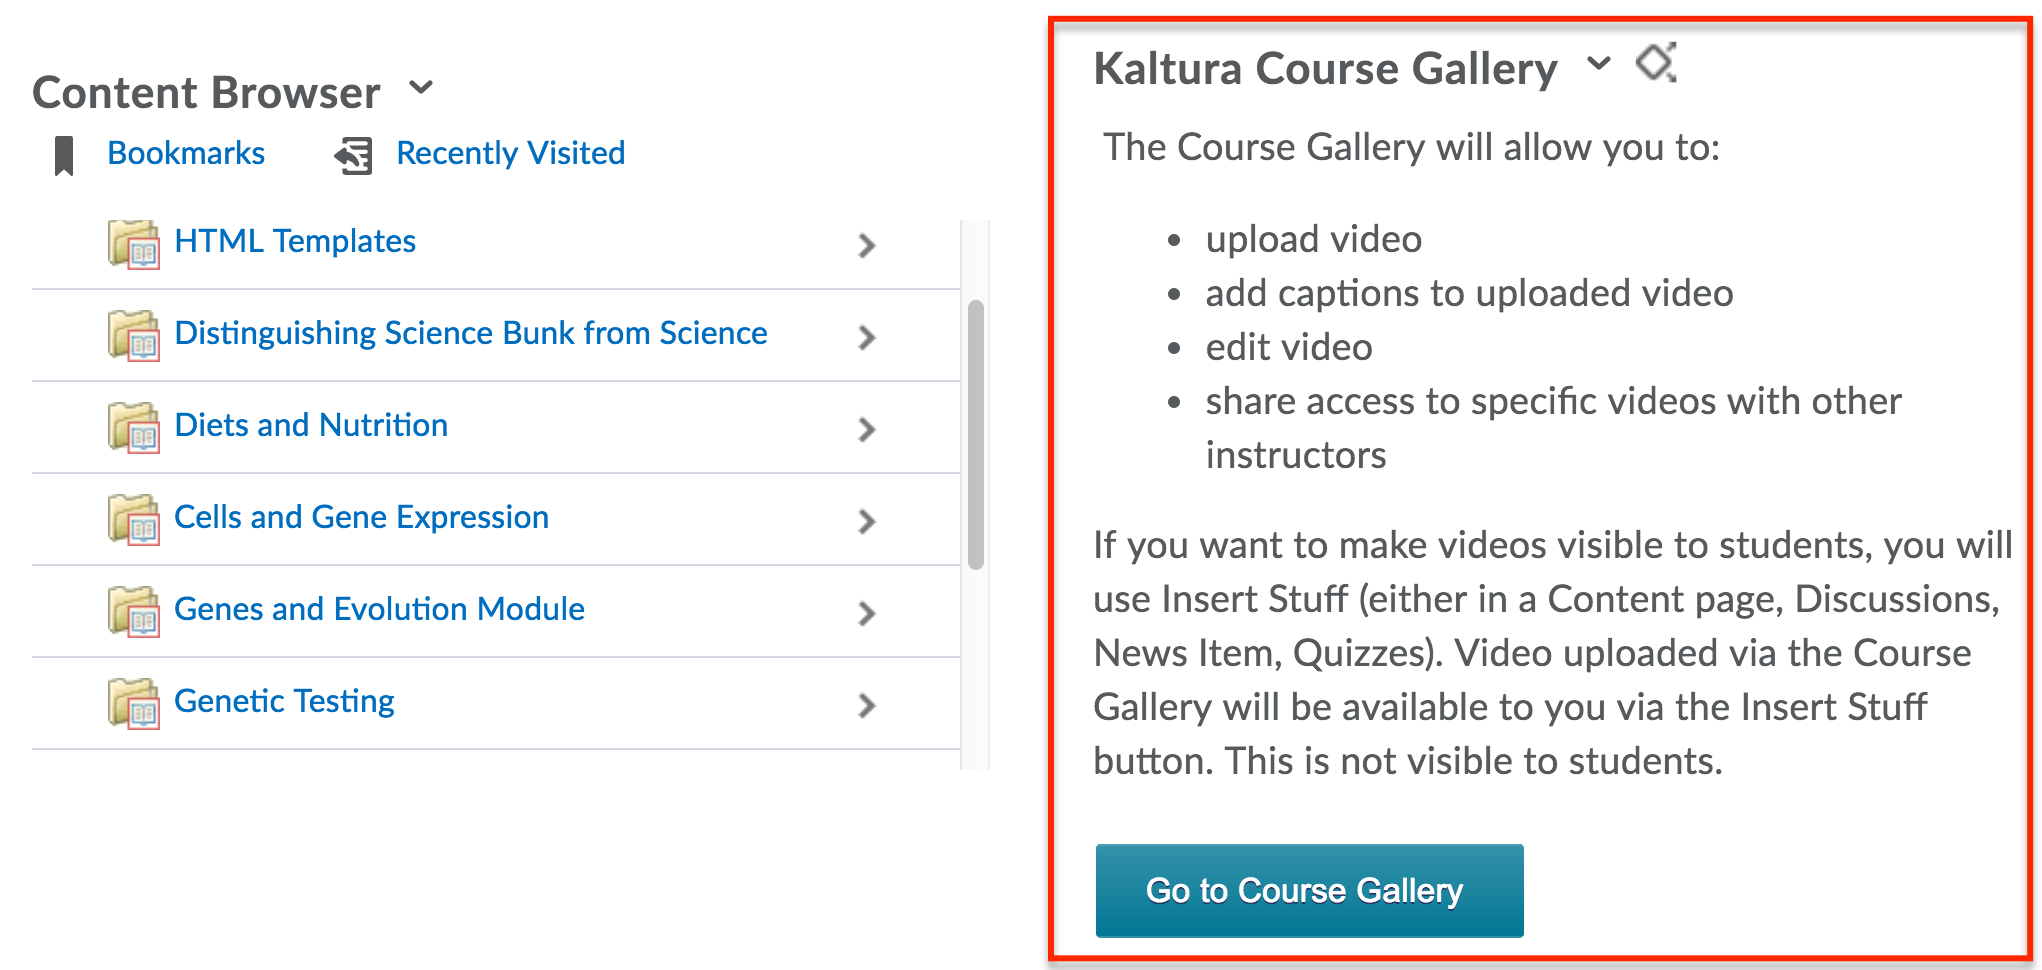
- The Kaltura Course Gallery widget should now be present on your Course homepage.
Uploading a Video to the Course Gallery
- To add an existing video to the Course Gallery, first, go to the course gallery by
clicking Course Gallery on the course navbar or the link in the Course Gallery widget.
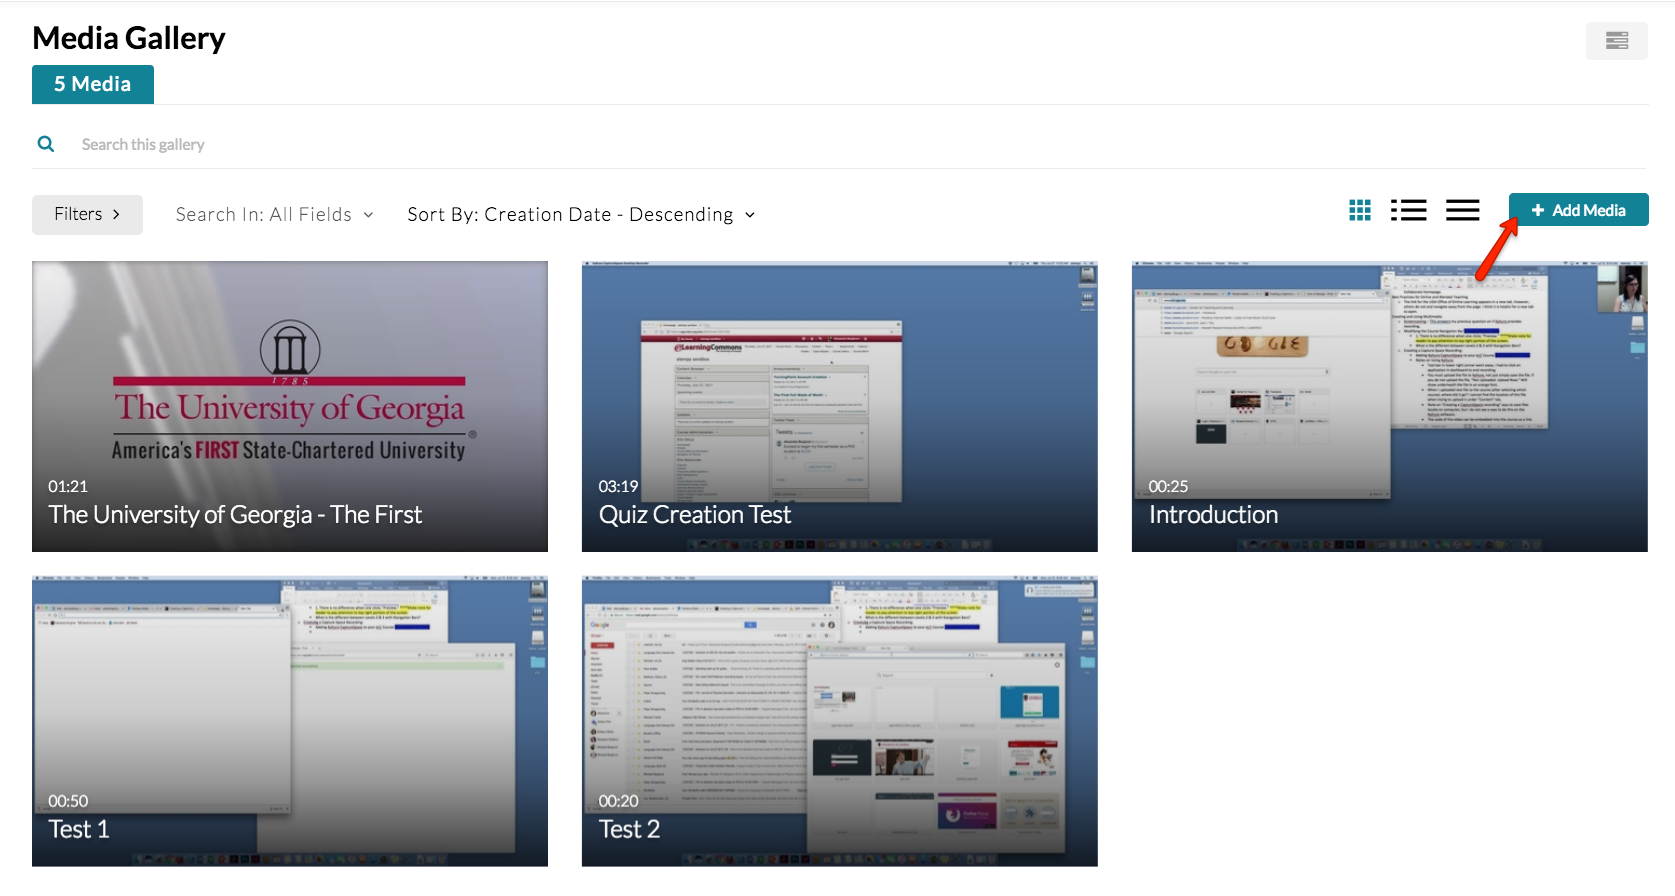
- Click Add Media.
- Then, click Add New, and select Media Upload.

- Click Choose a file to upload and locate the video file you wish to upload. Note: There is a 2GB file size limit.
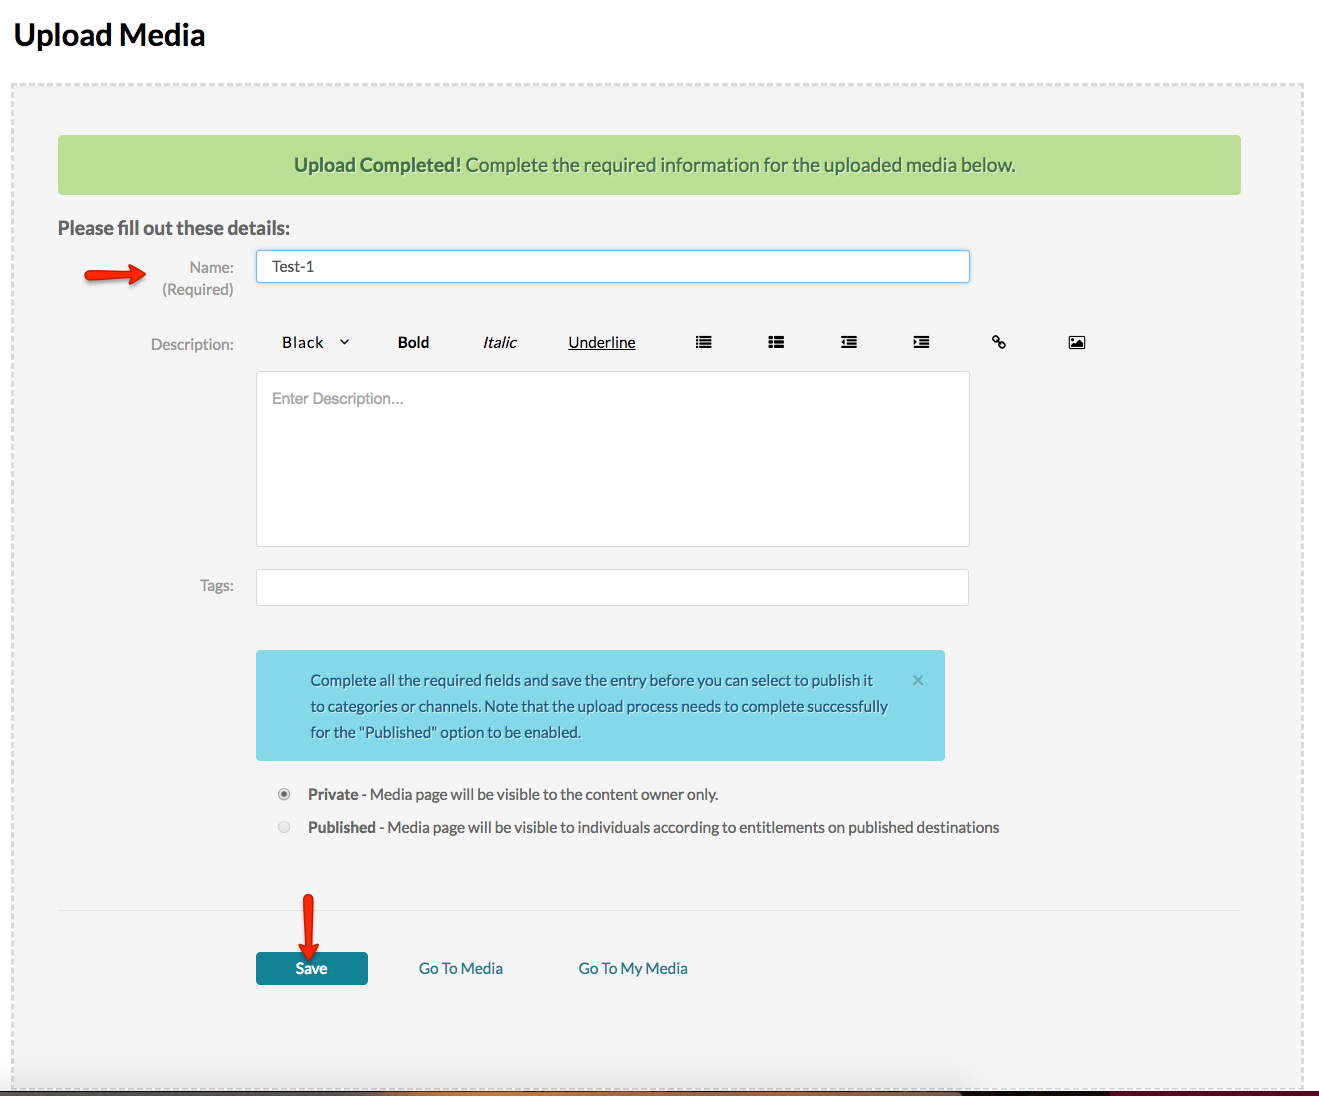
- Once your file has uploaded, give it a name and a description. Click Save.
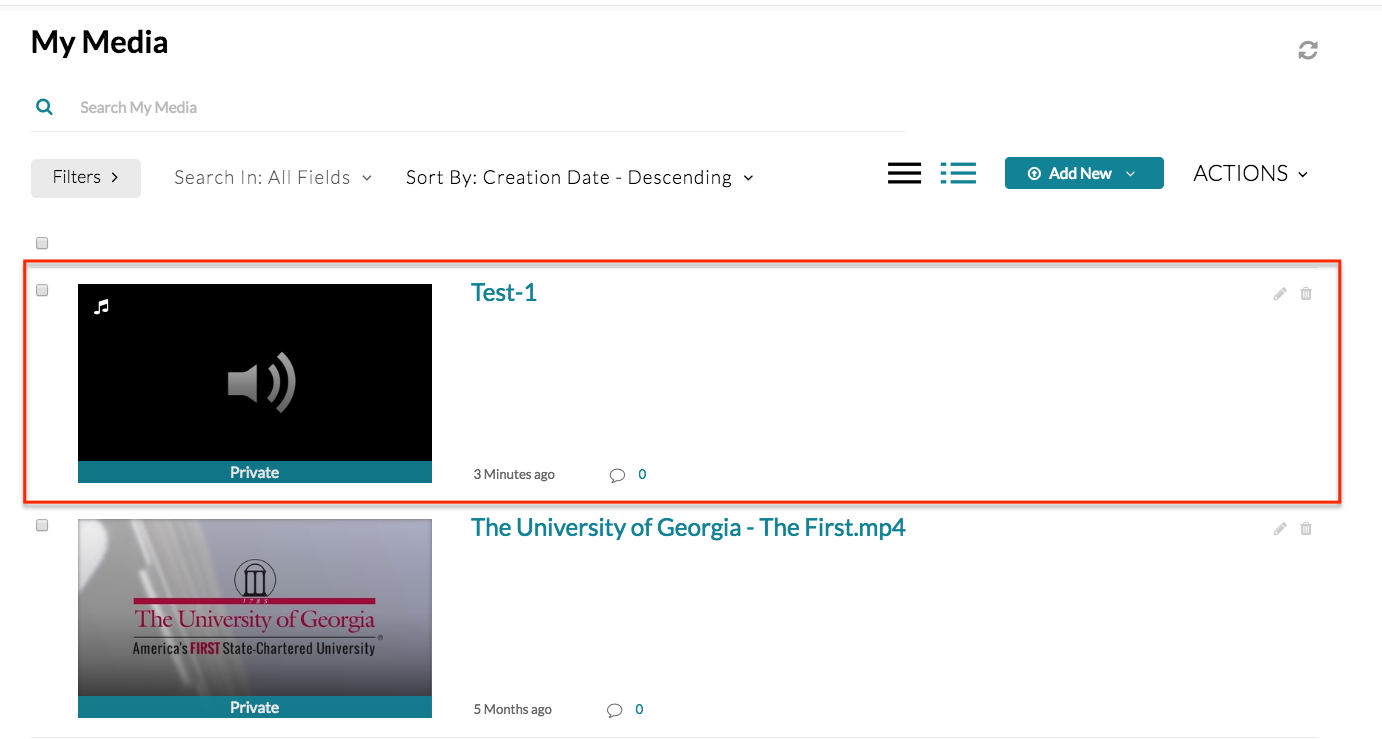
- Your video is now published in the Course Gallery.
Adding a Playlist to the Course Gallery
- You can create and add playlists to the course gallery which will be displayed in
a separate tab.
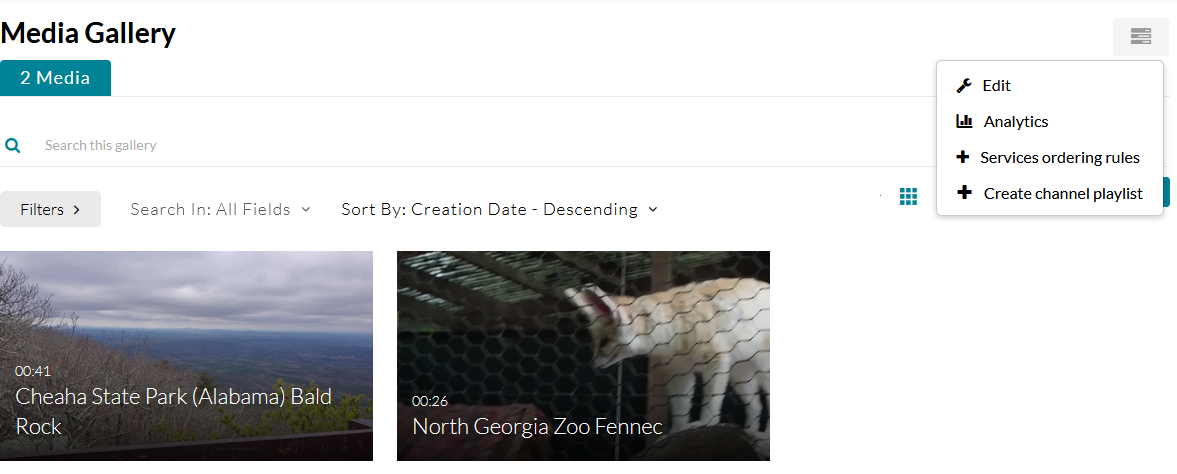
- Click the Edit menu in the Course Gallery and choose Create channel playlist.
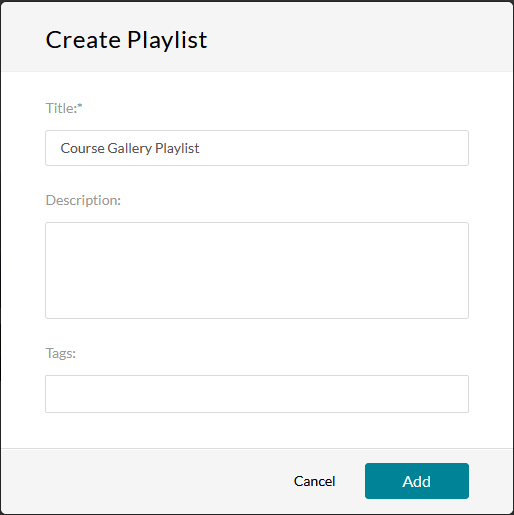
- Enter a Title for the playlist and an optional Description or Tags and click Add.
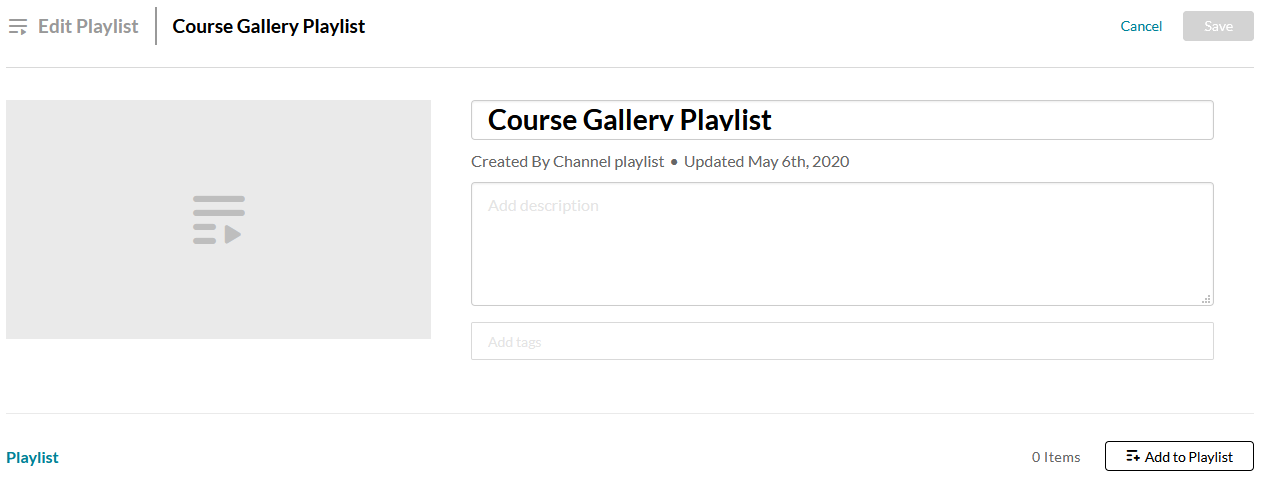
- Click the Add to Playlist button to add content to the playlist.

- Choose content which has already been added to the Course Gallery or content from My Media to add to the playlist. Click the + icon next to an item to add it to the playlist. Click Done when you have finished adding content.
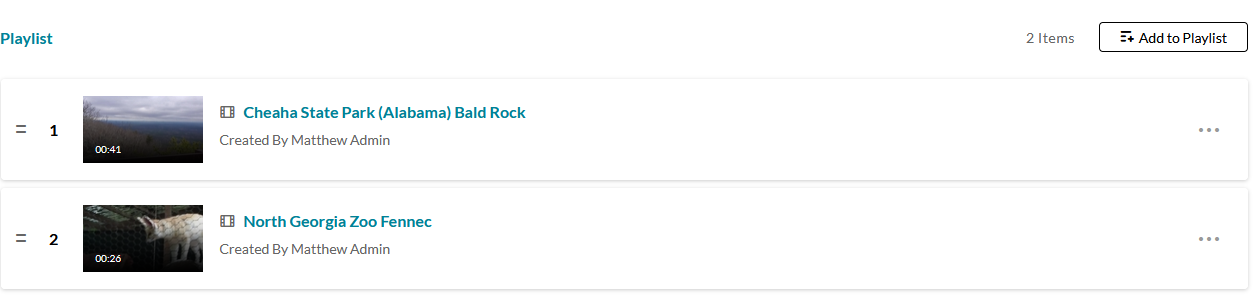
- Drag the handles on the left to reorder playlist items. Click the Menu (...) icon and choose Remove to remove an item from the playlist. Click the Save button once you are finished editing the playlist.
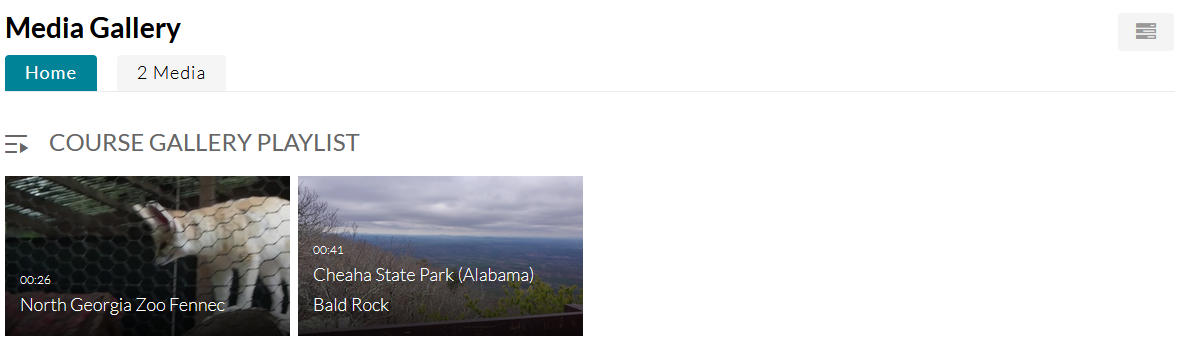
- Click Back to Media Gallery on the Edit Media Gallery page to go back to the course gallery. A Home tab with the playlist you created will be displayed when you access the course gallery.
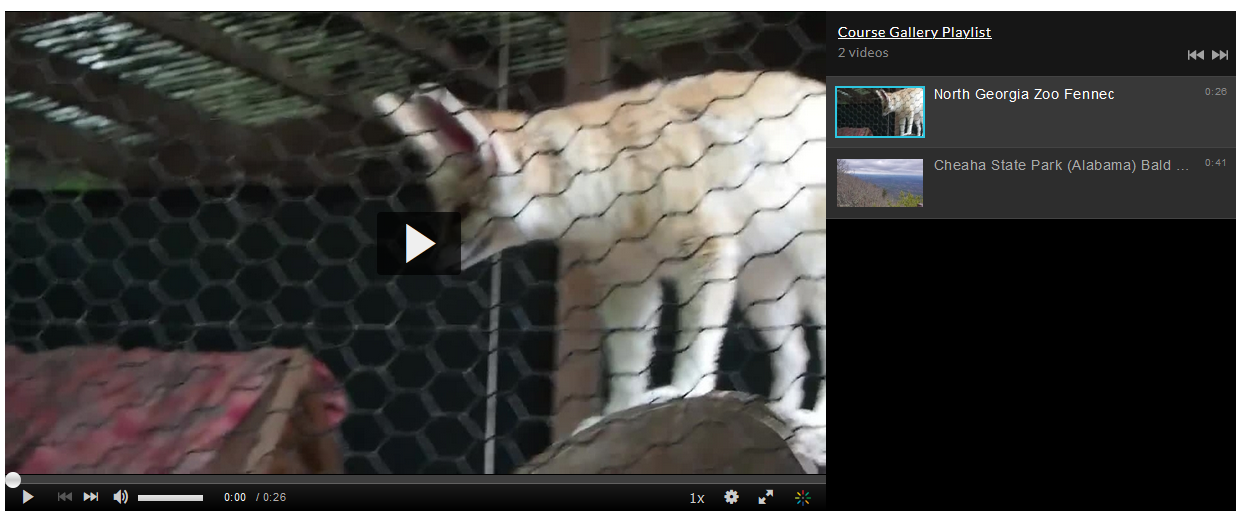
- Click a video in the playlist to view it or click the playlist name to view the entire
playlist.
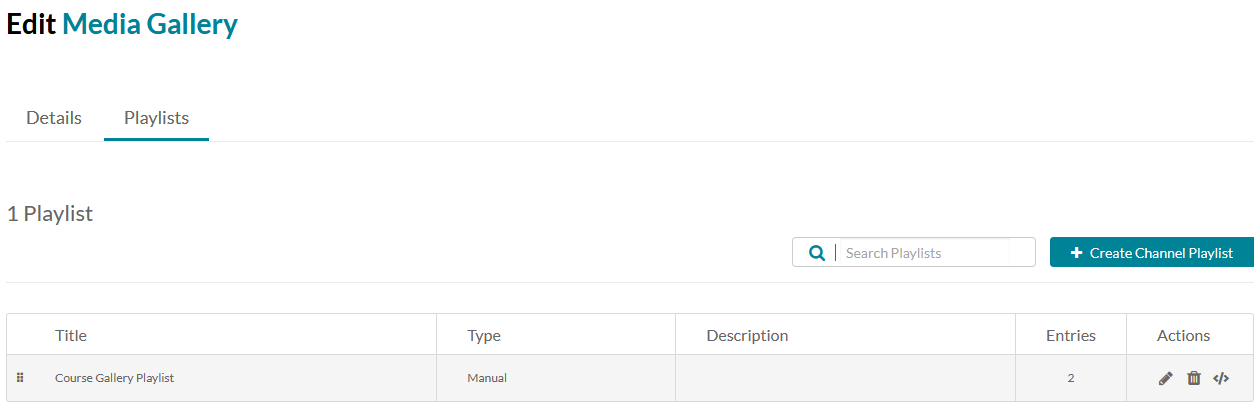
- To edit playlists displayed in the course gallery, click the Edit icon on the course gallery page, choose Edit, then click the Playlists tab. Drag the handles on the left to reorder playlists. Click the Edit (pencil) icon to edit the playlist. Click the Delete (trash can) icon to delete the playlist. Click Embed </> to get embed code for the playlist.
Last Updated: 10/31/2024