Creating and Uploading Media
You can upload existing videos or use Kaltura Capture or Kaltura Express Capture to create videos to add to your eLC course.
Learn about:
- Uploading an Existing Video
- Kaltura Capture Video Tutorial
- Creating a Kaltura Capture Recording
- Kaltura Express Capture
- Other Help Resources
Uploading an existing Video
My Media is a space where instructors and students can upload existing video to be shared with others within eLC courses.
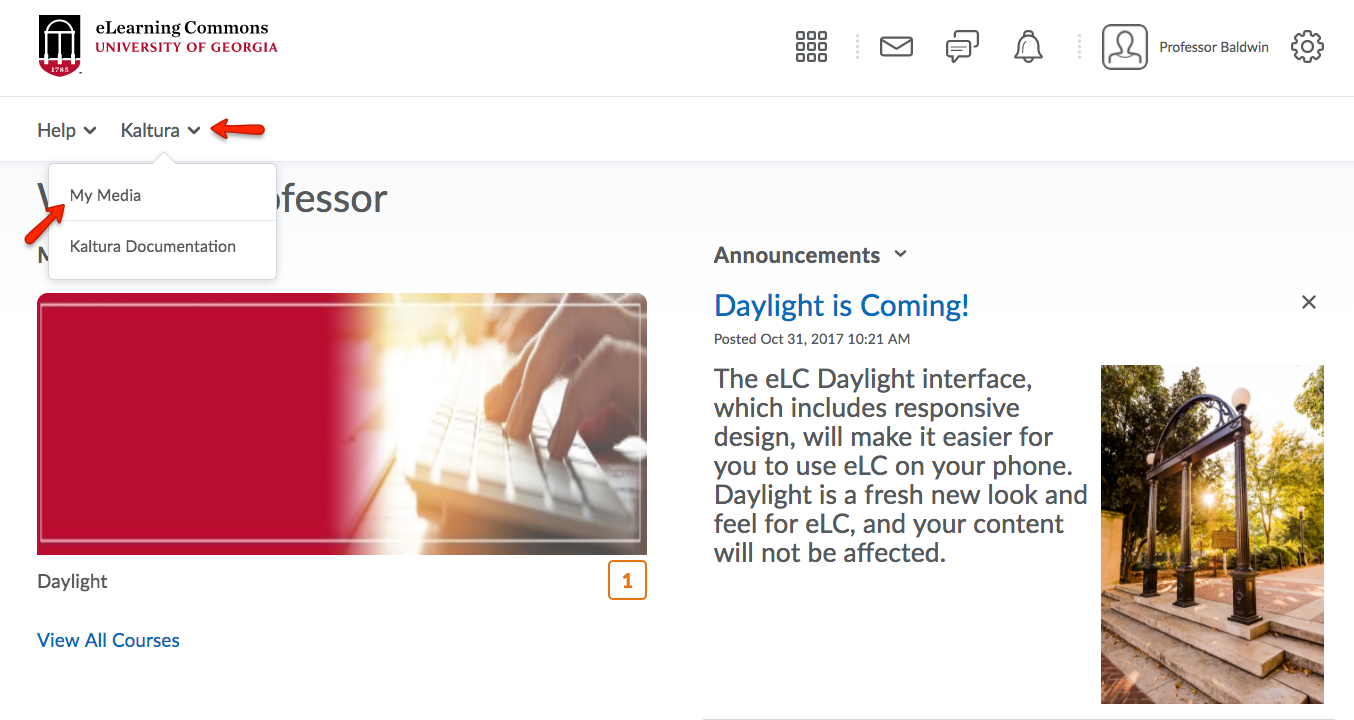
- To begin, select Kaltura from the navigation bar on the MyHome screen. Then, click My Media.
- Click Create then select Upload.

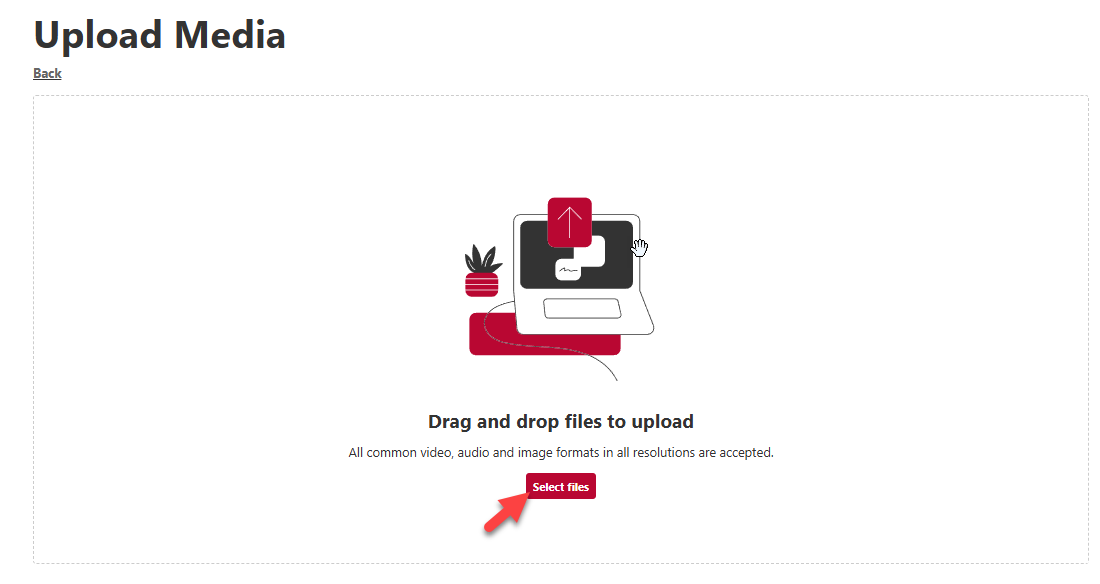
- Either Drag and Drop a file into the Upload Media area or click Select Files and locate the video file you wish to upload.
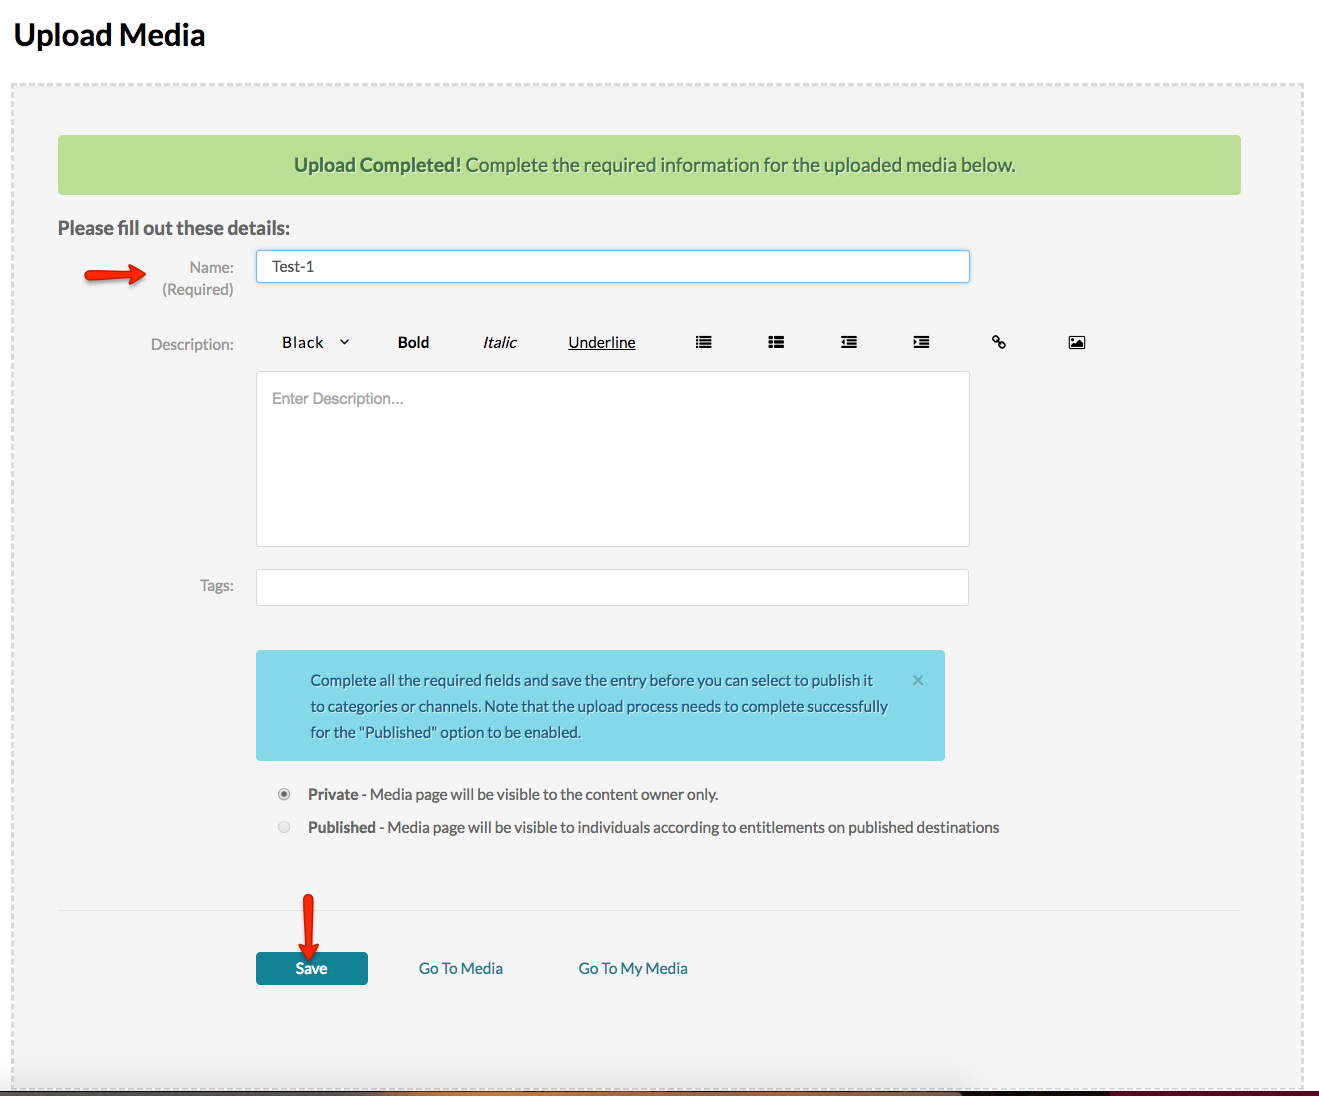
- Once your file has uploaded, give it a name and a description. Click Save.
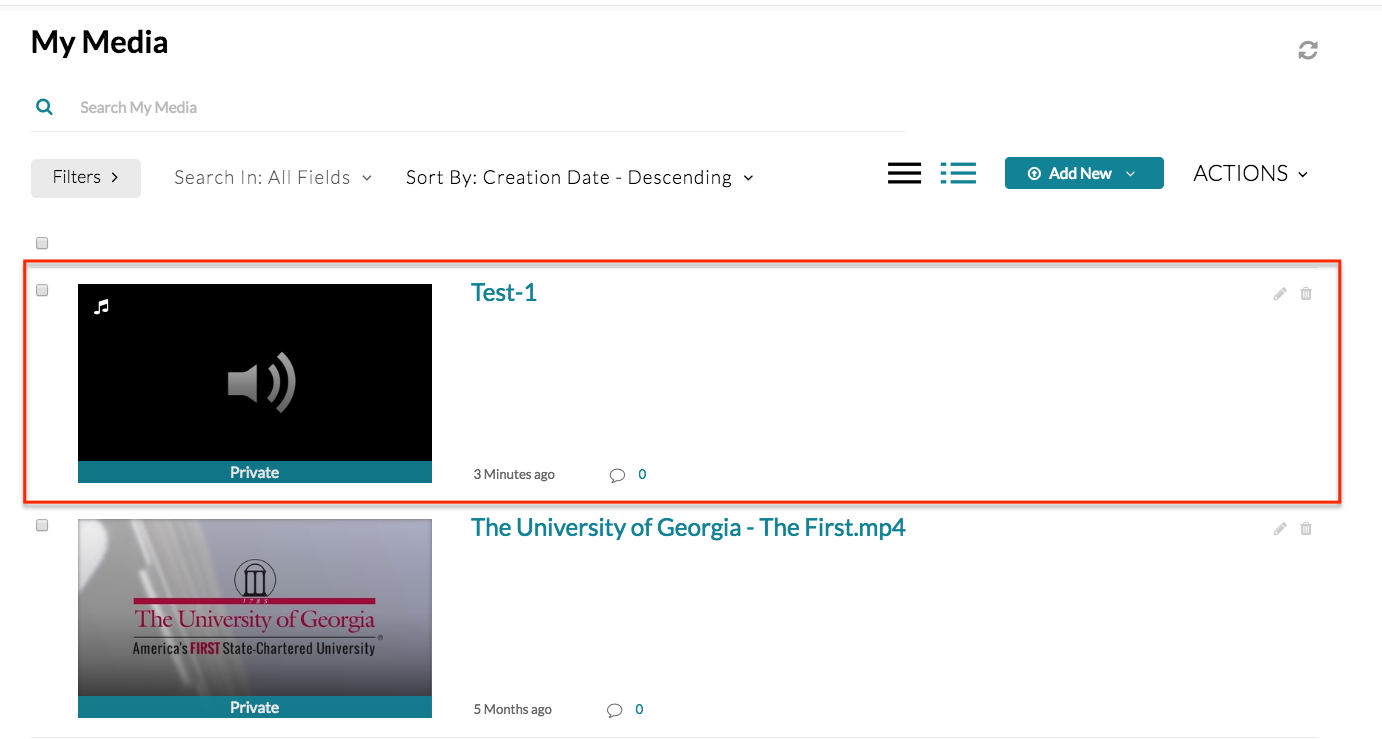
- Your video is now published in My Media.
- In order to share your media with students in eLC, the media must be added to your course. Please see our documentation on Sharing Kaltura Audio and Video to learn the steps to add Kaltura media to your course.
Kaltura Capture Video Tutorial
This video explains the steps for using Kaltura Capture:
Creating a Kaltura Capture Recording
Kaltura Capture can be used to record your screen, webcam, or a classroom discussion. The following steps outline the process of creating these recordings.
- To begin, select Kaltura from the navigation bar on the eLC homepage, then click My Media.
- This will open a page called "My Media" which shows all of the Kaltura media you own.
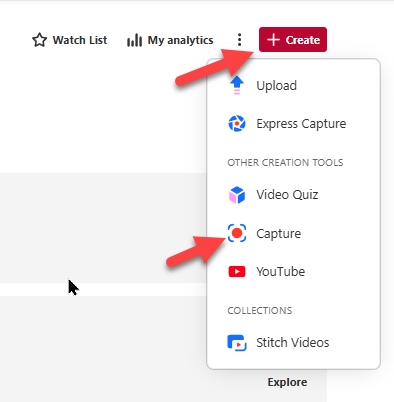
Click Create. From the dropdown menu, select Capture.
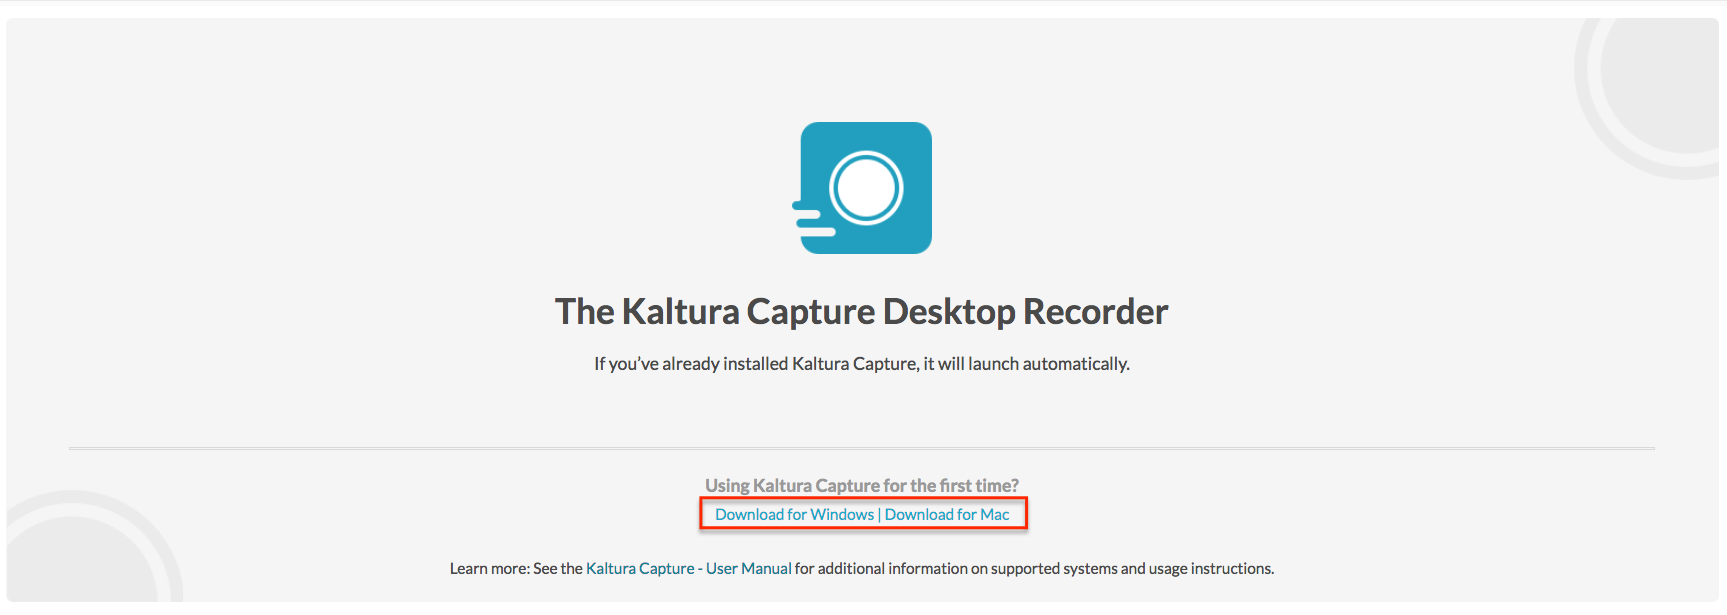
- If you have never used Kaltura Capture before, you will be prompted to download the
Kaltura Capture Desktop recorder. (If you've previously downloaded the recorder, it
will open automatically.) If needed, download the recorder and open the application.
- Select what you'd like to record:
- If you select an option with Screen, you will be prompted to select either Full Screen, or a specific area of the screen to record before recording.
- If you select Webcam or Voice, the recording will start after a 5 second countdown.
- You can turn on any of the three selections by clicking on the desktop, webcam, or voice icons.

- Once the recording starts, the Kaltura Capture toolbar will be down at the bottom
of your screen. You can Pause your recording, and then start again by clicking the red record button. When you have completed the recording, hit the stop button and select Yes, Stop it.

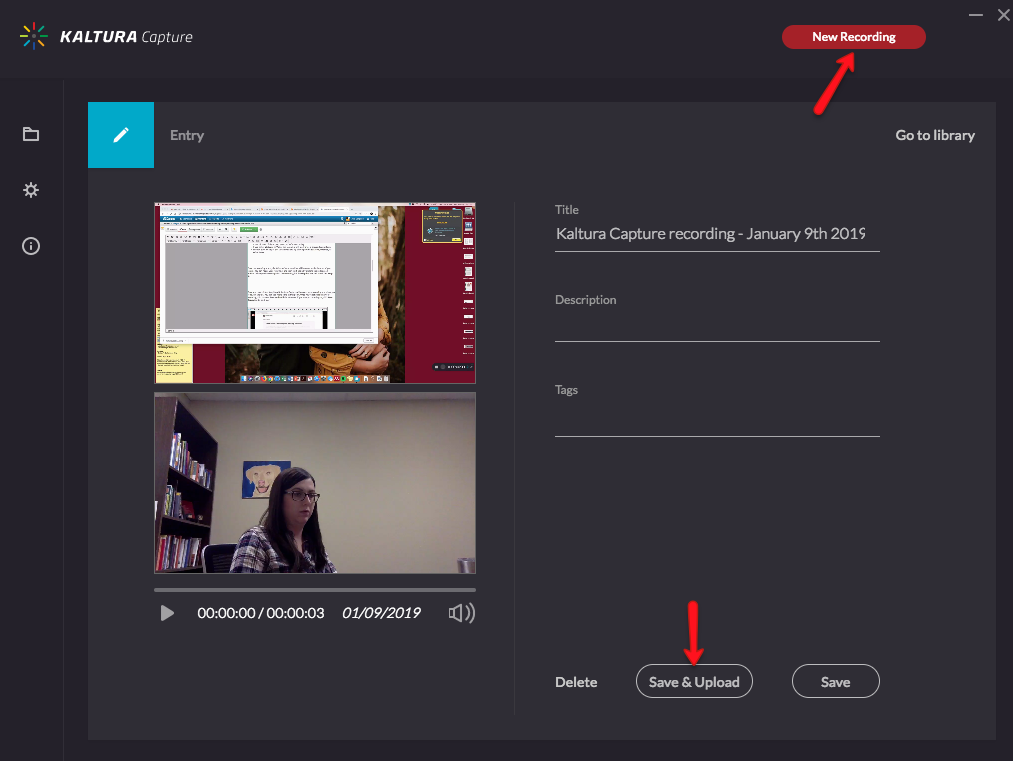
- Once you have clicked Yes, Stop it, Kaltura Capture will process your recording and allow you to review the file. Additionally, you will be prompted to give the video a name and description. Add the information.
- When you're satisfied with your recording, click Save to save the file locally to your computer or Save and Upload to upload the video to Kaltura. However, if you want to record again, click New Recording to start over.
- Troubleshooting Kaltura Capture - If videos you have recorded using Kaltura Capture have audio out of sync or problems
with video, try the following.
- Close any programs which you don't need during the recording
- Do a test recording before you record a lecture or presentation to verify that Kaltura Capture works correctly on your device
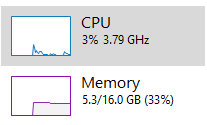
- High CPU or memory usage may cause issues with recorded video. If you are using a
Windows PC, you can check your CPU and memory usage by using the Task Manager. Open
the Task Manager by right-clicking the taskbar and choosing Task Manager. If you do
not see a list of tabs, click More Details. Click the Peformance tab and look at the
CPU and Memory usage -- if these are close to 100% you may have problems recording.
Kaltura Express Capture
Kaltura Express Capture can be used to record video & audio from a webcam/microphone directly in the browser.
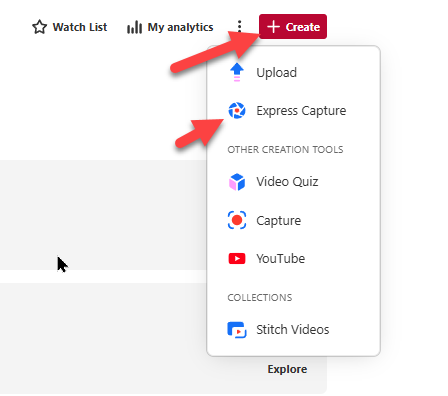
- To access Express Capture, click the Kaltura menu on the eLC homepage and choose My Media. Click Create then Express Capture.
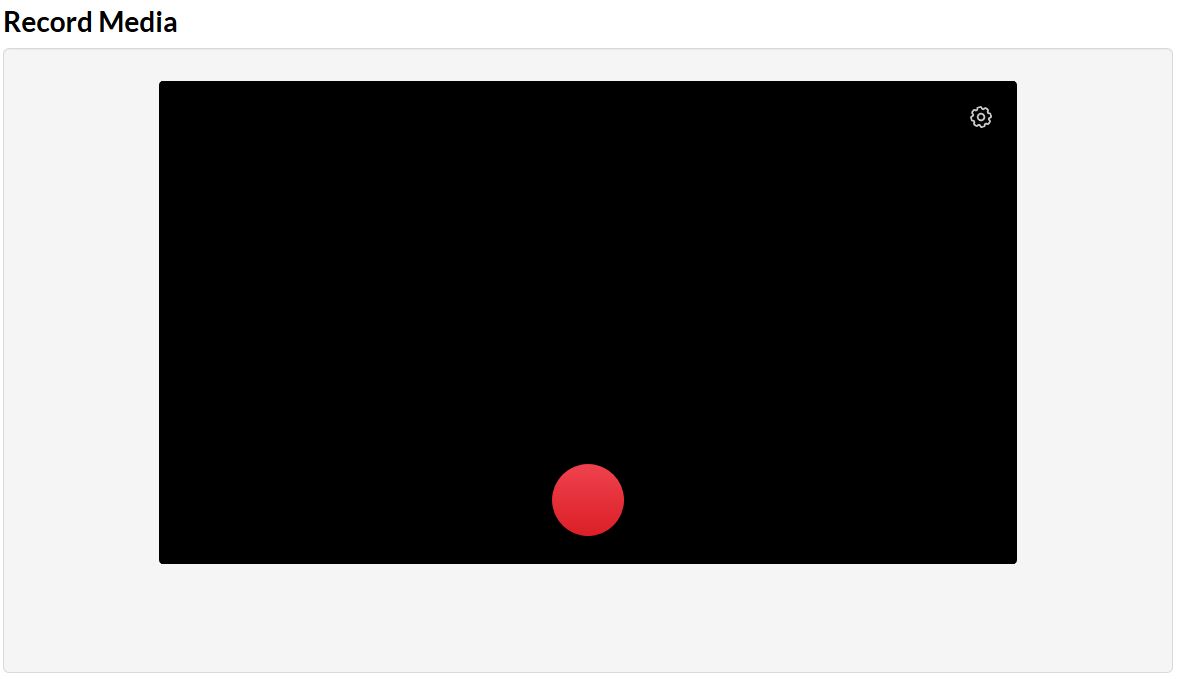
- Your browser may ask you for permission to use your webcam/microphone. Click the Settings icon to enable/disable audio or video. Click the red Record button when you are ready to start recording.
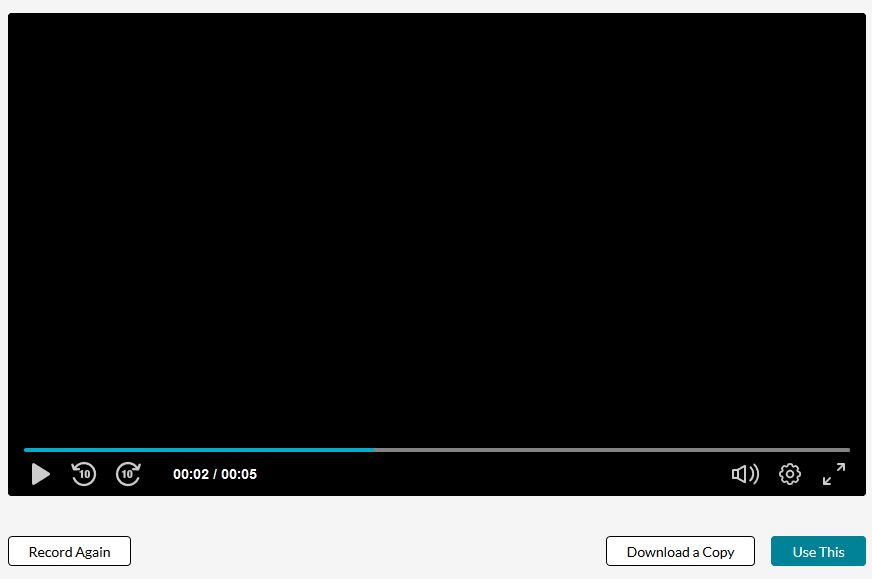
- Click the Stop button once you are finished. You can review the recording and choose Record Again to start over or Download a Copy to download the video to your device. Click Use This to upload the video to Kaltura. It will be available from your My Media page once the upload completes.
Other Help Resources
- Have questions about uploading content to Kaltura or using Kaltura Capture? Submit a support request.
- Kaltura Capture User Guide
- Kaltura Express Capture Guide
Last Updated: 10/31/2024