Captioning
To maintain electronic and information technology accessibility, the University of Georgia requires every department to reasonably accommodate limitations to technology access experienced by individuals with disabilities. This can be accomplished by designing and implementing work and study environments that accommodate all users. One way to accommodate individuals with hearing impairments is to add captions to the media featured within your course in eLC.
Note: Captions can be added to your Kaltura audio and video by requesting machine captioning, alignment of a text transcript, or by uploading an existing captions file.
Learn about:
- Requesting Machine Captioning
- Editing Machine Captioning
- Requesting Alignment
- Adding an Existing Captions File
Requesting Machine Captioning
You can request machine captioning for any video that is uploaded to Kaltura. Machine captions are generated by a computer and have an accuracy rate of 70-80% so they must be reviewed and edited to ensure they are accurate. Machine captions are a great way to start when captioning a video.
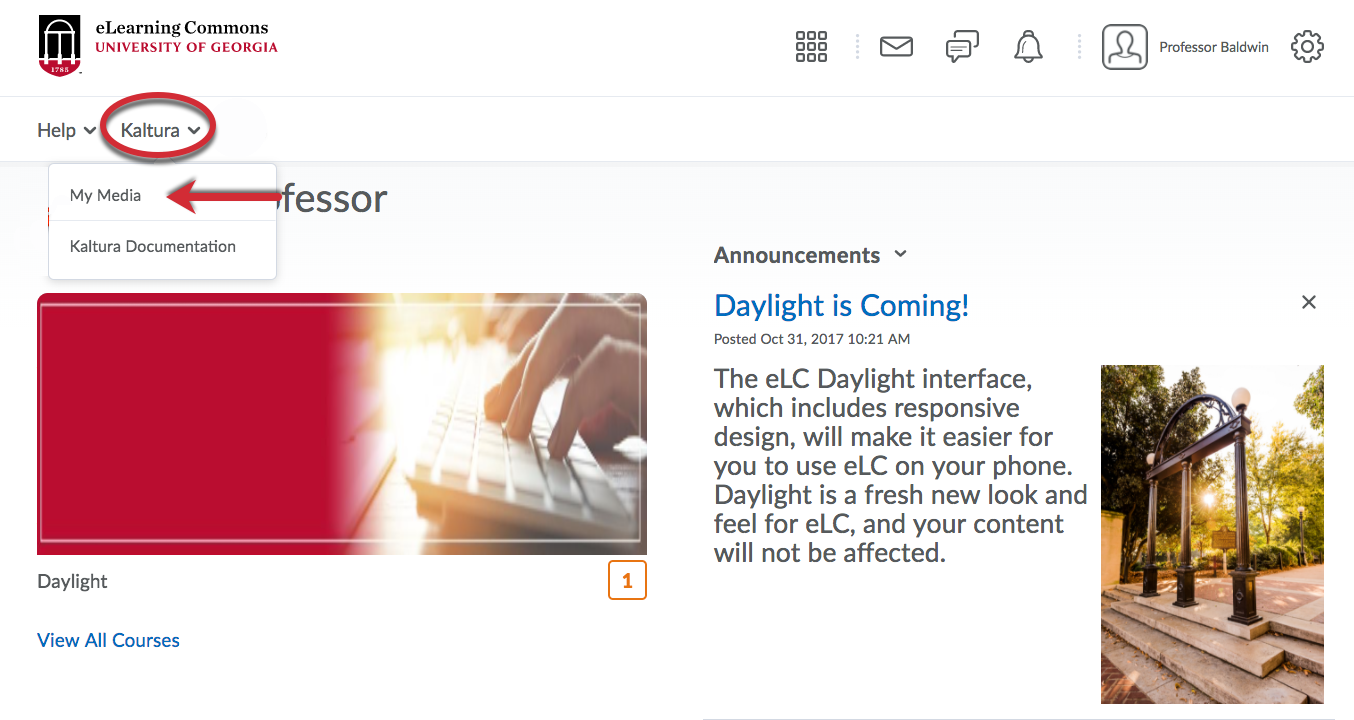
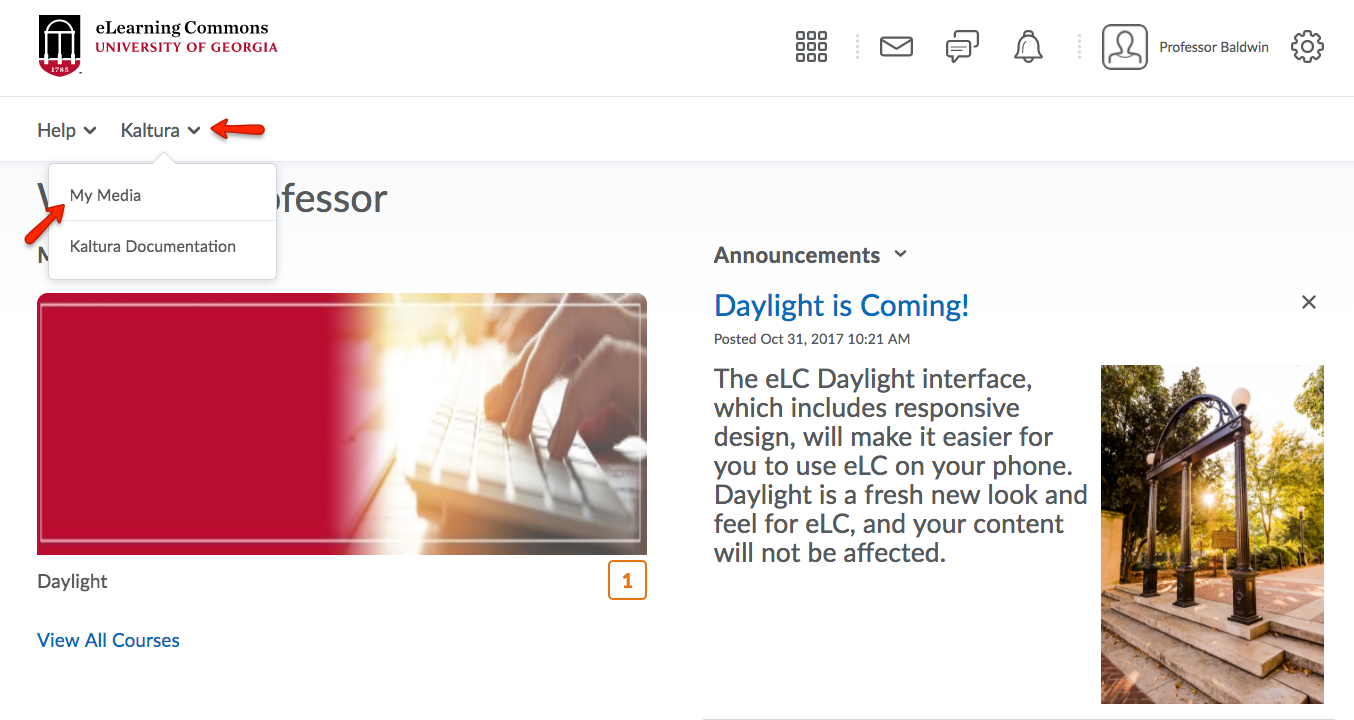
- To request machine captions in Kaltura, first, select Kaltura from the course navigation bar. Then, click My Media.
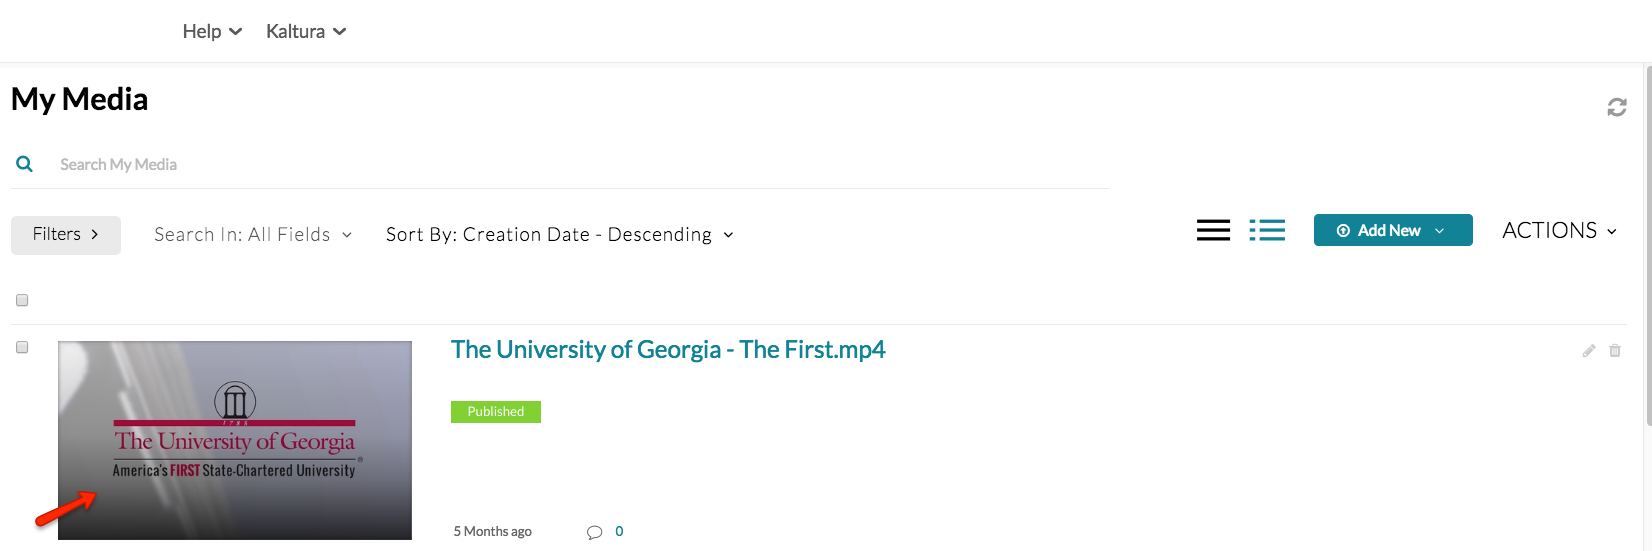
- Click on the video that you want to caption. If you don't see the video you are looking for, click Add New to either upload existing media, by selecting Media Upload, or record a new presentation, by selecting Record a Presentation.
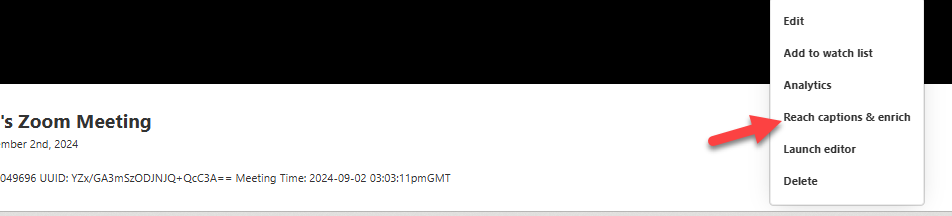
- Click on the menu below the video and select Reach captions & enrich.
- Select the Source Media Language, then click the Order button.
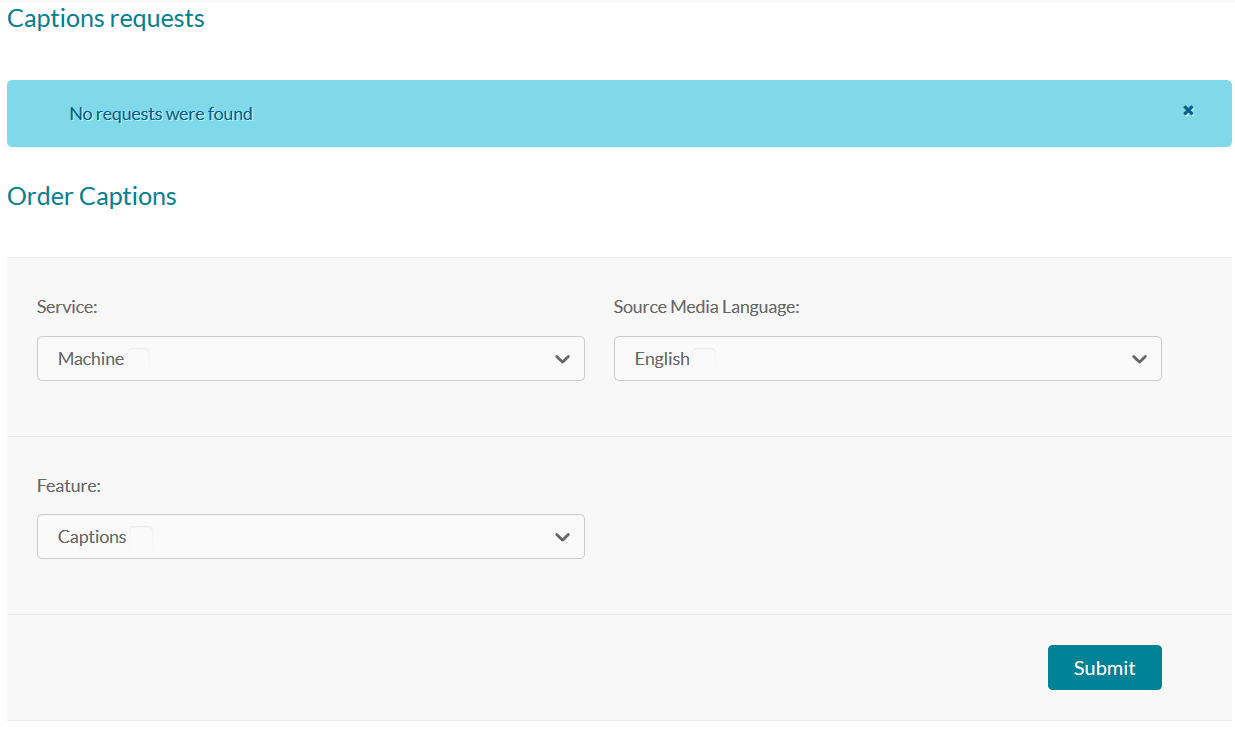
- Review and edit your captions using the captions editor.
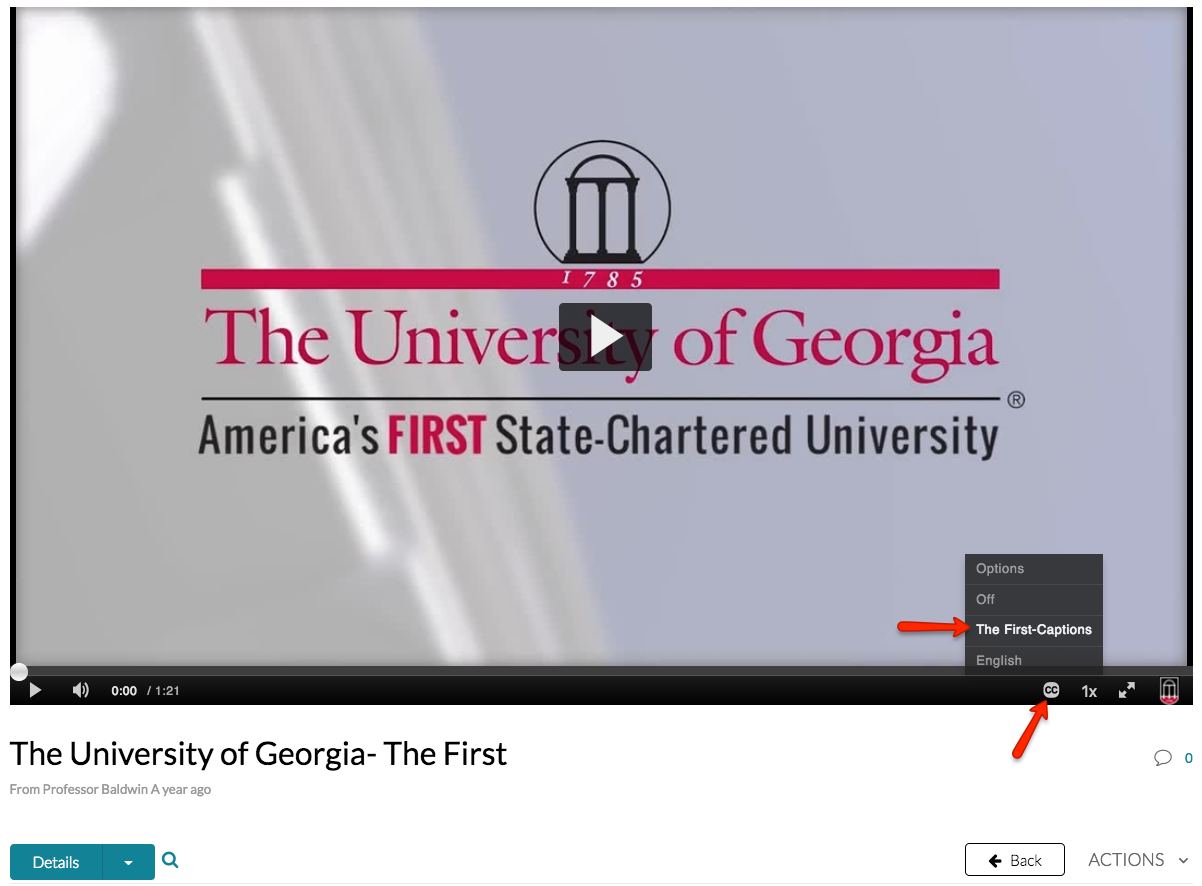
Note: If your order is processed, you will see the status of it listed under Caption Requests. Machine captions are usually processed in 30 minutes. If the system is processing a large number of requests, the processing can take up to five times the length of the video. - Once your captions are complete, you will see the CC icon on your video. To turn on
the captions, click the CC icon and click English (or the appropriate language for the captions).
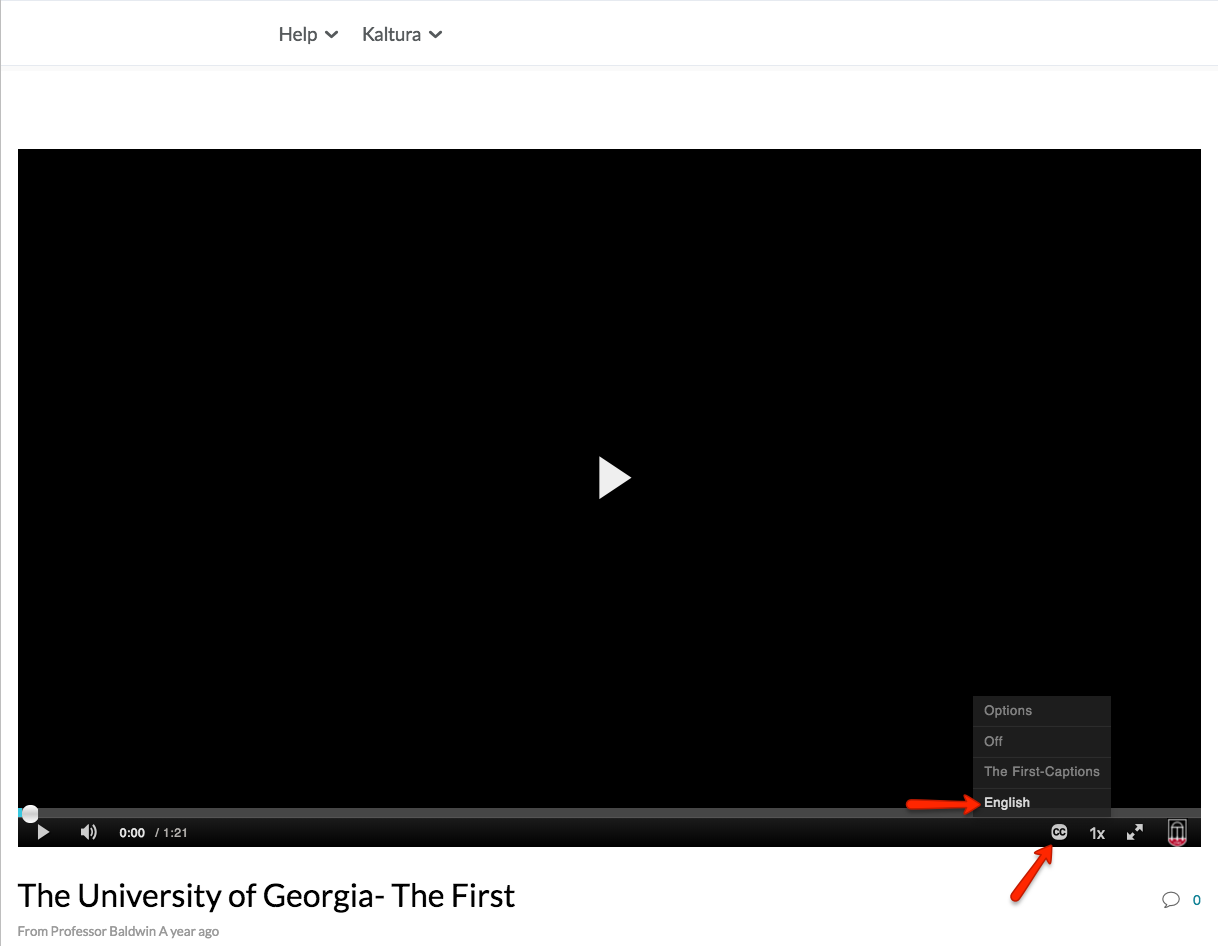
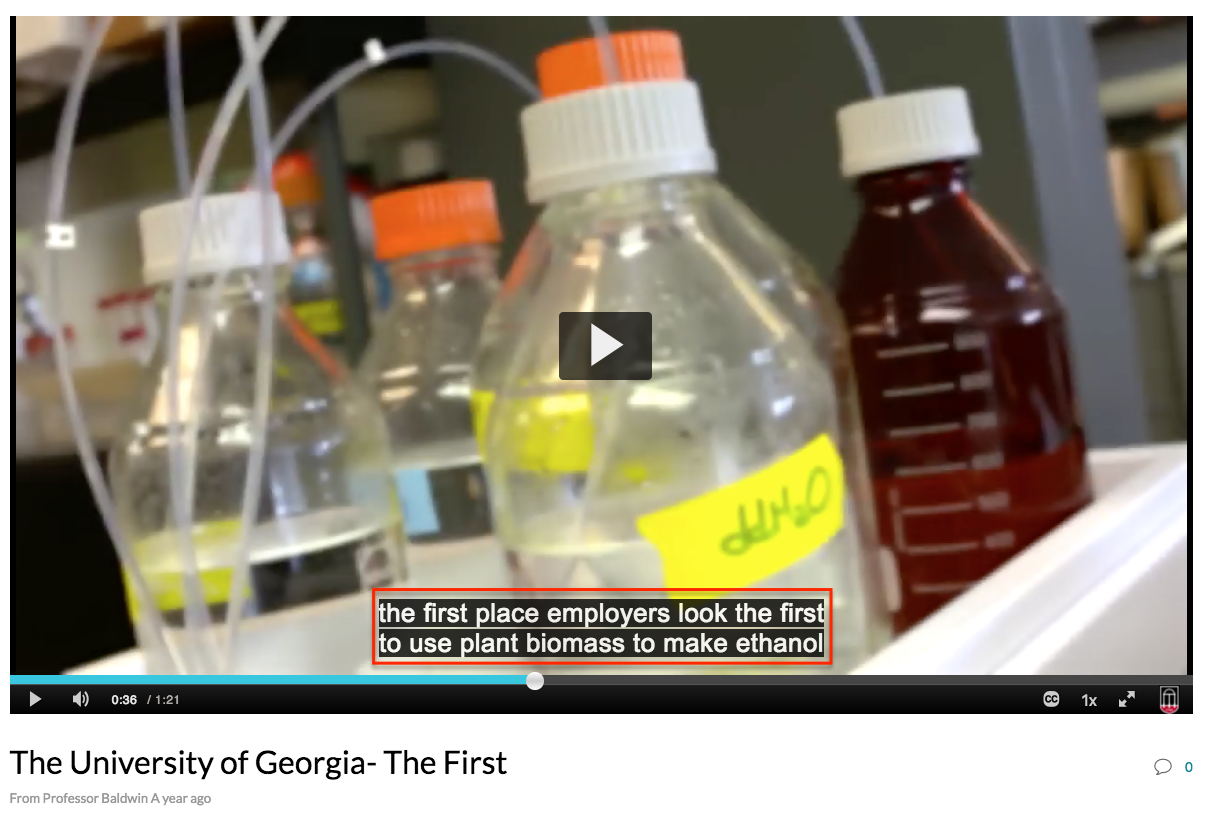
- Captions should now be visible on your video.
Editing Machine Captioning
Once your machine captions have been added to your video, you will need to review and edit the captions.
- To access the caption editor, first, select Kaltura from the course navigation bar. Then, click My Media.
- Click the video that you want to edit.
- Click on the menu below the video and select Reach captions & enrich.
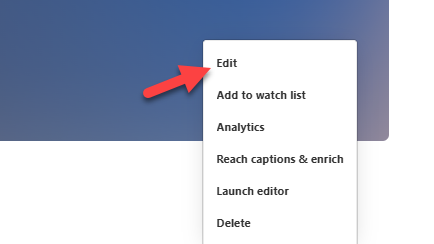
- Next, click the Edit icon. You can also access the captions editor by clicking the menu below the video, choosing Edit, then selecting the Captions tab and clicking the Edit Captions button.

- You will then be redirected to the Captions Editor.
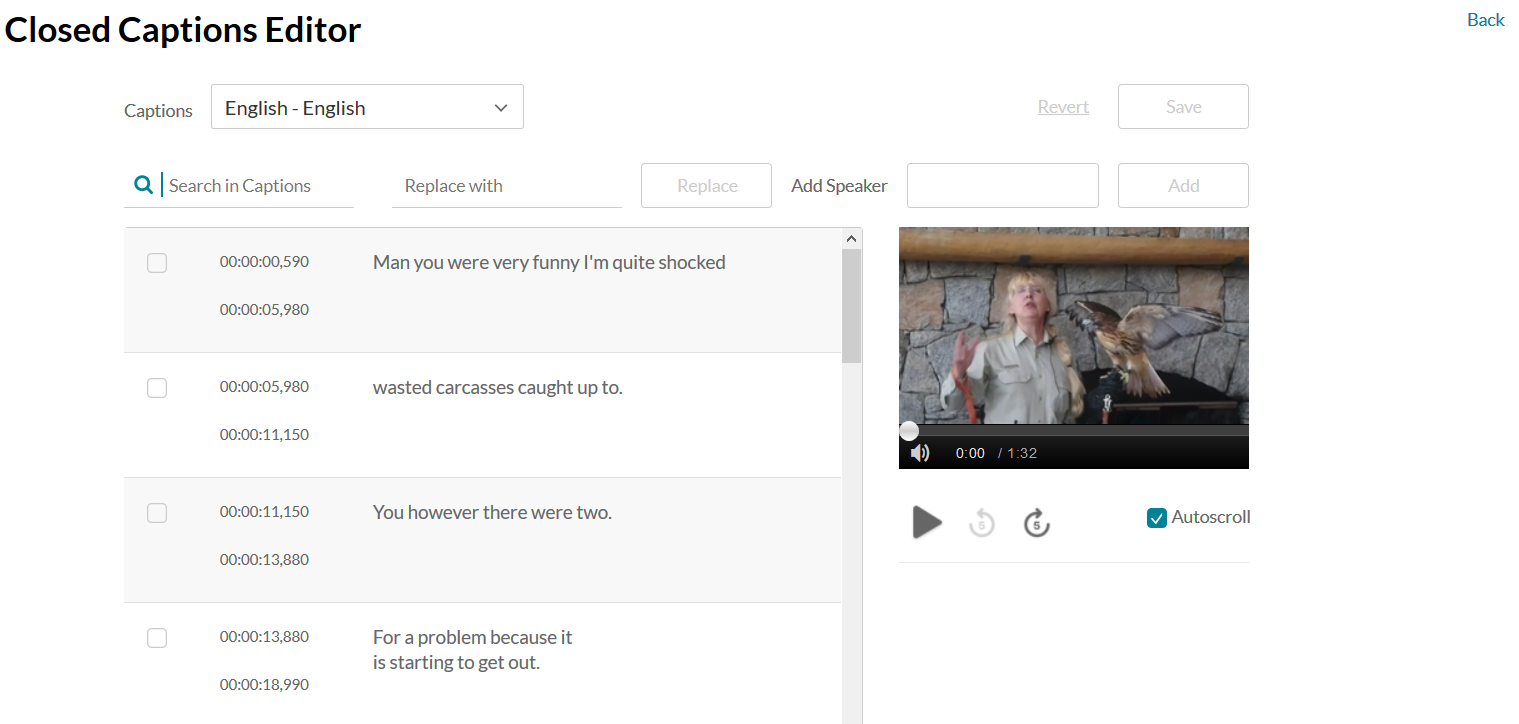
- Once you are done making your edits, click Save and your edited captions will be published to your video. Click Revert to undo any changes and start over.
For more information about using the Kaltura captions editor, see Kaltura's user guide.
Requesting Alignment
If you already have a text transcript for a video, you can use Kaltura's alignment service to automatically time and generate captions.
- From your My Media page, click the video you want to add captions to, then click the the menu below the video and select Reach captions & enrich.
- Select Alignment from the Feature dropdown, then click the Upload txt button and select the transcript file to use.
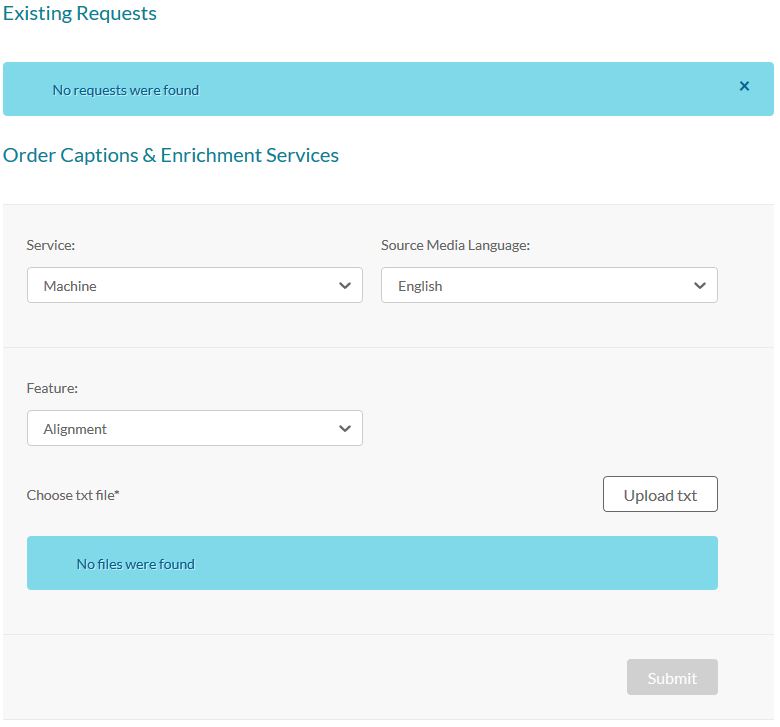
- Once you have uploaded the transcript, click Submit. After the alignment is complete a caption file will be added to the video. If needed, you can edit the captions file.
Adding an Existing Captions File
If you have an existing captions file, you can upload this file to a video in Kaltura Audio and Video.
- To begin the process of adding a captions file to your video, first, select Kaltura from the course navigation bar. Then, click My Media.
- Click on the video you want to caption. It must be a video that you have uploaded or that you can edit. If you don't see the video you are looking for, click Add New to either upload existing media, by selecting Media Upload, or record a new presentation, by selecting Record a Presentation.
- Click the menu below the video and select Edit.

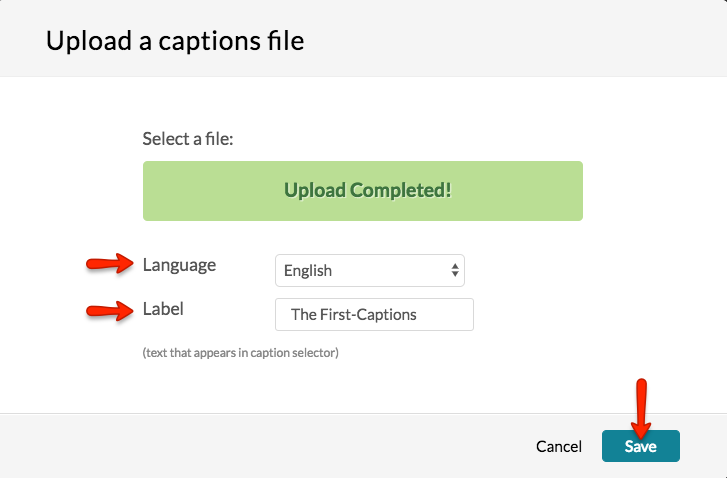
- Click the Captions tab. Click Upload captions file. Your file must be in SRT or DFXP format.
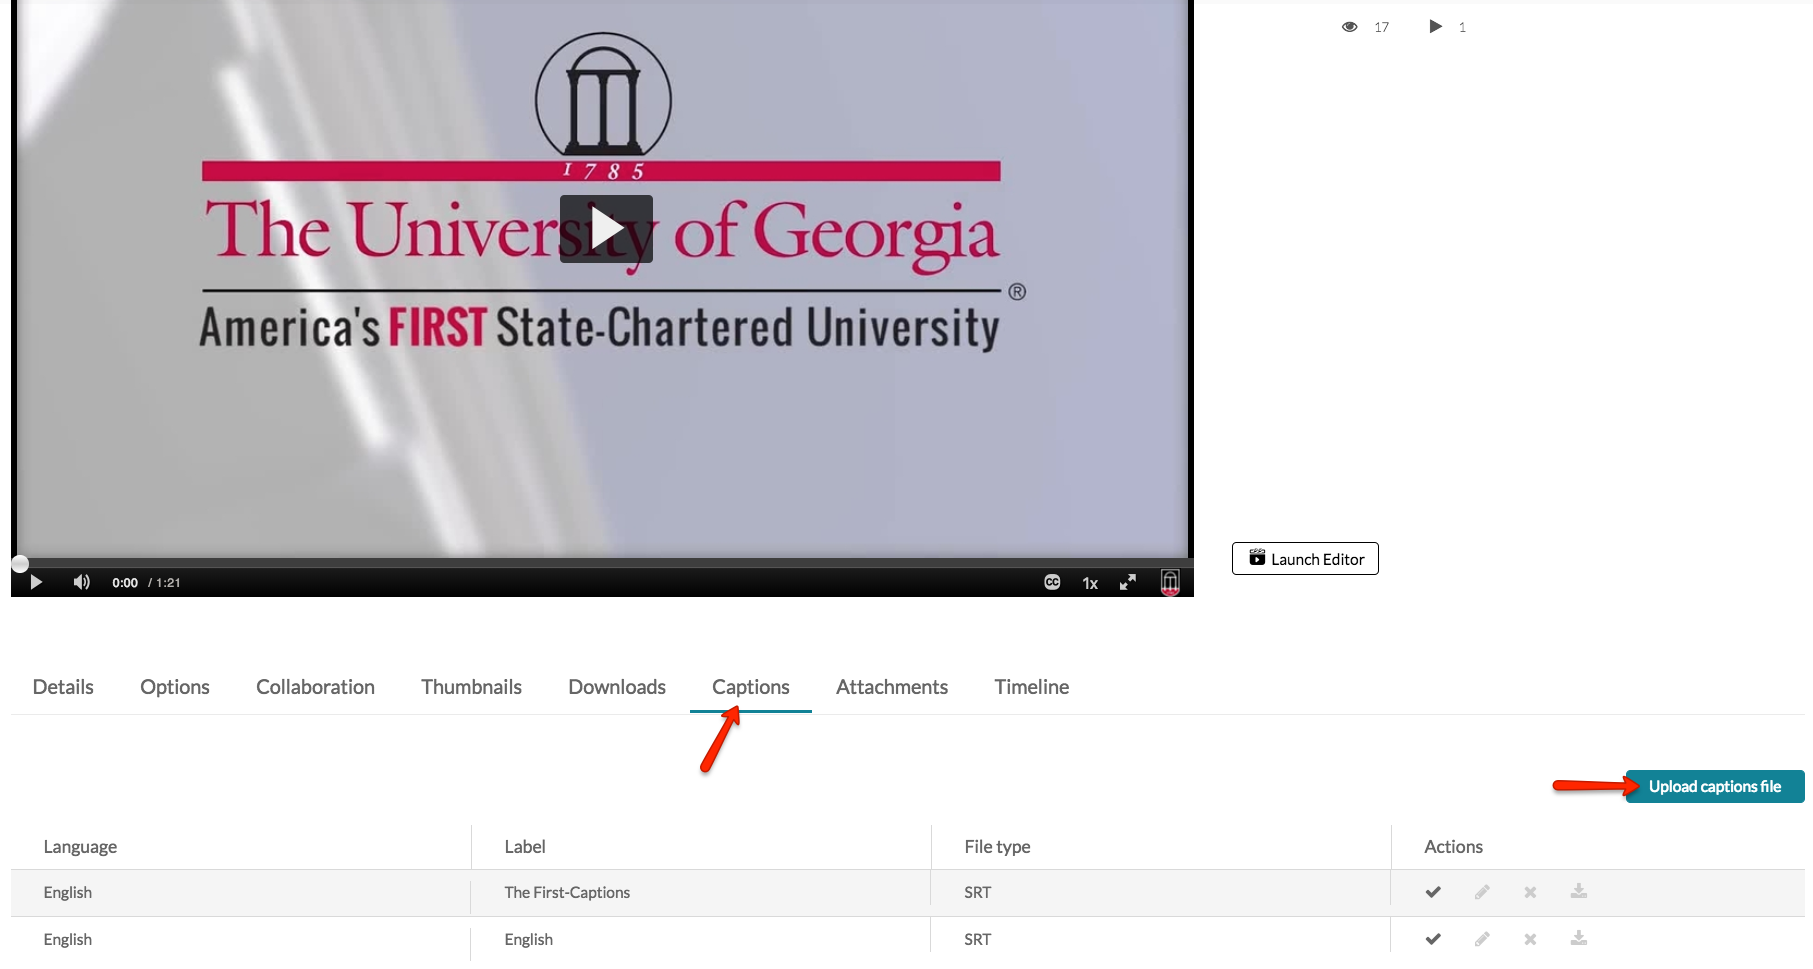
- Select the correct language in the dropdown, and give the captions file a label. This label will appear in the captions selector on the video. Click Save.
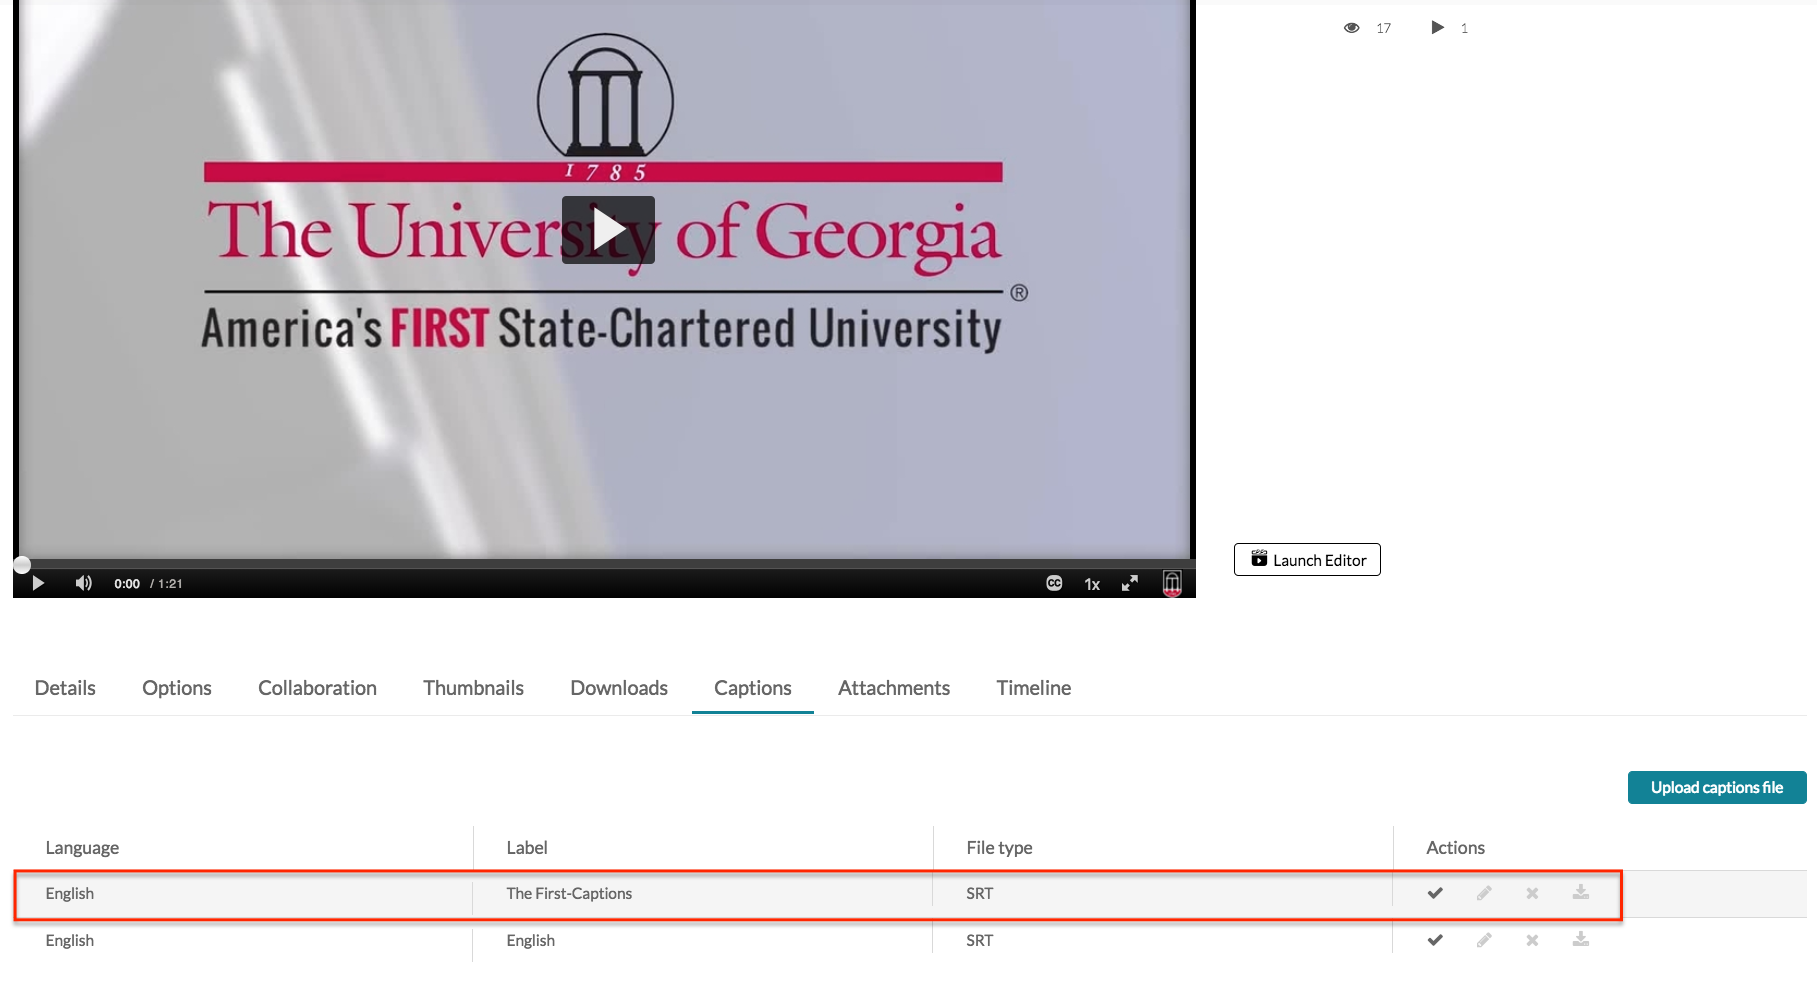
- Your captions should be uploaded and present under the Captions tab.
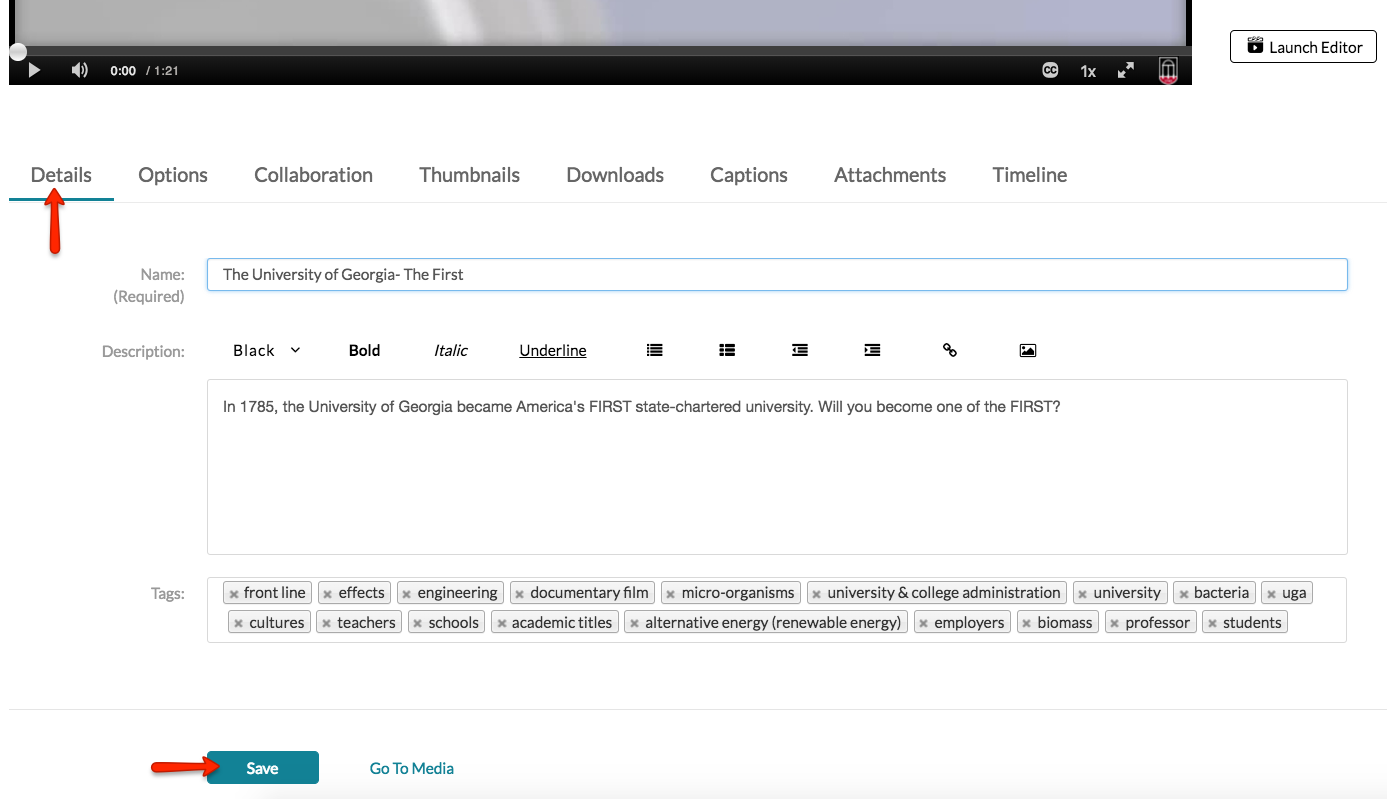
- After your captions have been uploaded, click the Details tab, and click Save to save your uploaded captions.
- Now, go to My Media, and select the video you just captioned. You will see the CC icon on your video, and you can click the label of the captions that were uploaded to apply the captions file.