Classlist
You can use the Classlist tool to view students enrolled in your course, to identify who is currently working online, and contact those users via email and the Pager tool with instant messages. From the Classlist tool, you can view user profiles, access the User Progress tool, print a class list, and check enrollment reports.
Learn about:
Adding Users
Students are automatically added to and dropped from your courses each night based on Athena data. It is not necessary to manually add students to your courses. The Registrar prefers that all student enrollments come from Athena. If you are managing a non-athena eLC course, you will have to manually enroll all your users as automatic enrollment is not possible.
Note: TAs are not automatically added to courses. You will need to manually enroll TAs using this process.
- From the Course Navbar, select the Classlist.
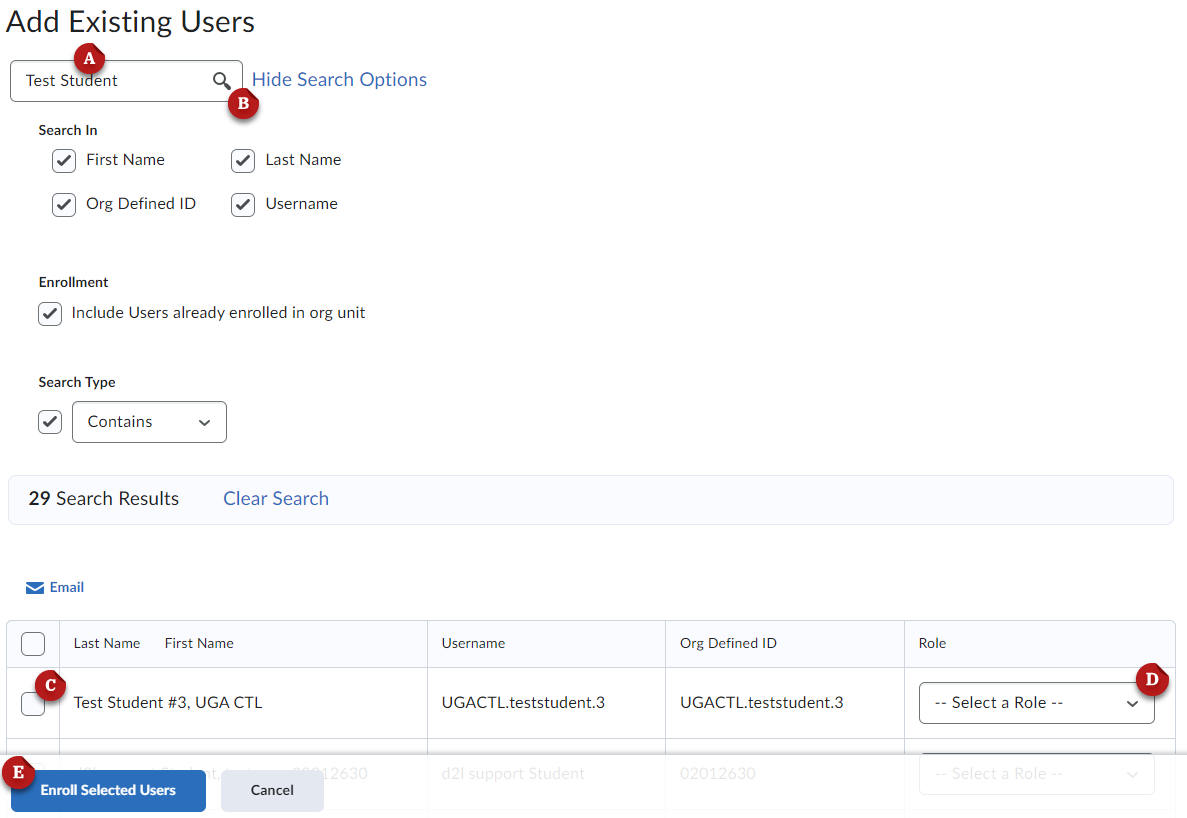
- Click Add Participants, then choose Add existing users.
- Use the Search Bar [A] to look up the user. You can search by First Name, Last Name, or Username (UGA MyID).
- Click the search button [B] to run the search.
- Click the checkbox [C] beside the user you want to enroll.
- From the role dropdown menu [D], select the desired role for the user. Learn more about eLC course roles.
- Enroll Selected Users [E]
Removing Users
You can remove uses in your course, however students will automatically be re-enrolled in courses each night based on Athena enrollment data. It is not necessary for you to remove students who drop your course, as Athena's connections will handle this automatically. If you are managing a non-Athena course, you will have to manually remove users.
- From the Course Navbar, select the Classlist.
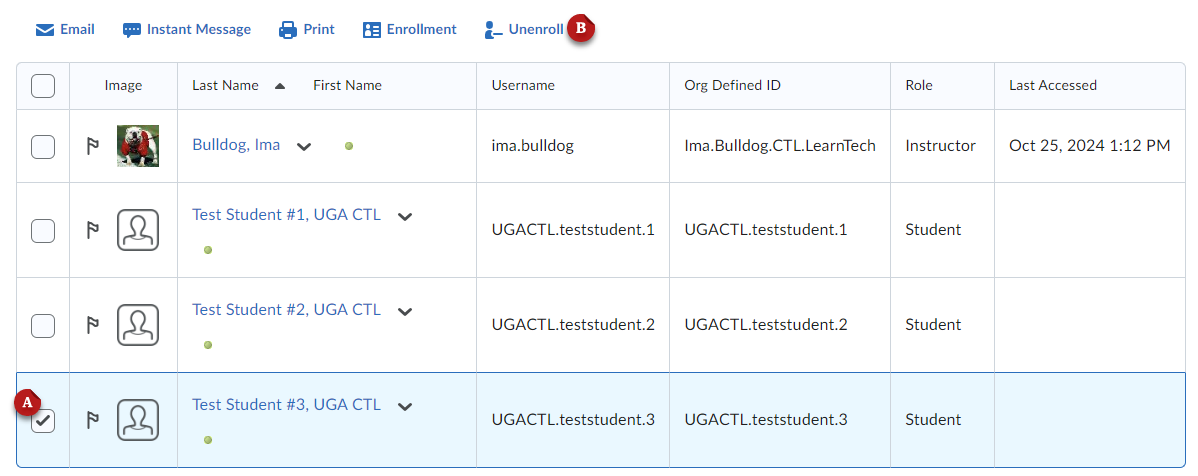
- Click the checkbox [A] beside the user you want to remove.
- Select Unenroll [B].
- On the confirmation window, choose Yes.
Checking User Progress
Checking user progress allows you to view a student or another user's progress.
- From the Course Navbar, select Classlist.
- Click the dropdown menu next to the selected user's name. Select View progress.
- You will be redirected to the Progress Summary. You can view data by clicking on each
tool underneath Progress Summary or from the navigation menu on the left.
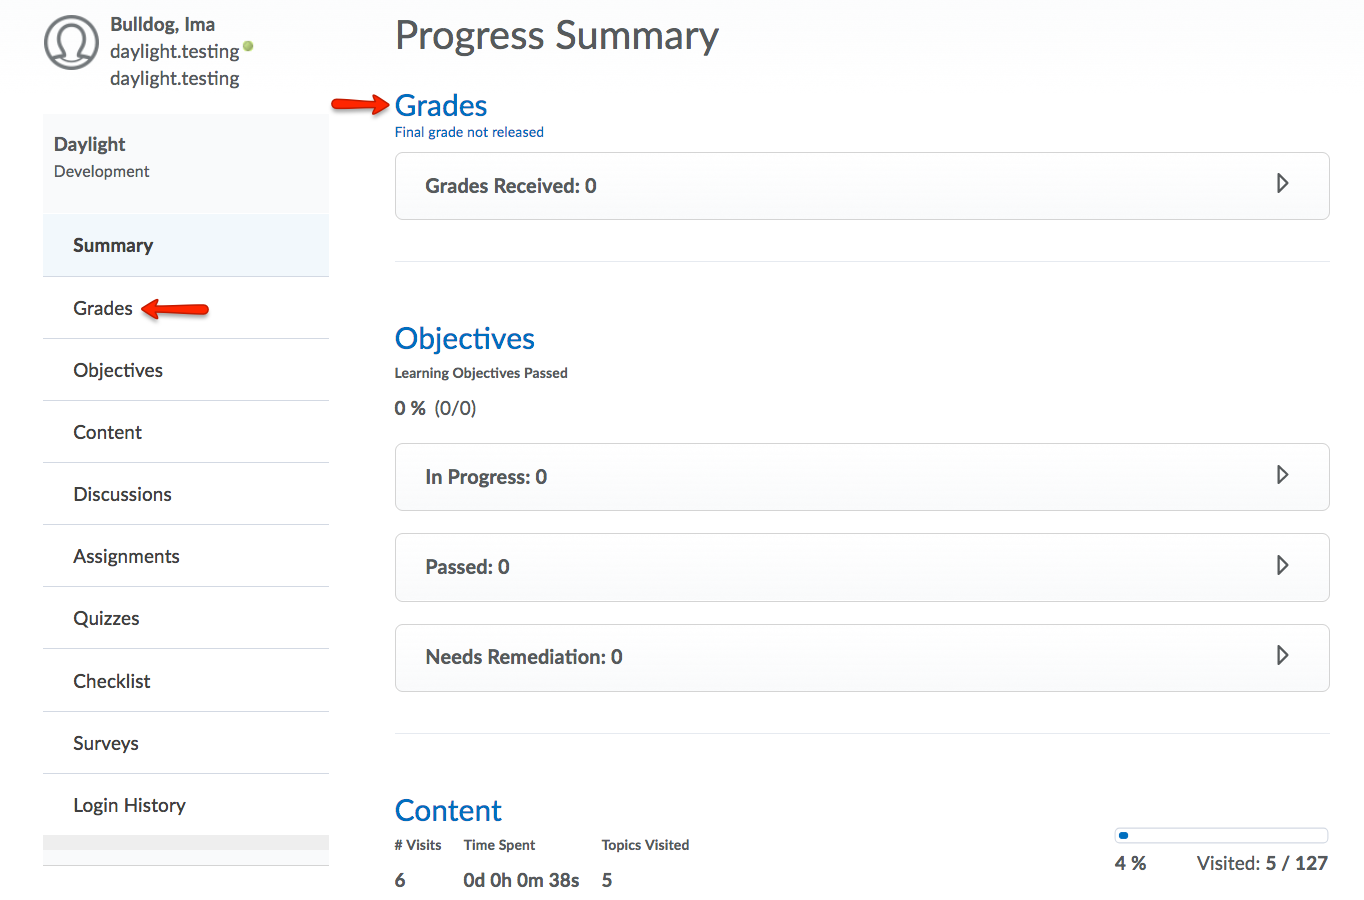
- Within each tool, you will see a summary of activity and progress tracked for that student.
Sending Email Using the Classlist
Sending email using the Classlist allows you to send emails to specific users in your course or the entire Classlist.
Note: This is not the UGA email system. Students can not reply to messages you send this way. We encourage you to use this message feature for one-way announcements and reminders.
- From the Course Navbar, select Classlist.
- Select the checkbox to the left of the username(s) you wish to send an email. Then, click Email.
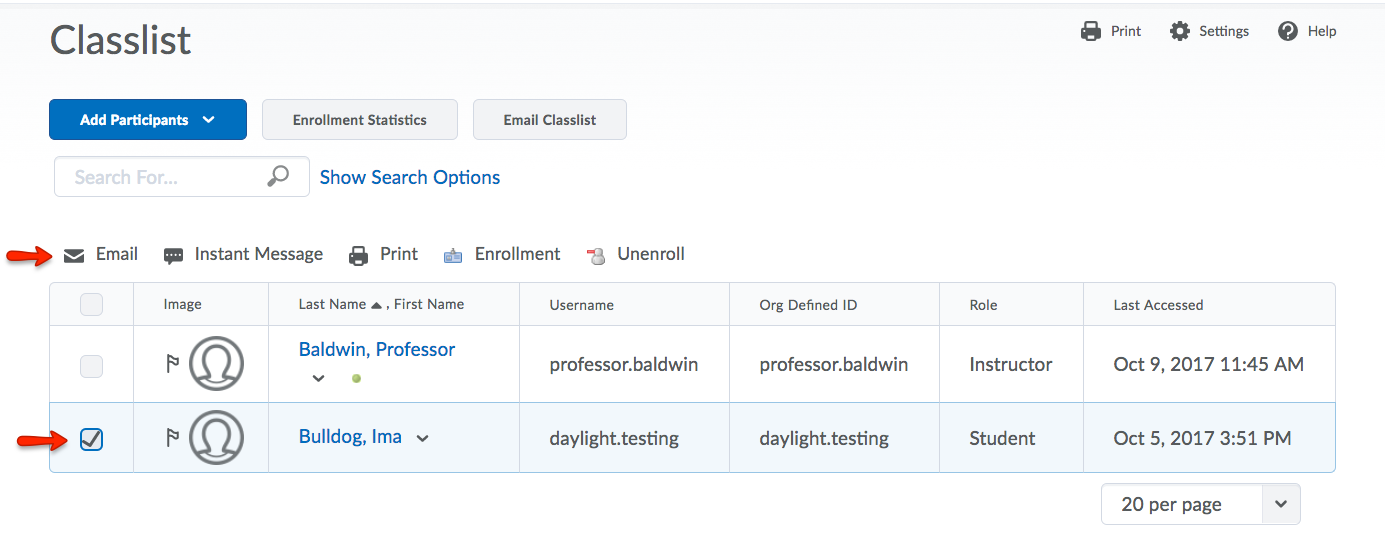
- (Optional) Email the entire classlist at once by clicking the Email Classlist button.
- A new window will open, where you can compose your email message.
- Click Send.
Last Updated: 10/25/2024