
Clicking your profile will open a drop-down menu with several different options. You can use these options to change some of your personal settings for eLC. These include adding a profile picture, changing your font size setting, updating your notification preferences, and more.
Profile −+
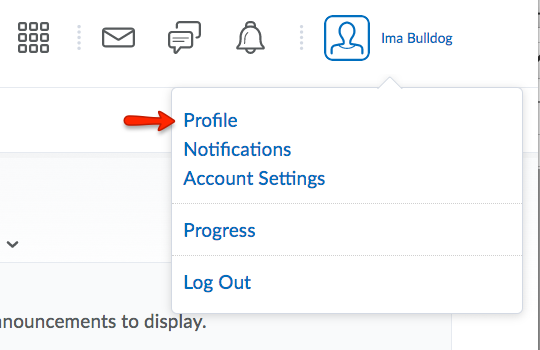
Editing your profile allows you to share a chosen profile picture, create a Nickname, and insert social network, contact, and personal information. To edit your profile, first click your profile picture and name. From the dropdown menu, select Profile.
Notifications −+
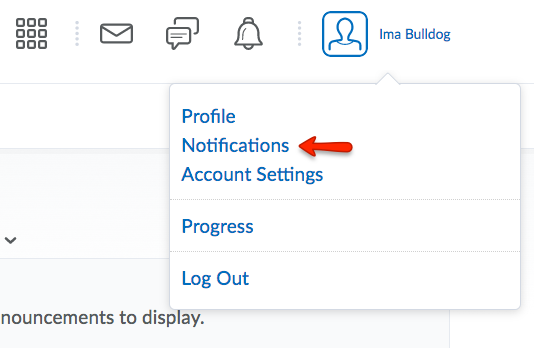
Notifications alert you to activity within your eLC courses. You can choose to receive a periodic summary of activity or instant notifications as things happen. To change your notification preferences, first click your profile picture and name. From the dropdown menu, select Notifications.
For more information on setting up notifications, please visit our Notifications page.
Account Settings −+
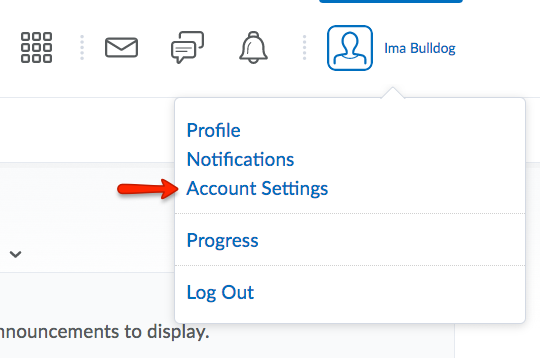
Account Settings allows you to change your password and other various settings including: Font, Dialog, HTML Editor, Video, Reading Content, Locale & Language, Online Availability, Time Zone, Application Settings, and Binder.
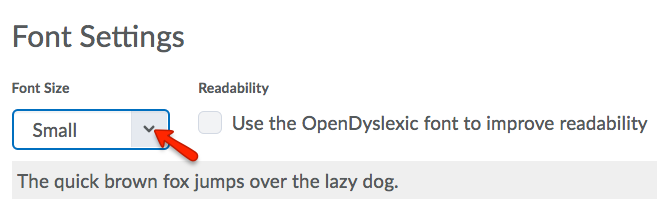
Font Settings
- Click on your profile picture and name.
- Choose Account Settings.
- Under Font Settings, select a font size: Small, Medium, Large, or Huge.
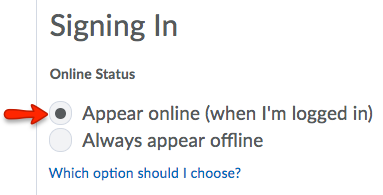
Online Availability
- Click on your profile picture and name.
- Choose Account Settings.
- Under Signing In, select your Online Status: Appear online (when I’m logged in) or Always appear offline.
Time Zones in eLC −+
The default time zone for a UGA course is Eastern Standard Time (EST). If you are working remotely and in a different time zone, you can update Brightspace to reflect that. This will help eLC synchronize due dates and other time-related settings within the course between EST and your current time zone.
With your time zone updated, eLC will continue to maintain the course time for all users, but adjusts the display times for you according to your selected time zone.
How It Works
Example 1: Suppose you are using the default setting of Eastern time in eLC and have set a due date time as 10 PM on a particular date. A student who has changed their account settings to match the Central Time zone will see this due date as 9 PM, and a student doing the same for Pacific Time will see it as due at 7 PM. However, the tests would all be due simultaneously at 10 PM Eastern time.
Example 2: Suppose you have adjusted your account settings to match Central Time, and you set a due date for 9 PM. In this case your students using the default EST settings will see the due dates as 10 PM EST. If you then change your account settings back to Eastern time, the due date will remain at 9 PM Central/10 PM Eastern
Set your Time Zone
- Click on your name in the top right hand corner, then choose Account Settings.
- Scroll to the Time Zone section.
- Use the Continent menu [A] to set an appropriate location.
- Choose the best Time Zone [B] for your location.
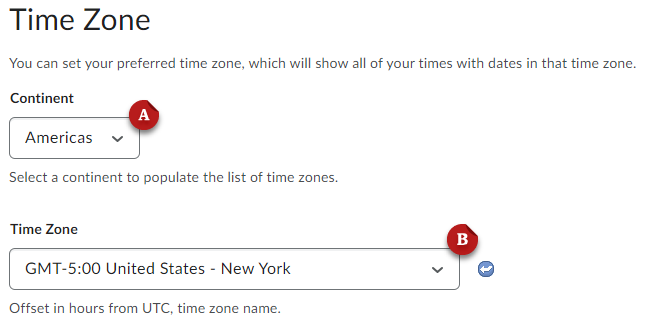
- Click Save and Close