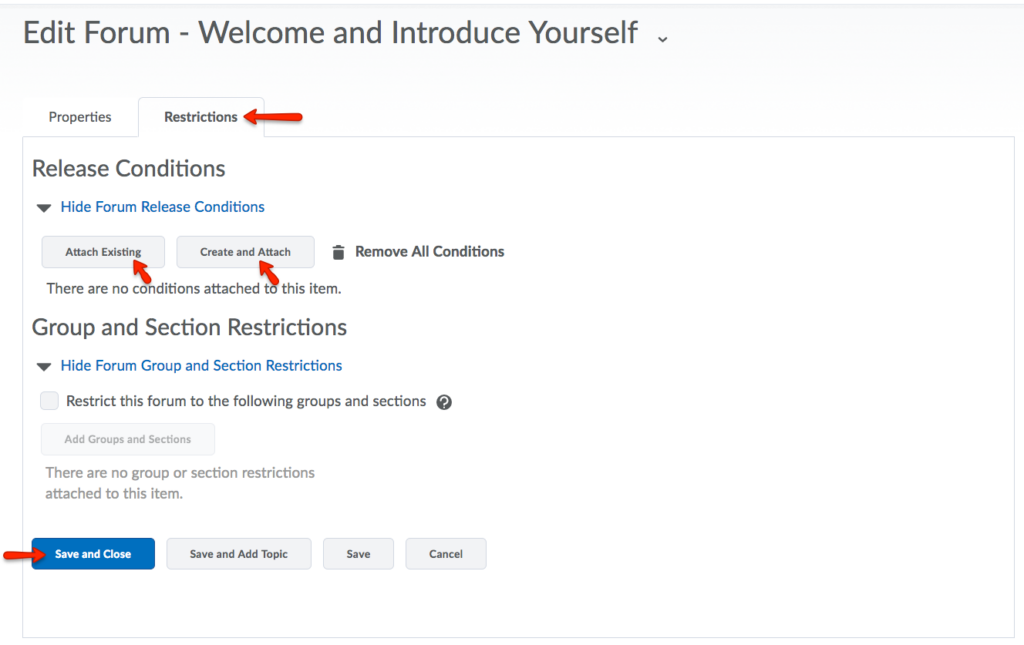
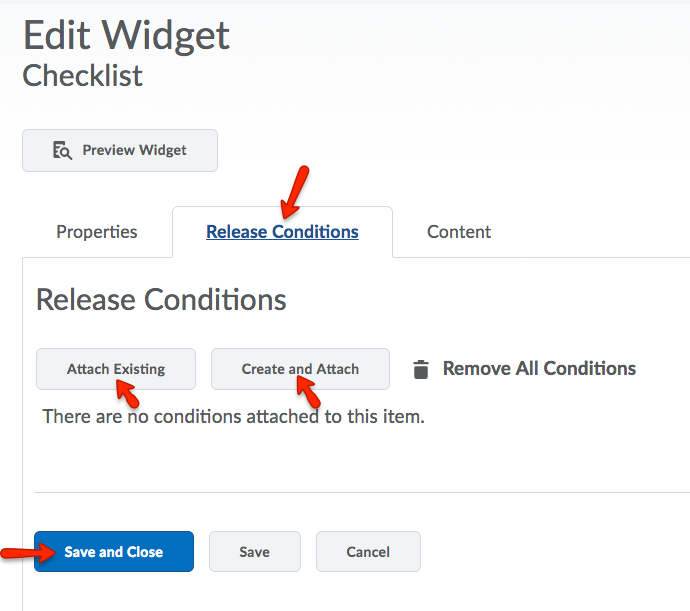
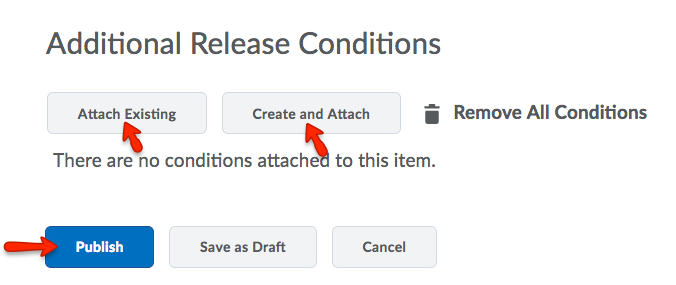
Release conditions allow you to create a custom learning path through the materials in your course. When you attach a release condition to an item, users cannot see that item until they meet the associated condition. For example, you could require users to visit the first three content topics in a unit before gaining access to an associated quiz.

If you attach multiple conditions to an item, users must meet all conditions before they can access the item. For example, you could require users to visit the first three content topics in a unit before gaining access to an associated quiz.

  • Note: Once a user meets a release condition, the condition is cleared for that user and cannot be reset. For example, if you attach a release condition to a discussion topic requiring users to achieve more that 60% on a quiz before they can access that topic, and one of your participants receives 72% on the quiz but you adjust their grade to 55% they will be able to access the topic because they did meet the requirement at some point.

Classic Content Experience

Release Conditions for Content Items
+
  1. To access release conditions for a content item, from the dropdown menu of the course item, select Edit Properties In-Place.
  2. Then, click Add dates and restrictions.
Release Conditions for Discussions, Checklists, Assignments, Grades, Quizzes and Surveys
+
  • Note: In Discussions, you may now view Replies Only to the Posts authored in topic and No post authored in topic conditions. After selecting Condition Type, you will see this new option under Type.
  1. To access release conditions for a discussion topic, checklist, assignment submissions folder, grade item, quiz, or survey, click the Restrictions tab.
  2. You may then select to Attach Existing or Create and Attach a release condition.
  3. When you have attached existing or created and attached a release condition, click Save and Close.
Release Conditions for Custom Widgets
+
  1. To access release conditions for a custom widget, click the Release Conditions tab.
  2. You may then select to Attach Existing or Create and Attach a release condition.
  3. When you have attached existing or created and attached a release condition, click Save and Close.
Release Conditions for Announcements
+
  1. To access release conditions for an Announcements item, scroll to the Additional Release Conditions area.
  2. You may then select to Attach Existing or Create and Attach a release condition.
  3. When you have attached existing or created and attached a new release condition, click Publish or Update depending on whether you are creating a new announcement or editing an existing announcement, respectively.
Tools that Support Release Conditions
+

You can access release conditions for any of the following course items:

  • Awards
  • Checklist
  • Content Modules and Topics
  • Custom Widgets
  • Discussion Forums and Topics
  • Assignments
  • Grade Items and Categories
  • Intelligent Agents
  • Announcements Items
  • Quizzes
    Surveys

New Content Experience

Visibility Settings
+

Modules and sub-modules can be hidden from students while you are developing them, then made visible to students once you are ready for them to have access to them. Instructors and TAs will always be able to see a module, even if it is hidden from students.

To change a module or sub-module’s visibility settings:

  1. Click the module or sub-module you want to modify.
  2. Click the Visible toggle switch
  3.  The switch will tell you if the module or sub-module is Visible or Hidden.
  4. To verify, notice that hidden modules or sub-modules will display an icon to show that the item is hidden from students.

Need more help with eLC?

Visit our support page to identify your best help options

FIND SUPPORT