
Creating & Customizing Modules−+
Creating & Customizing Modules
−+
The following tutorial outlines the steps necessary to create modules and sub-modules, add a descriptions, mark a module as published or draft, and add dates and restrictions in preparation for adding content.
- Navigate to the desired course, and access the Content tool by selecting Content from the course navbar or clicking Click to Access Course Content.

- Enter the module’s name in the Add a Module field located at the bottom of the table of contents, then hit the Enter key on your keyboard.

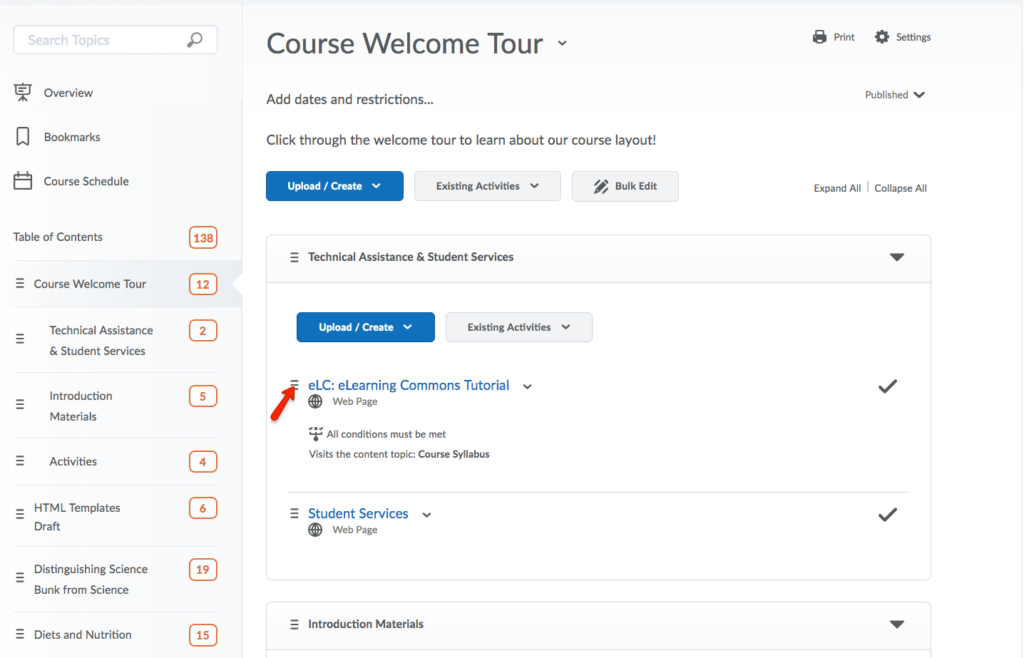
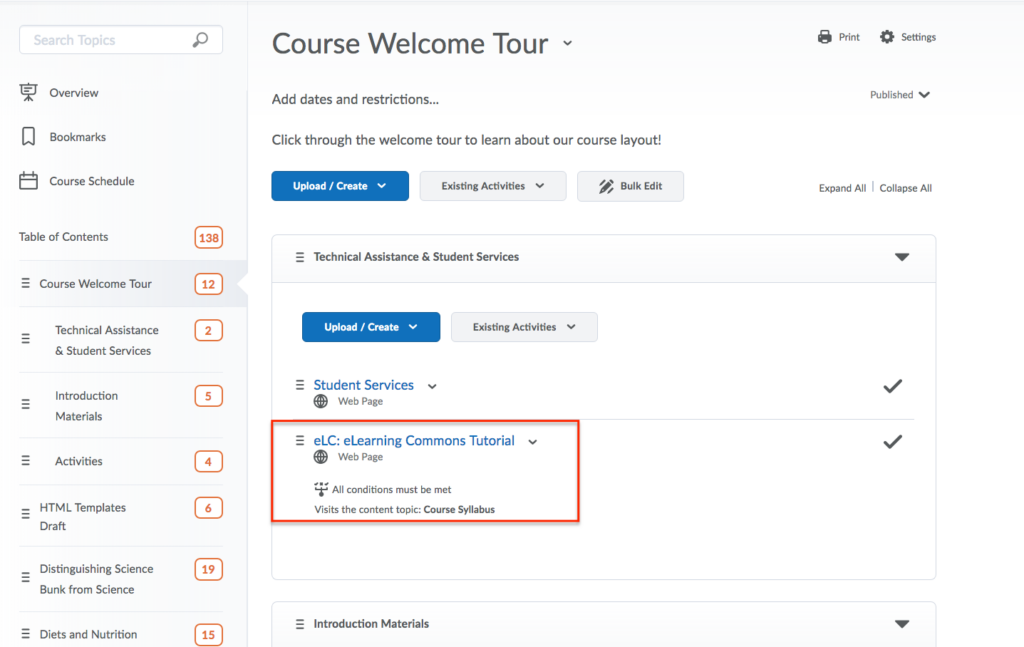
- If you wish to release the module during a specific date range, add a due date to the module, or specify release conditions, click on Add Dates and Restrictions.

- Follow these instructions for configuring activities:
- To schedule a Date Range, click Add Start Date/Time, End Date/Time, or Due Date/Time and add dates as appropriate (these dates will be added to your course calendar automatically).
- To specify Release Conditions, click Browse to select from existing course restrictions or click the Create button to create a release criteria for your course on the fly.
- Click the Update button after making your selections.

- To hide the module from students, click the Visibility button so the eye has the slash through it.

- To add a module description, click on Add a description, type your description in the input window, and click the Update button.

- Sub-modules can be added to modules if desired by typing a name in the Add sub-module field and pressing the Enter key on your keyboard.

Reordering Content−+
Reordering Content
−+
As an instructor, you have the ability to reorder the modules and topics featured within the Content tool.
- To move a module or topic, hover your mouse over the three lines present beside the title of the content in question. A vector icon will appear.
- Then, drag and drop the content within the current module or to a different module, listed on the left, under Table of Content.

- After moving, the content can now be seen in its new location.
Creating Modules−+
Creating Modules
−+
Modules help to organize content within your course. For example, you might create a module for each week of a course, or for each unit.
- From the course navbar, click Content.
- Click “+ New Module“
- Give the module a title [A].
- Set a Due Date (not recommended) [B].
- Use the editor to provide a module Description [C].
- Set a Start Date [D].
- Set an End Date [E].
- (Optional) Add Release Conditions for the module [F].
- Click Save and Close to create the module.

Creating Submodules−+
Creating Submodules
−+
Sub-modules help to organize content within the same module. For example, you might use sub-modules to organize “readings” or “assignments” within a specific module.
- Click the name of the module to which you want to add a sub-module.
- Click Create New.
- Choose New Sub-module.
- Give the module a title [A].
- Set a Due Date (not recommended) [B].
- Use the editor to provide a module Description [C].
- Set a Start Date [D].
- Set an End Date [E].
- (Optional) Add Release Conditions for the module [F].
- Click Save and Close to create the module.
Editing, Reordering, & Deleting Content−+
Editing, Reordering, & Deleting Content
−+
Instructors and TAs can edit modules and sub-modules. You can change the titles; descriptions; start, due, and end dates; and more. You can also reorder the materials or completely delete them.
- Click the module, sub-module, file/page, or activity you want to modify.
- Click the three dots menu [A] in the top right corner.
- Edit [B] will allow you to change the title, description, the associated dates, and the release conditions.
- Reorder [C] will allow you to change the order. You can also click and drag to reorder modules and submodules.
- Delete [D] will allow you to delete the entire module, submodule and any content within. When deleting, you can choose to remove the materials from the content area or to completely delete them from your course.
